Mission UFO Has Launched

Not only has Mission UFO launched…it has landed with a beautiful finish!

Last week Mission UFO was begun. We meet on Tuesdays and Thursdays at my home classroom/studio and anyone can come. The exciting thing is that in just a few together we are seeing some excellent finishes being made. For more information, contact me for details and you too can join in the fun!
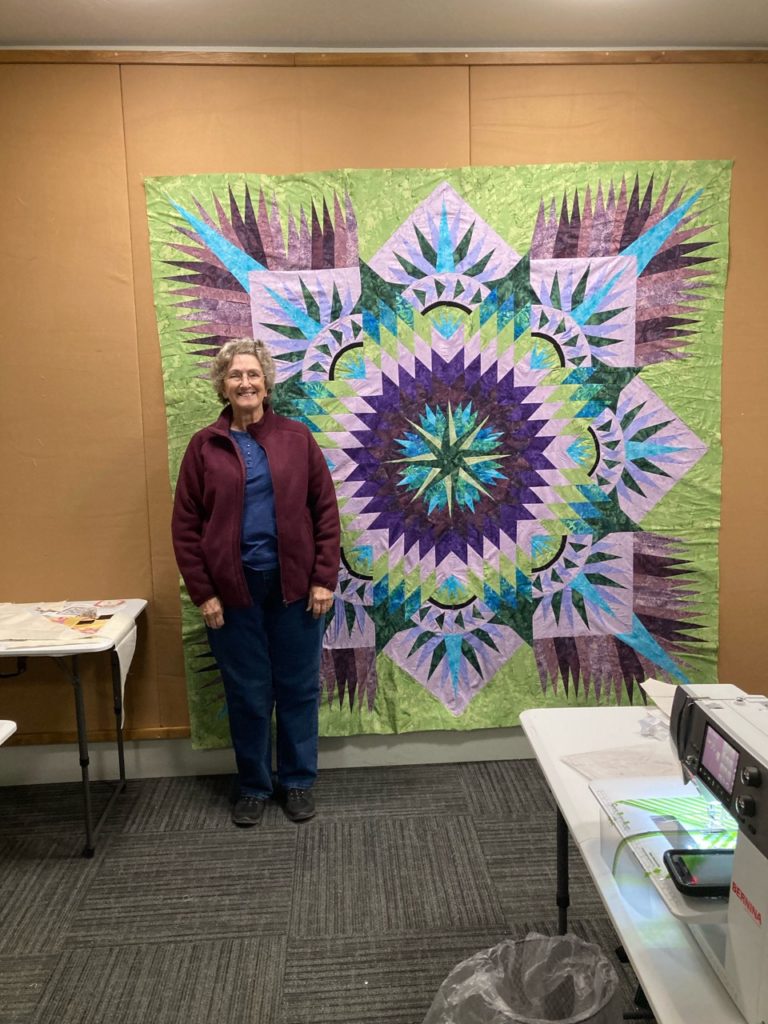
Jean and her Prairie Star.  What a great moment! Some happy tears were shed for this lovely success.

Jean has been working on this project for a couple of years, and it is a wonderful finish for her.  I’ve been with her every step of the way and must say, it’s been a fun adventure.  She has already made nice progress on a second quilt of this same pattern in a different color way.  We’re both excited to see how her next one comes together.  
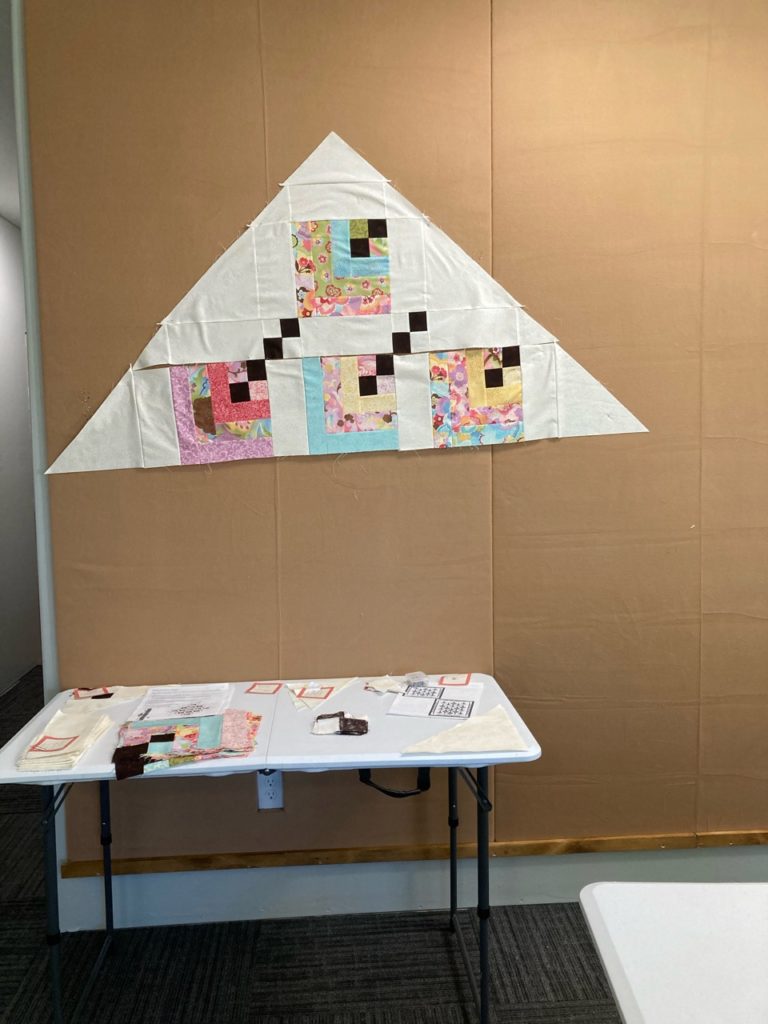
Mission UFO at its finest! It’s such a rewarding experience when projects that have been put aside are brought out to reach their conclusion. The sense of accomplishment is such a nice reward.

Here is Cindy’s progress on her Hanging Gardens project.  She’s completed all her blocks and is now laying them out row by row and sewing them together.  This a trickier build since it’s constructed on point.  She’s doing a terrific job and it won’t be long before the top is completed. 

I’m so excited for both ladies!
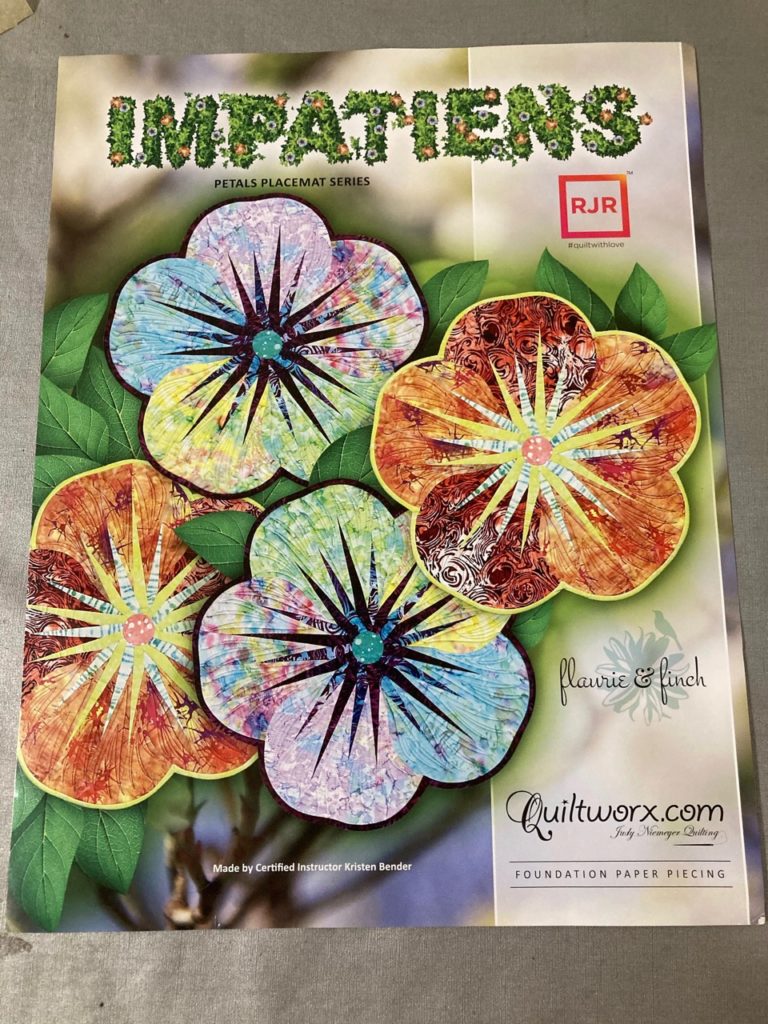
Here is the cover photo of the Impatiens pattern.

For me, one of the piecing finishes I’ve marked off my UFO list is the Impatiens placemats by Quiltworx.  This is such a sweet pattern, and the color ways you can use are endless!  This five-petal flower can be made with just lights and darks of the same color as I’ve done with mine shown below.  They can be made with a different color in each petal with centers all the same.  You can even mix up the colors within the petals to be two of one color and three petals of another then group them to resemble a pansy, which is one of my favorite flowers.  The combinations are endless.  And they make fabulous gifts.
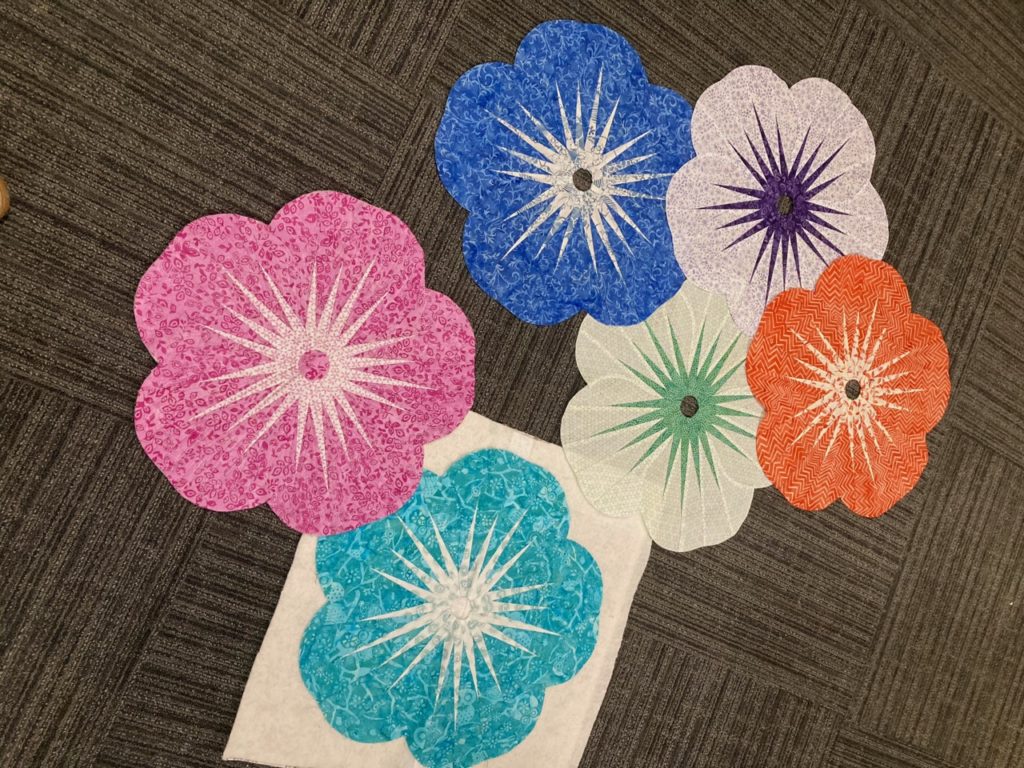
Here are my lovely flowers.  The pink one is waiting for her binding, and the little teal lady is prepped to quilt.  The other four will follow their friends shortly.  

The Impatiens pattern comes with enough sewing papers to make a set of 4 placemats. To make larger sets of placemats, you simply need to buy more sewing papers.  Additional sets of papers are called “Replacement Papers” and come with everything you need to make more items…minus the instructions.  No need to buy another set of instructions when you have them included in the first pattern you buy.  I think that is a brilliant thing to do, and I always encourage my students to think of this option when they are considering making multiples of the same pattern.

I’ve had some quilters express concerns about the curved seams required in this project.  To which I tell them Judy has designed these little gems to go together as easily as a hot knife goes through butter…it truly is amazingly simple.  To have a student master this curved seam in one try is a huge reason that I am committed to this company and the way these patterns are designed and written.  Truly the best in the industry, in MY humble opinion.

Quilting is always a consideration on every project and this is one that can be done easily on your own machine at home.  Quiltworx includes a template for quilting these in each pattern packet.  It is a suggestion and certainly not required at all, but it’s a great place to start if you want to try your hand at doing it yourself.

There are many different means to attain the same goal, so let me tell you about different options. 

One method is to layer several sheets of newsprint type paper under the quilting template.  Then, take the tread out of your needle and sew on the quilting lines, resulting in needle punched dotted lines on all the layers beneath the pattern.  You can use a pouncing chalk to dust those lines onto each petal or use each paper as a single sewing template.  A white chalk on dark fabric is not bad, but then there are the lighter colored petals.  I choose not to use a colored chalk on lighter fabrics because it can be problematic when trying to remove the colored chalk.  

You could also sew over the punched lines. That isn’t as easy for me to see where I’m going as I sew. These are both good options…just not for me.  I need a solid line.  

Since there is only one template for quilting but 20 petals to quilt, (5 petals  x  4 placemats), I need to either mark each petal separately or make 20 copies of the template.  The template is larger than what will fit on my home copy machine, so I’ll need to go another route.
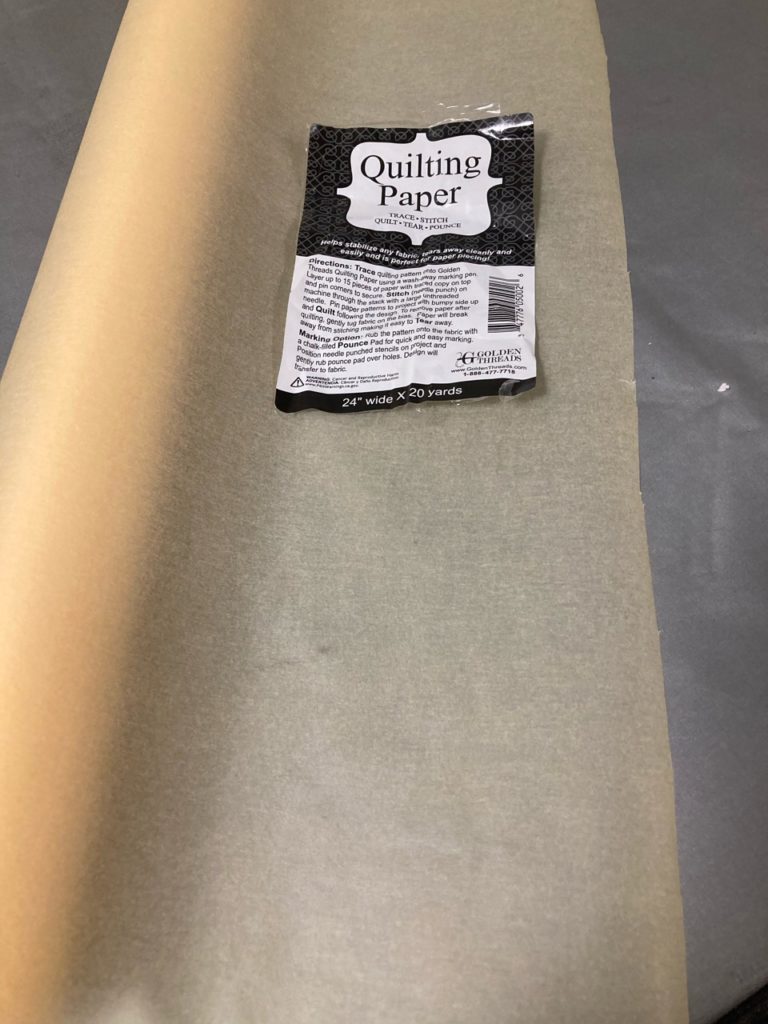
Ta-da! Enter Golden Threads Quilting Paper.  Now, I must give credit where it is due, and my student Cheryl is the one who told me about this product and the method she used.  I had Clubb’s order me a roll of this paper, and set out to give it a try. 

I have, and frequently use the newsprint paper made for the copy machine.  It’s a great product.  But for this application, I need to be able to see the exact placement of the paper for where I need to quilt.  You can easily see through this paper to know where your quilting will be.  It’s a thin yet sturdy tissue that does not shred when painters tape is applied to keep it in place.  You can use regular tissue paper to do this, just know that it is greatly fragile and any writing utensil you use can, and does pierce the tissue.  Also…ink from pens and felt markers penetrate regular tissue.  But NOT so with this Quilting Paper.  Definitely worth the price, and it’s not that expensive at that. 
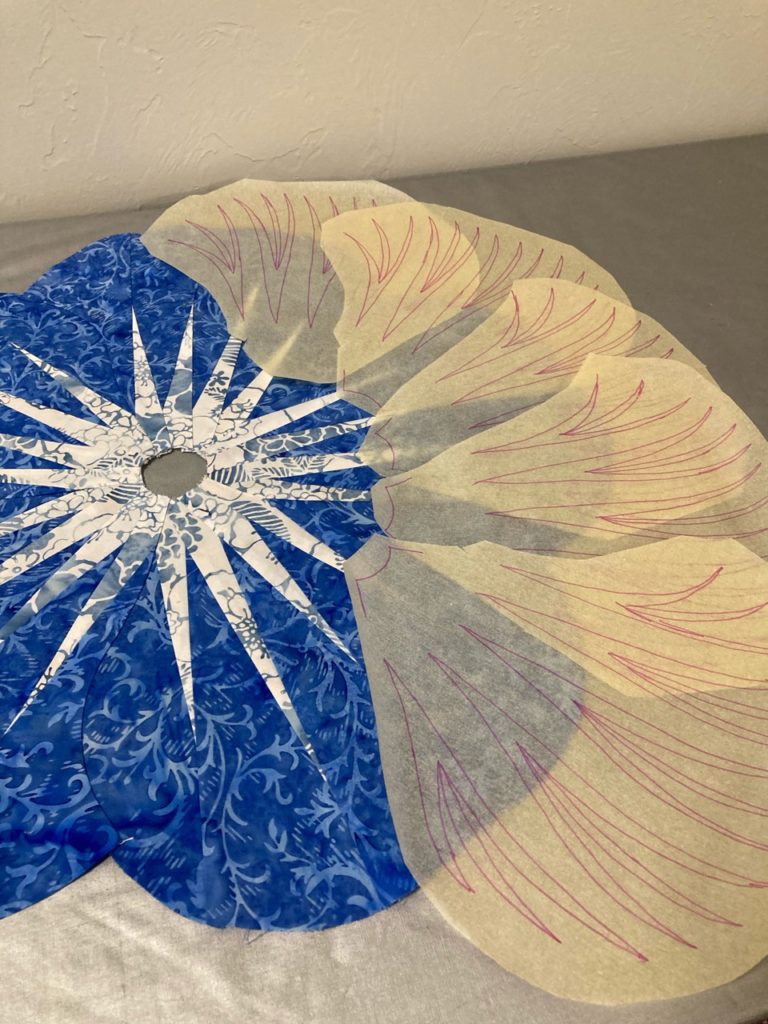
Using the blue flower as an example, I’ve got the 5 templates ready for quilting.  Just need to make the “quilt sandwich” for it. 
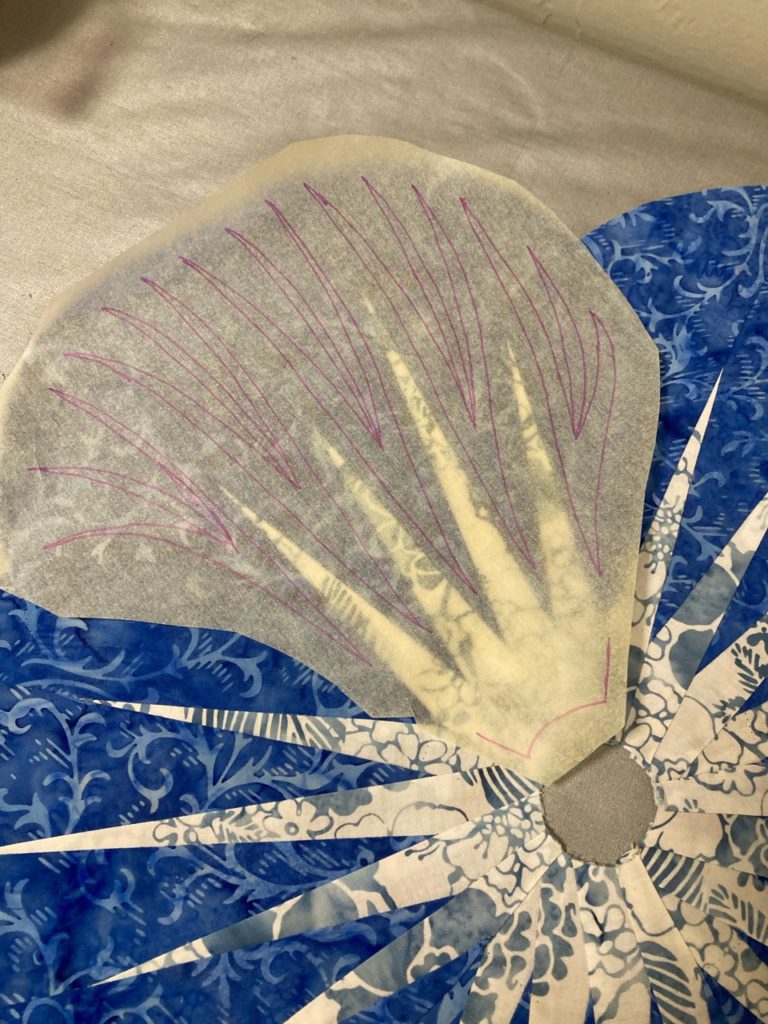
Here is the quilting paper laid over the first petal. You can easily see the fabric under the tissue.

I used the bottom curve as a rough registration mark to know how to place each template.  This paper also makes it easy to see where the quilting lines will fall so that I won’t put the curved stitching inside the center spikes where I plan to add straight line stitching after the curves are put in and paper removed.  This is going to be fun!!

Easy Peasy!  Can’t wait to show you all the finished placemats.

Until next time, may your bobbin never be empty!
It’s a Pressing Matter

Or, you could say, it’s a matter of pressing, aka ironing.  In today’s everyday world, ironing is a skill primarily reserved for shirts and wrinkled pants and what not.  But in the quilting world, using an iron is a necessity for every project we undertake.  And believe it or not…ironing and pressing are not the same sport.  Hey…it’s liberal arm movements, repeated many times for each engagement.  That could be a sport, right??  And those of us who can use both arms are considered ambidextrous too, right?  It is in my book, so I’m going with that.

Anyway, considering the topic at hand, I was pressing the last thing to pass under my needle and I happened to take a closer look at my little side table that I use for that purpose.  Well, that led to another thing and then another until the whole focus of my morning yesterday involved a task I didn’t expect to be doing.  Come on along and I’ll show you what I was up to.

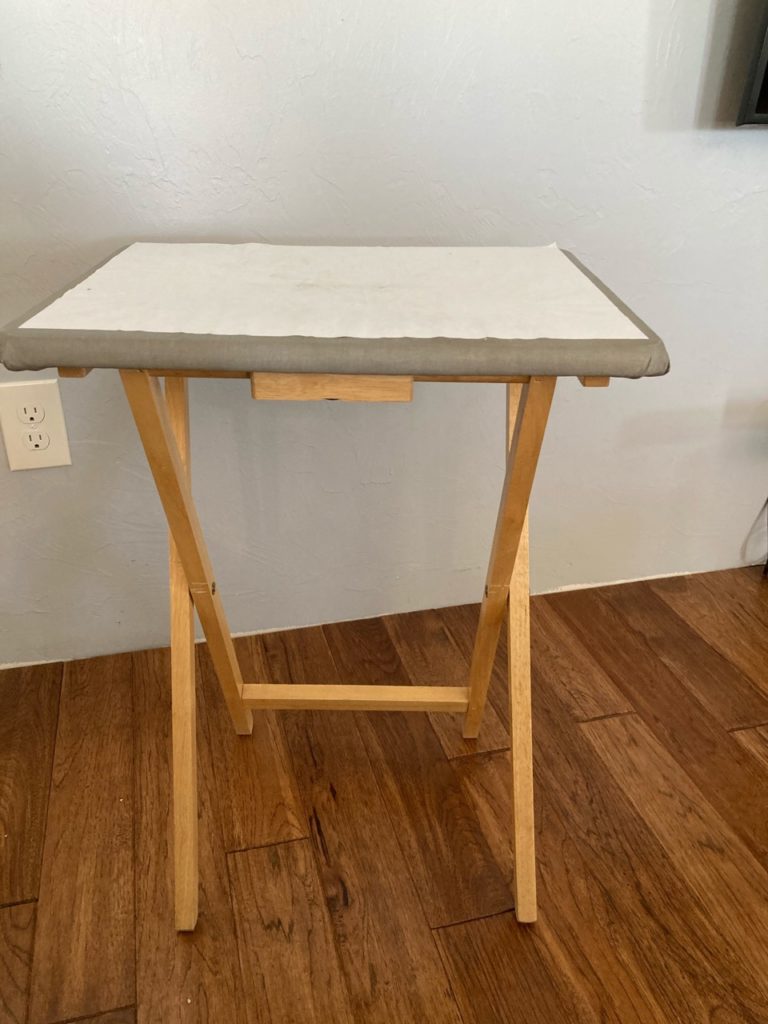
Here it is…just a modest little TV tray.

This is a wooden TV tray that I recovered several years back to serve as a little side table when I sew.  Mostly for ironing, but it’s a perfect size and height for several tasks.  It’s had a couple different layers of fabric over the course of time, but I decided to try some freezer paper on the top to see if it would help to preserve the fabric underneath a little longer before needing another layer.

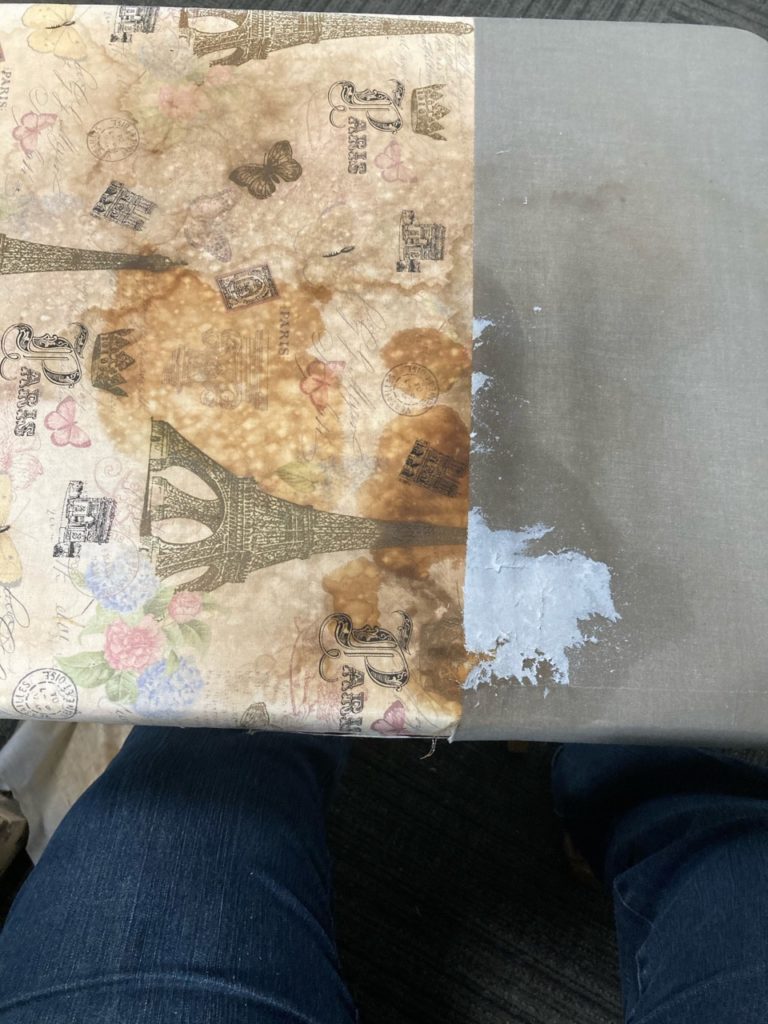
You can also see along the left side of the paper, the discolored fabric underneath.

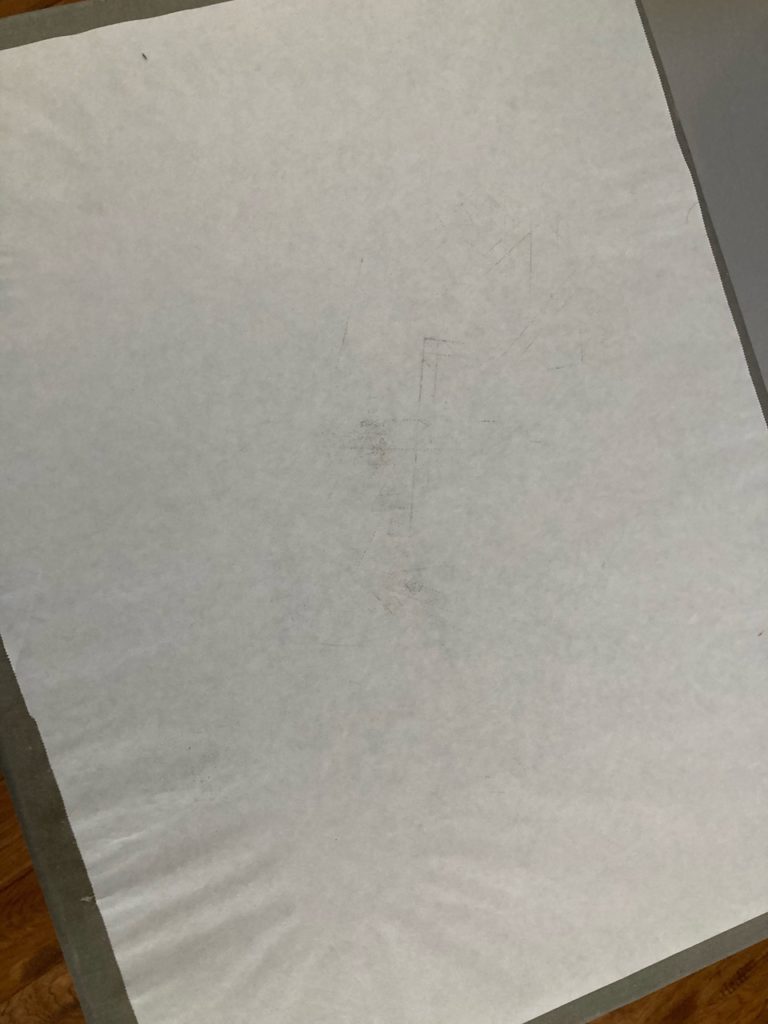
You can see here the freezer paper is showing some marks on it.  A bit of ink that transferred from a home printed piece of newsprint for paper piecing…a bit of scorch mark from high heat…a bit of paper shrinkage from being steamed during pressing. 

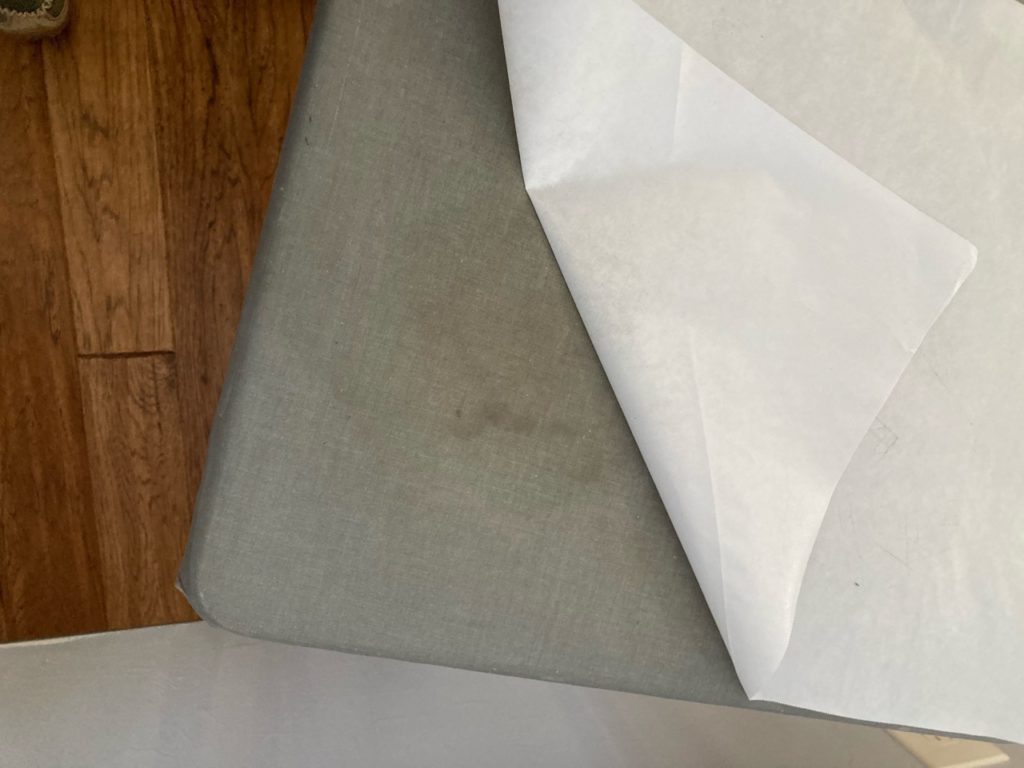
Up came the paper to this point, but just one more pull on the paper revealed the degraded fabric underneath.

I decided it needed to be replaced, so out came the gigantic roll of freezer paper that only comes in one size and will last two lifetimes.  I cut a piece to replace the old, and proceeded to remove the marred sheet from my little pressing table.  Unfortunately, the paper also brought up a spot of the top layer of fabric.  Hmmmm…time to investigate.

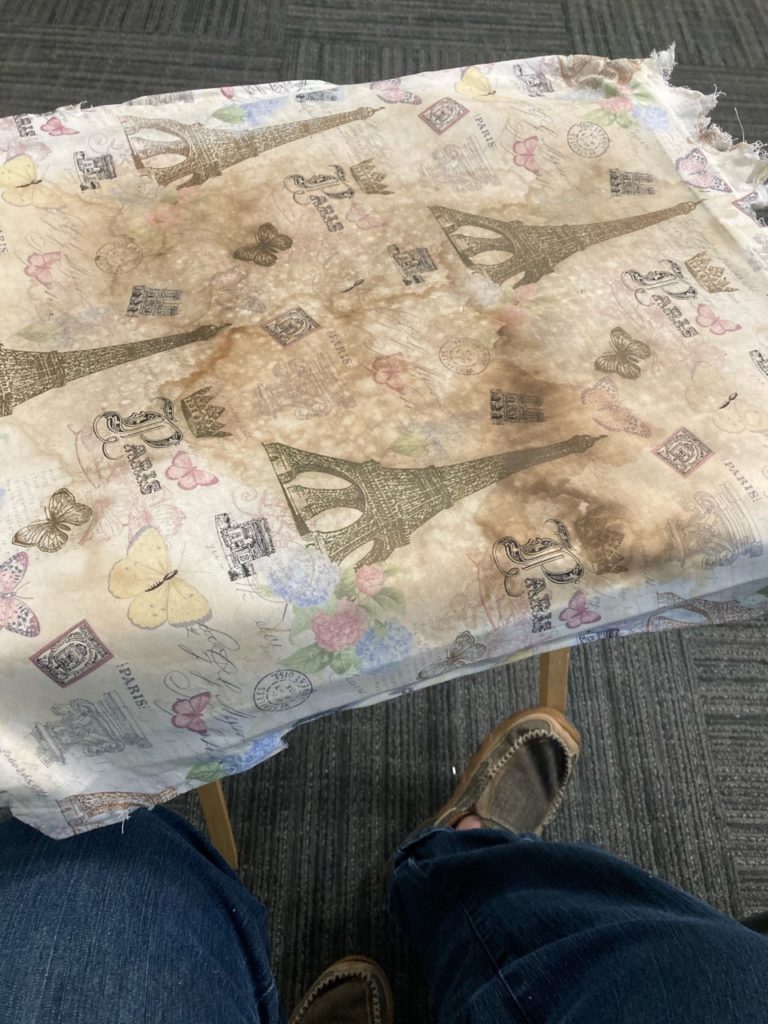
I found the top fabric had begun to basically rot. Rot?!?!  Nah…..that couldn’t be…rot comes from moisture and other unsavory conditions.  But it was damaged none the less, and had to come off.  Then I saw the layer underneath. Yuk!!  

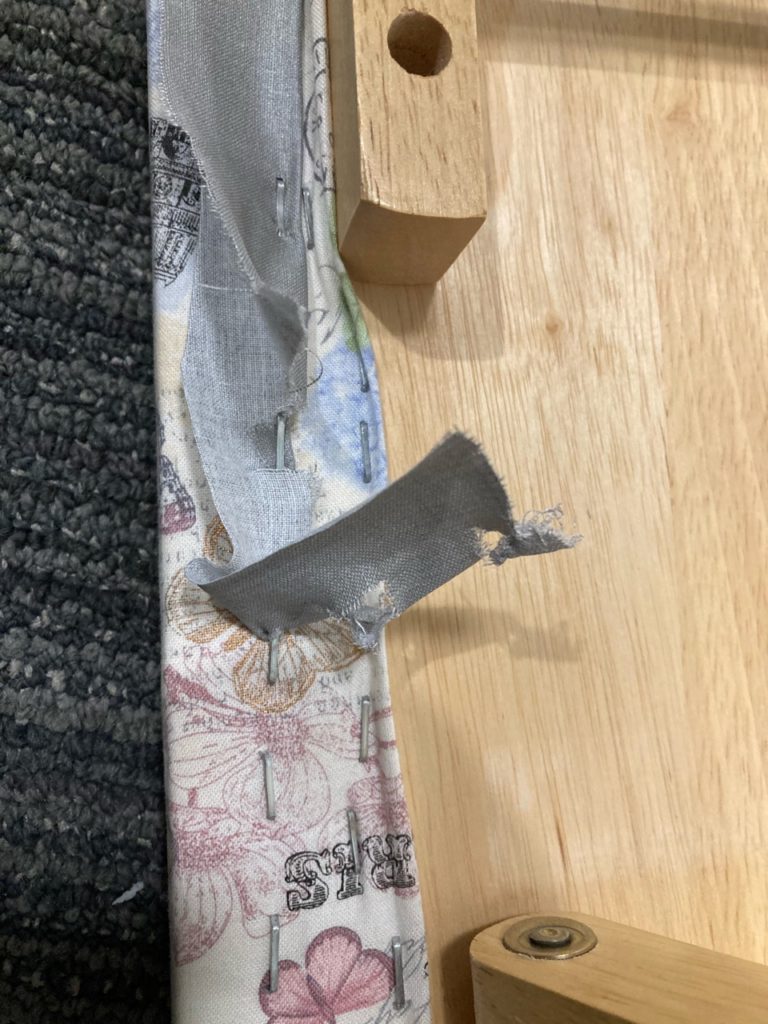
More tugging and pulling of the top fabric revealed the next layer down. Not very pretty at all. I really loved the initial layer of fabric. But it showed scorch very quickly, which led to the second layer…the practical silver ironing fabric came into service. What’s surprising is the ironing fabric is quite thin compared to regular cotton. But it outlasts regular cotton for heat reaction.

So, after some ripping and tugging and pulling on both layers with not much success, out came my tools and I began the process of stripping down the old and replacing it with the new.

Brute force just didn’t work. I need some tools!
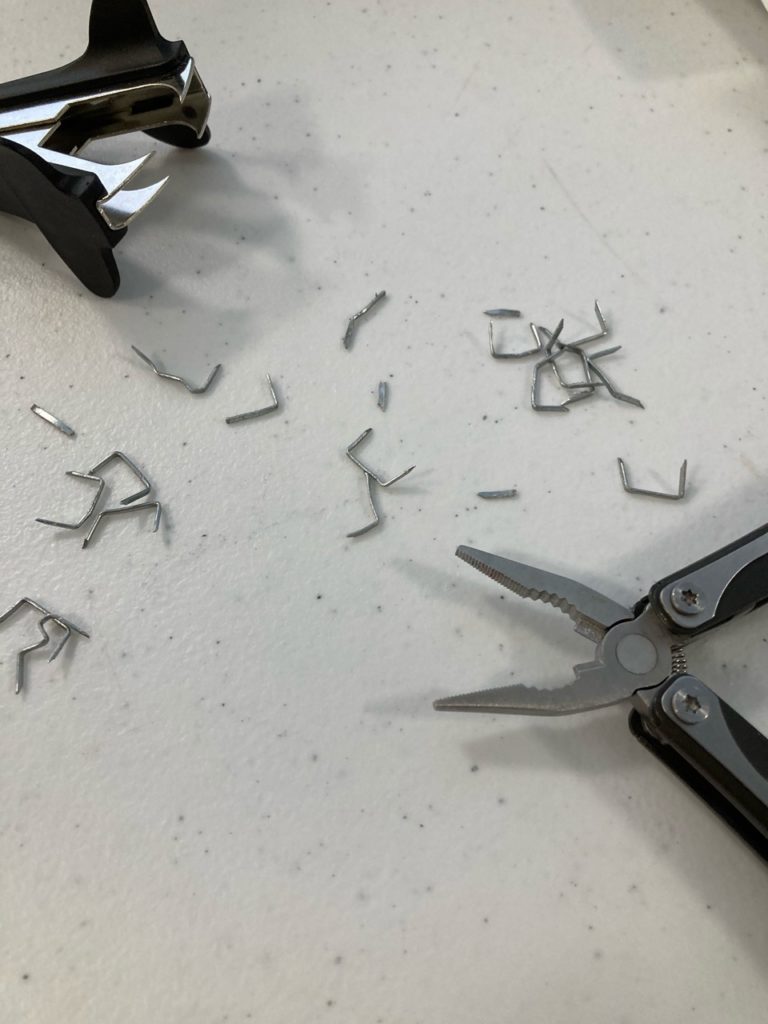
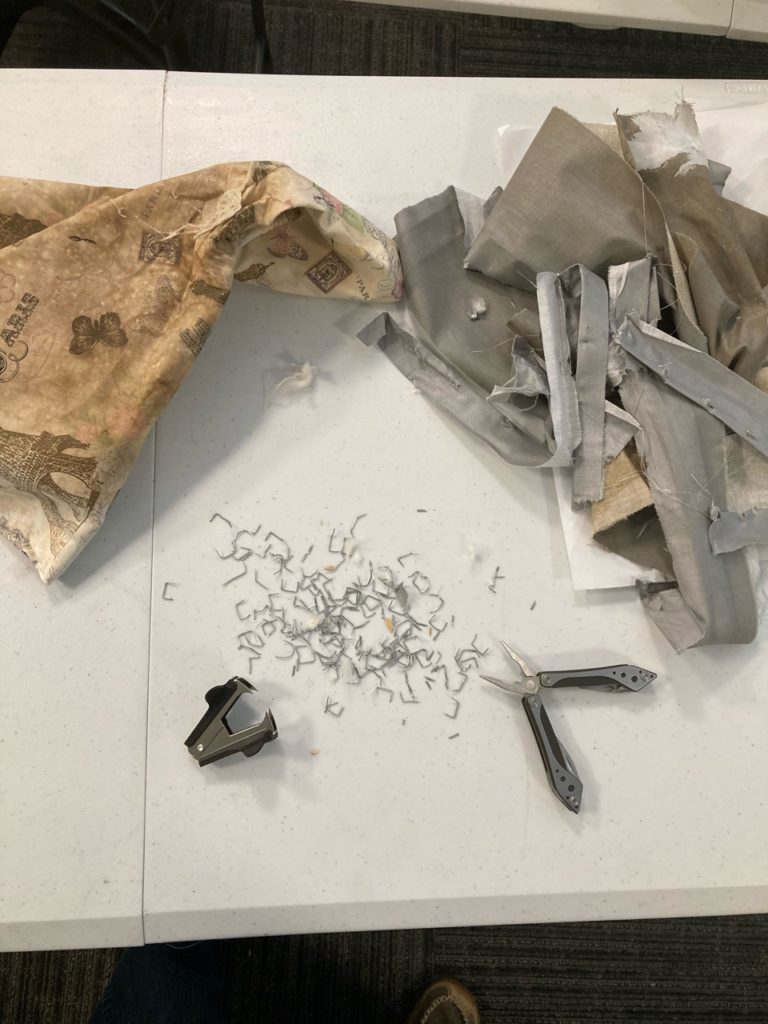
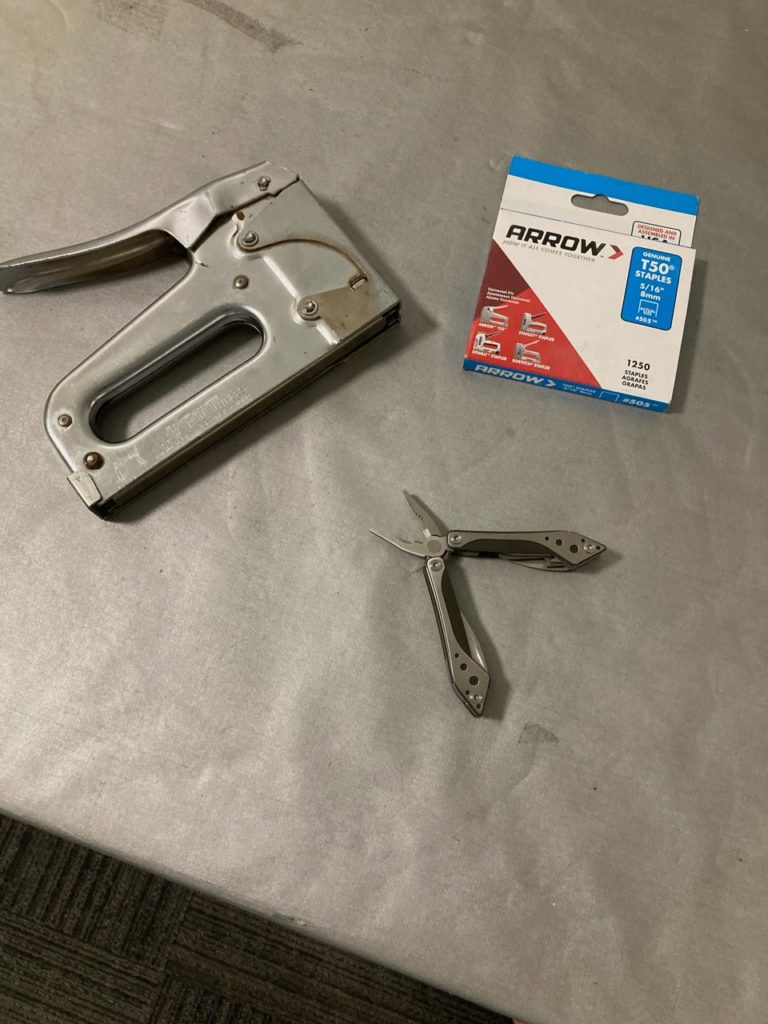
Here are my basic tools for this step of the job. Nothing fancy. The staple puller helped in some places to get the staple separated from the fabric a bit. And my personal little Leatherman. Just the right size for my hands. No…I don’t need pink tools. But I do need them to fit comfortably in my hands. These two worked pretty hard for the morning.

The steps aren’t complicated, but they do take some effort.  

Sometimes, the staple pullers just couldn’t get close enough to the staple due to the frame of the table. So, I just grabbed the edge of the fabric and gave it a good pull. That loosened the staple nicely.
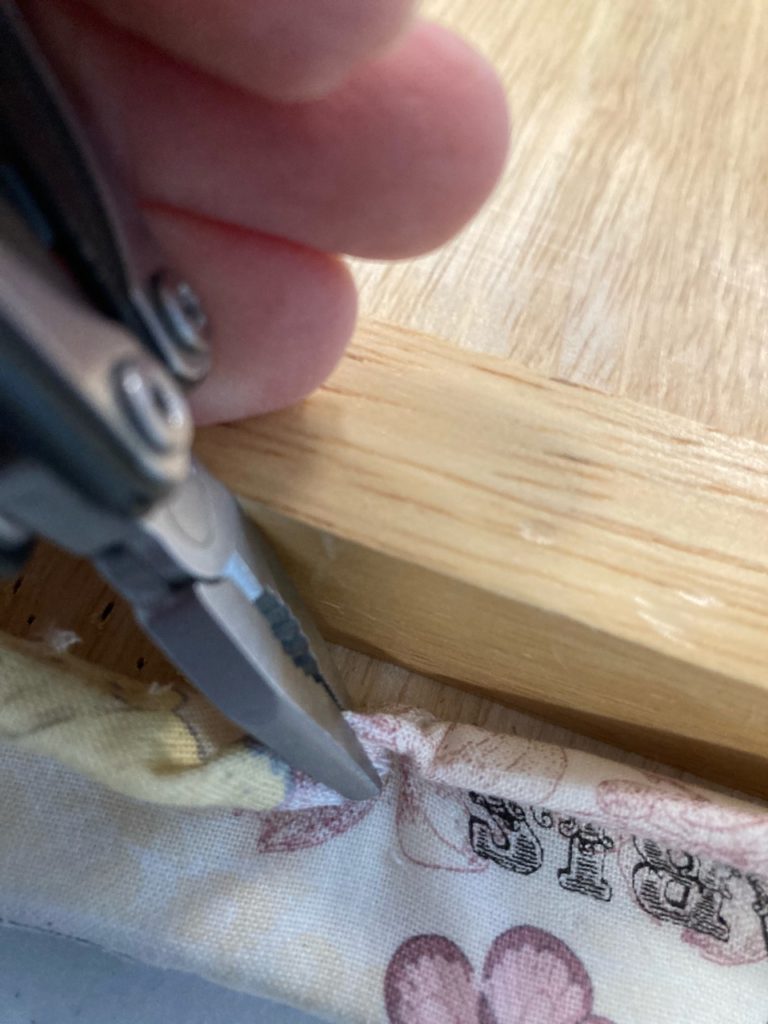
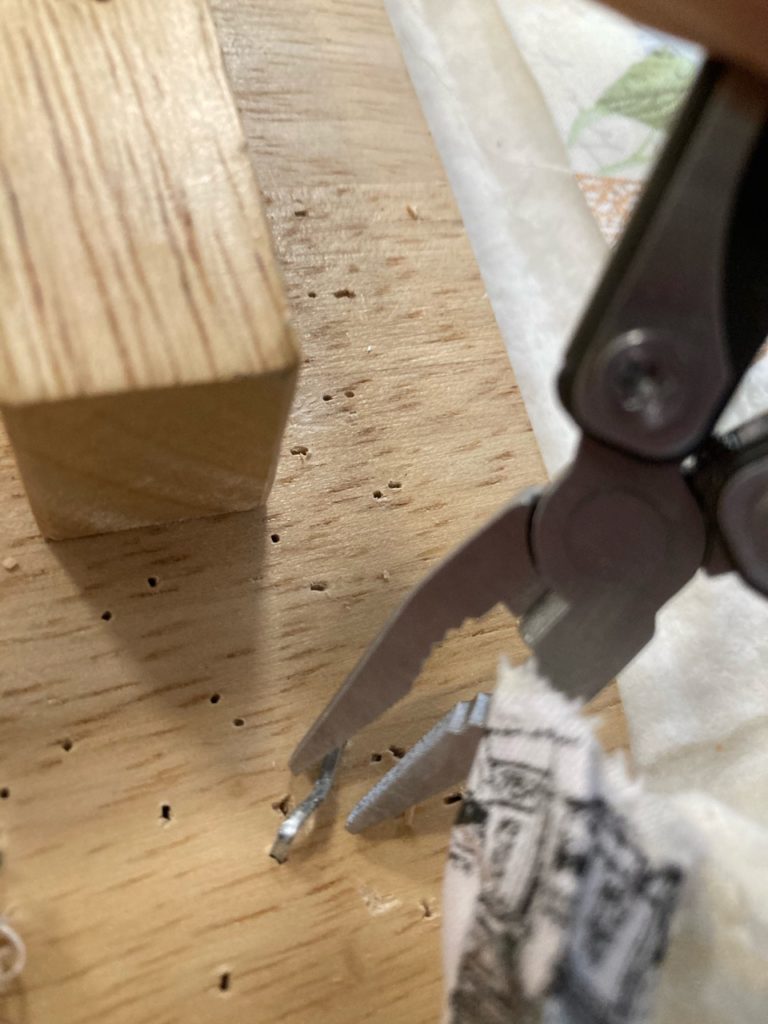
Sometimes, the fabric just came right out and left the staple behind. These got a good tug. And sometimes they broke off. But I was able to grab hold to the broken portion and pull it out with the pliers from my Leatherman.
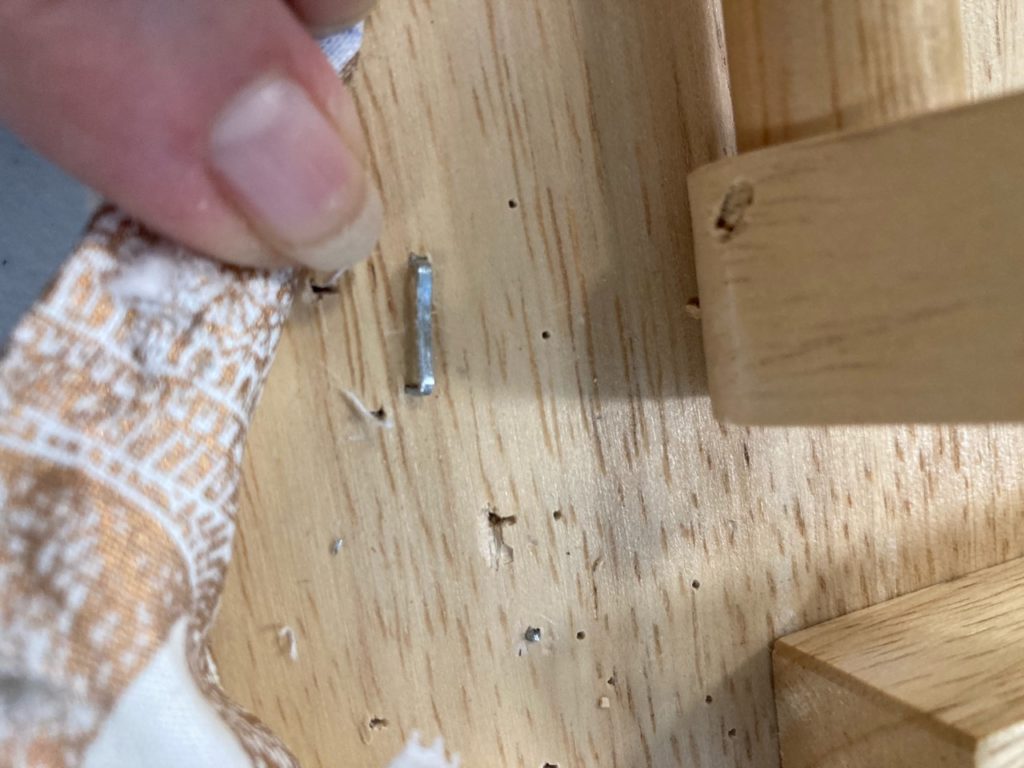
You can see a broken piece here in one of the staple holes below and to the right of the staple I’m pointing to. It’s good to get these out too so there are no pointy surprises as you work.
Off with the old!
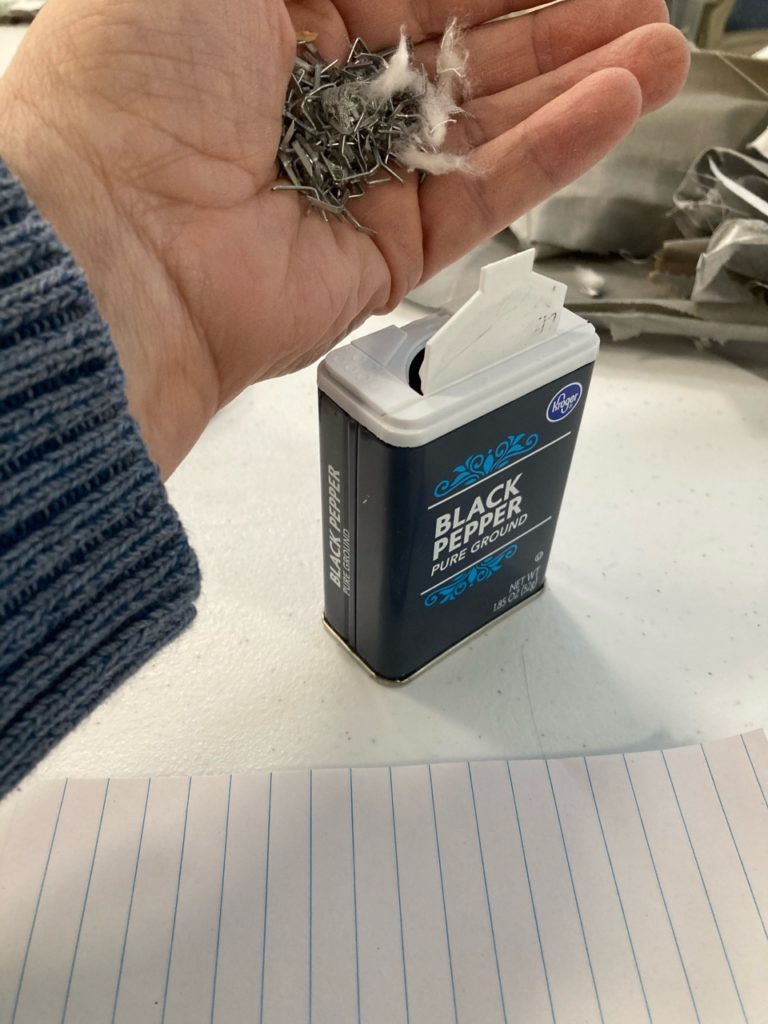
The rewards of my hard work. Trash bin for the fabric and into my little “sharps” container for the staples.
Yep…it’s a recycled spice can. They don’t make official “Quilter’s Sharps Containers”. And if they did, it would probably cost much more than I’d pay. Just like baby furniture seems to be twice the price as regular because it has the word “baby” in it. So I’m frugal. Besides, every penny saved is a penny used to buy more fabric!
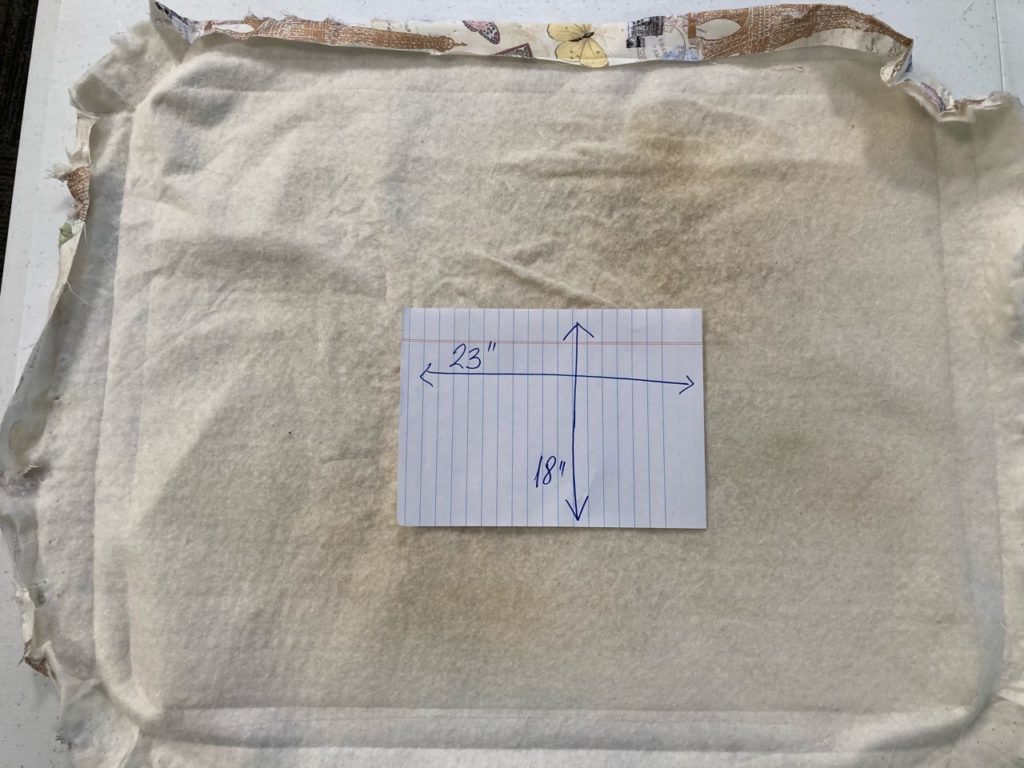
But before this heap of ick went into the trash, I got the measurements for it’s replacement.
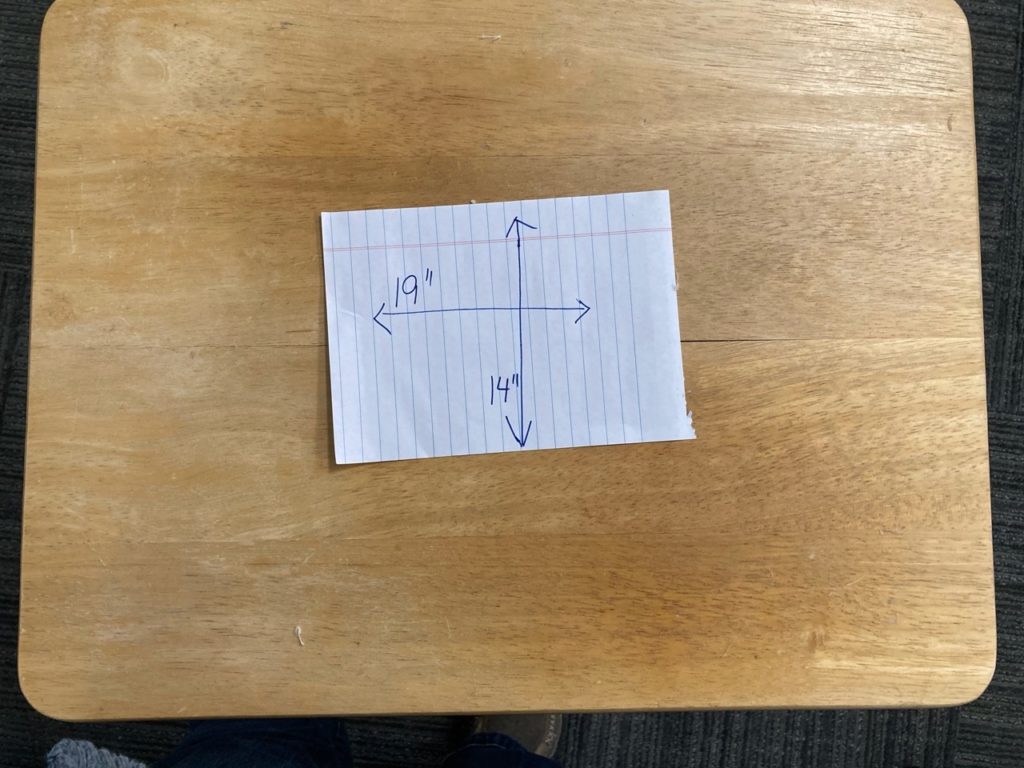
And just to make sure I was doing it right, I measured the top of the table. Now I know the fabric to cover the table top and wrap around the edges needs to be about 4″ larger than the top surface.
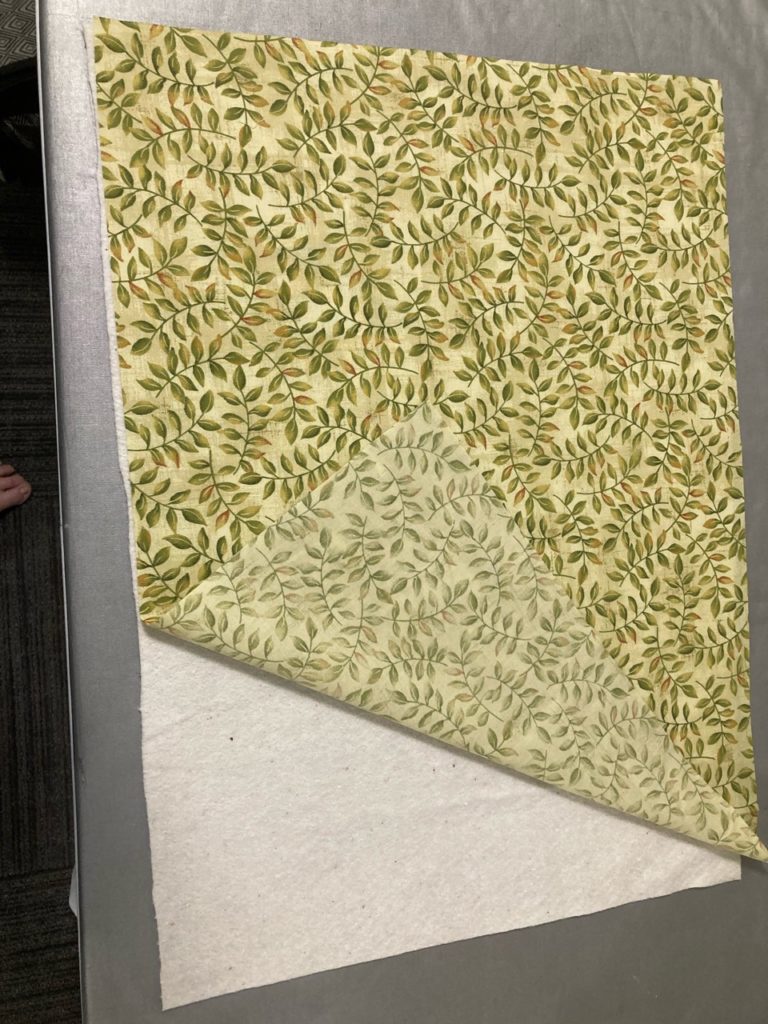
Here are the layers that will replace the old covering. A piece of 100% cotton batting and regular cotton, both cut to 23″ x 18″ .
You’re going to need a staple gun like this for the next step. I’ve made sure to show the size staples used in this project too. Too long and the staples can poke out the top, and too short they won’t be able to hold the fabric very well. lol…ask me how I know. 😉
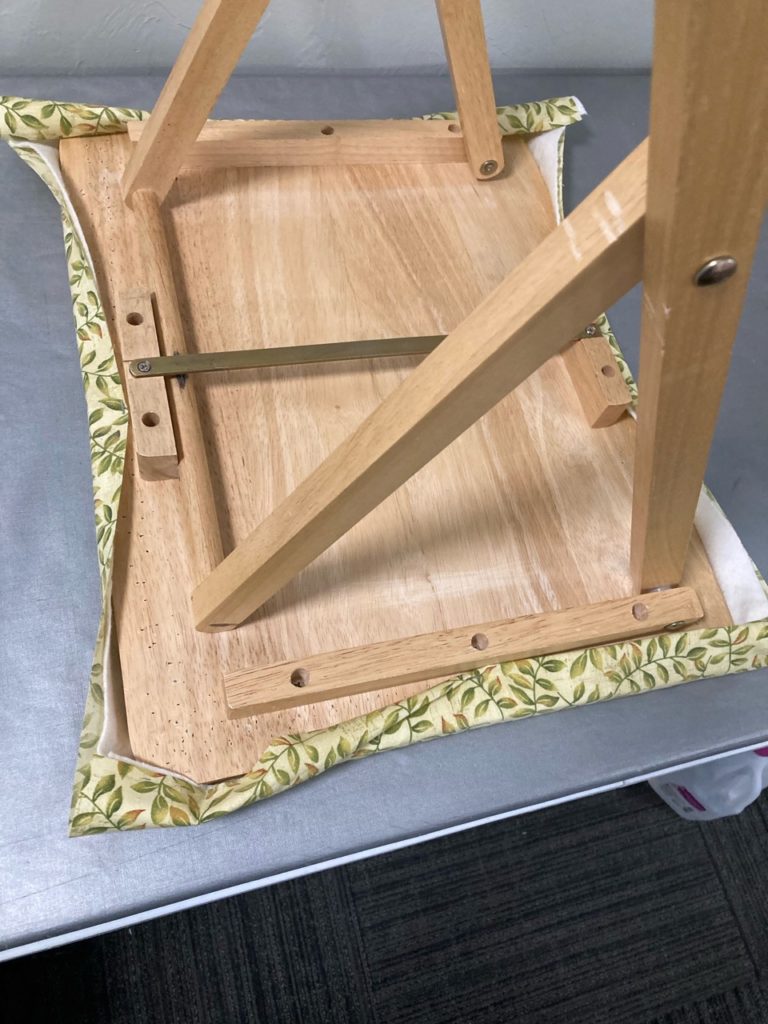
Now comes the fun part. Turn the table over and center it on the fabric, making sure there is equal amount of material to pull over each edge. Start by placing one stable in the center of all four sides.
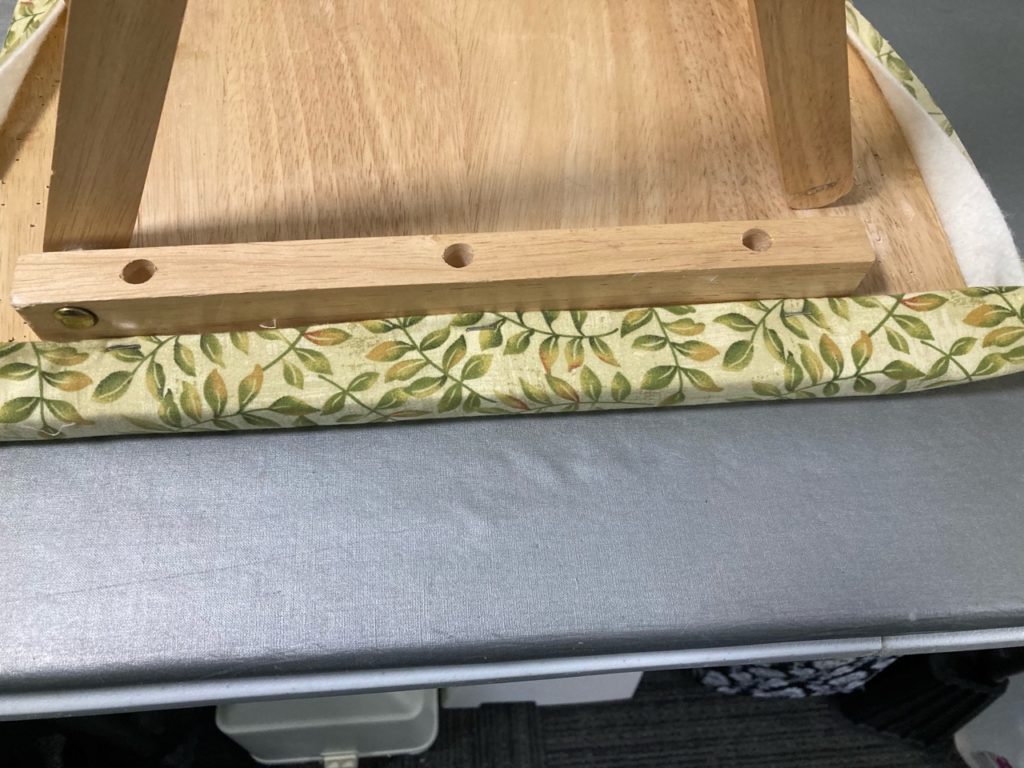
Next, go around each side again and put a couple more staples in spaced equally. Make sure to gently pull on the fabric to make sure it is taut, but not distorting the other sides.
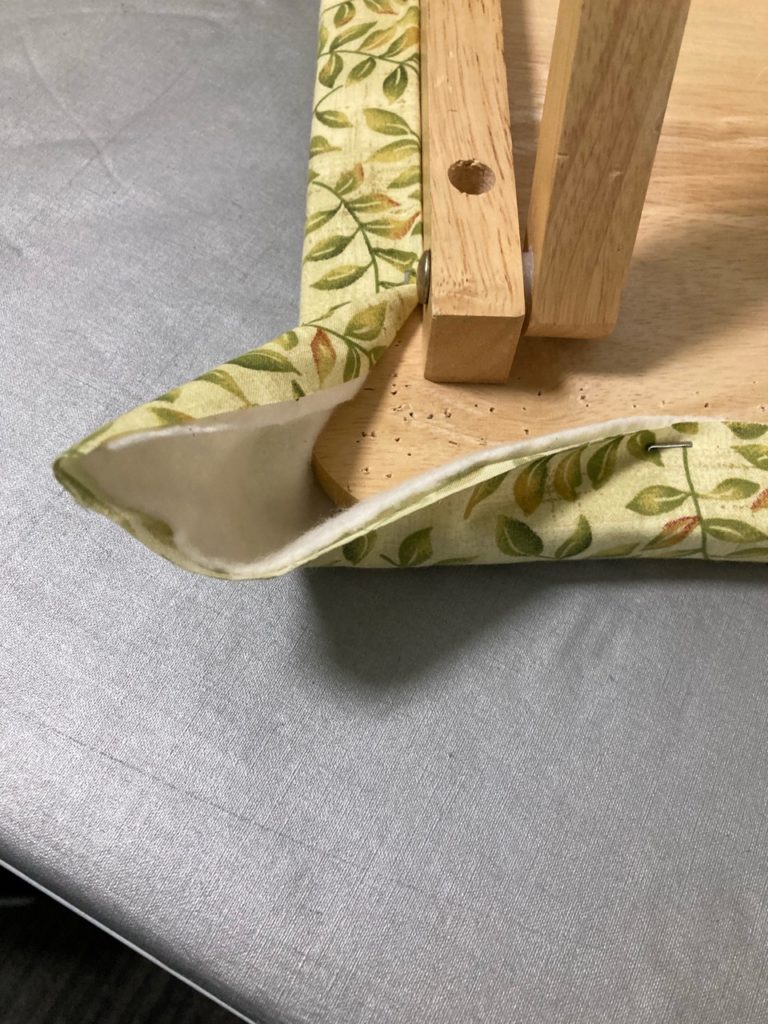
Corners are next.  Trim off excess fabric to keep from accumulating too much mass for the staples to pass through and get a good bite for holding in place.  There’s no magic to the method of making a tidy corner.  I just approach it like the wrapping of a present…it’s easy peasy.
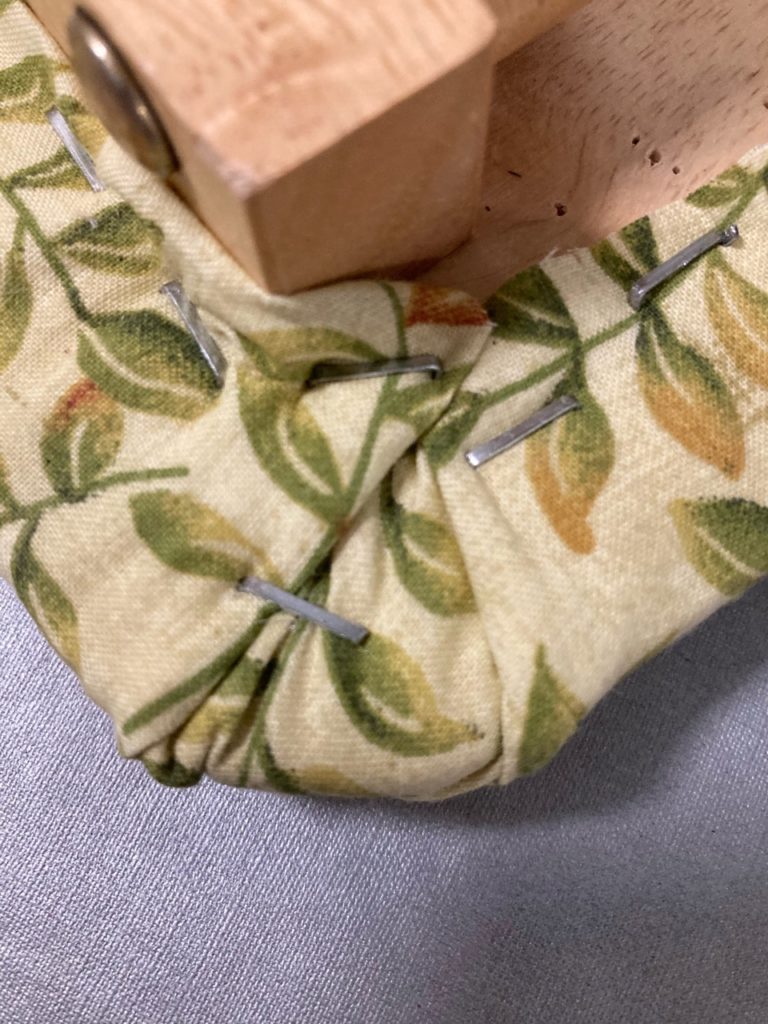
Here’s my first corner. It’s tidy enough and doesn’t need to be any better than this.. And just so you know…each corner is a bit different from the last. That’s ok with me. I just need it to be done well. Finished is better than perfect.
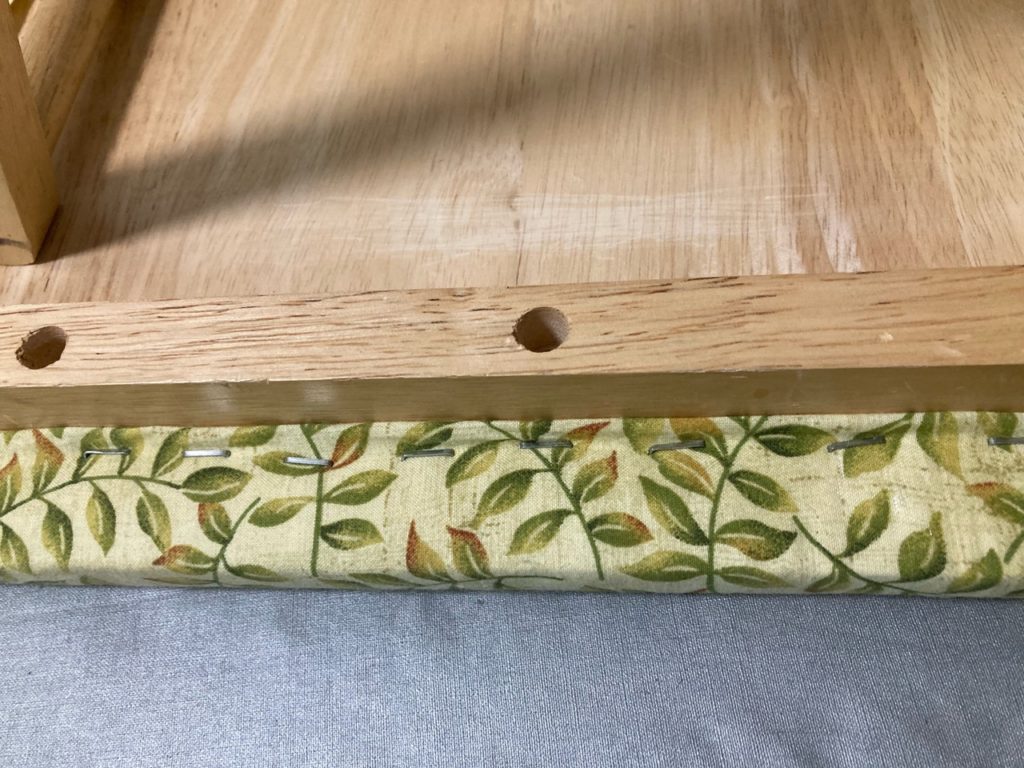
When the corners are all done, then I go back and fill in staples all along the edge of the material. Again, making sure the fabric is taut and secure.

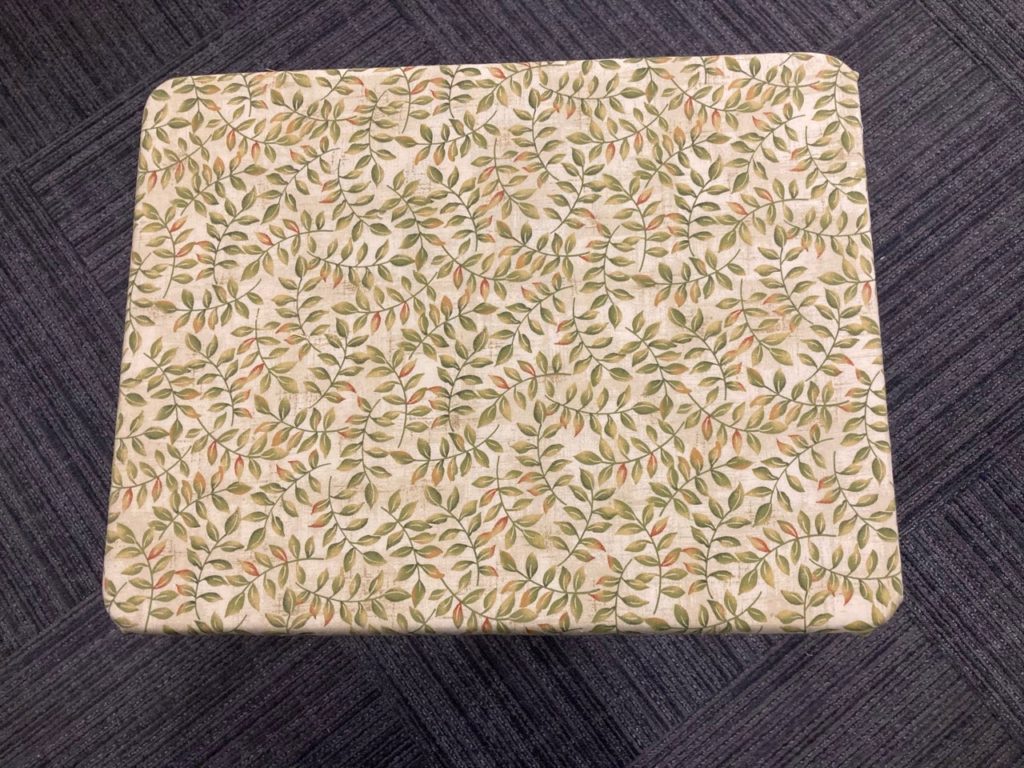
Ta-Da!! Here’s the finished ironing board. I’ll still be adding a sheet of freezer paper to protect the new surface. But for now, I’m enjoying the fruits of my labor.

Thanks for coming along on this mornings bunny trail!

Until next time, may your bobbin never be empty!