It’s time to get back in the saddle of blogging. Believe it or not, I’ve actually missed spending time at the keyboard. Part of my absence was due to the final push to get everything ready for the kick-off of Great Escape Quilt Camp. But the other issue came from the failing (failed) graphics card in my laptop. With only so many hours in a day, and each day’s list being longer than 24 hours worth of work, prioritization had to take place. I’m happy to say that I’m back up and running on a different machine and these fingers are flying along with more stories to tell and beautiful quilts to share.
Even during the past 4-week push of readying the house, I still held classes and met with customers for their long arm work. I bet you’d like to see some of the snap-shots taken to share here on my blog.
Shall we begin?
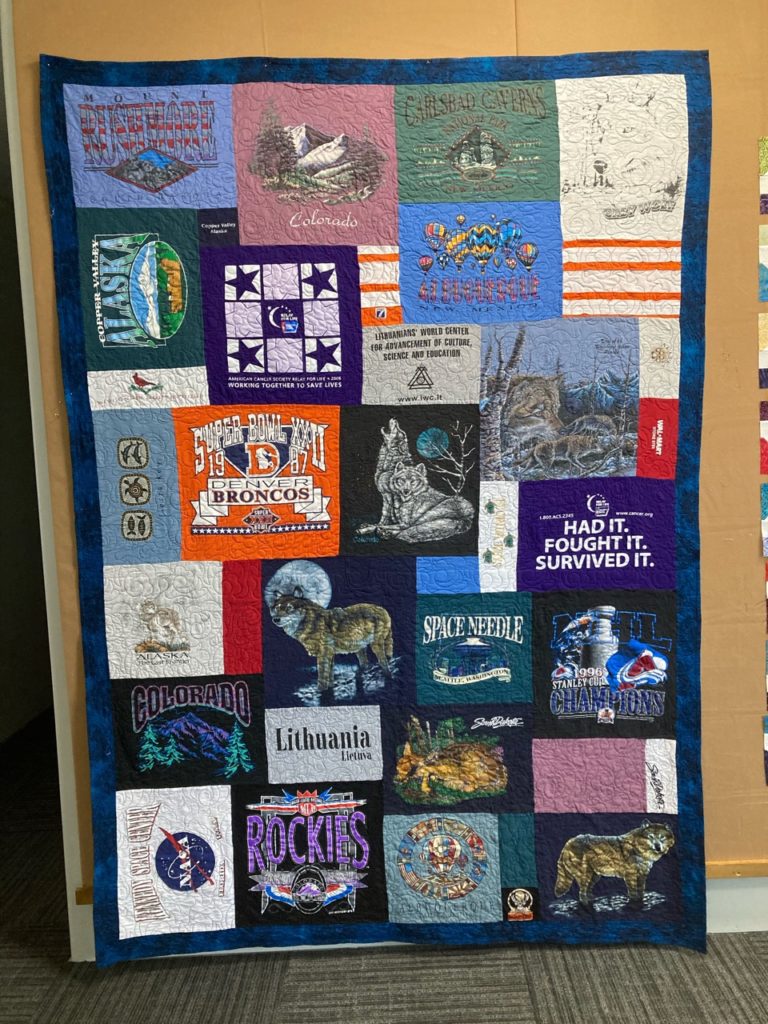
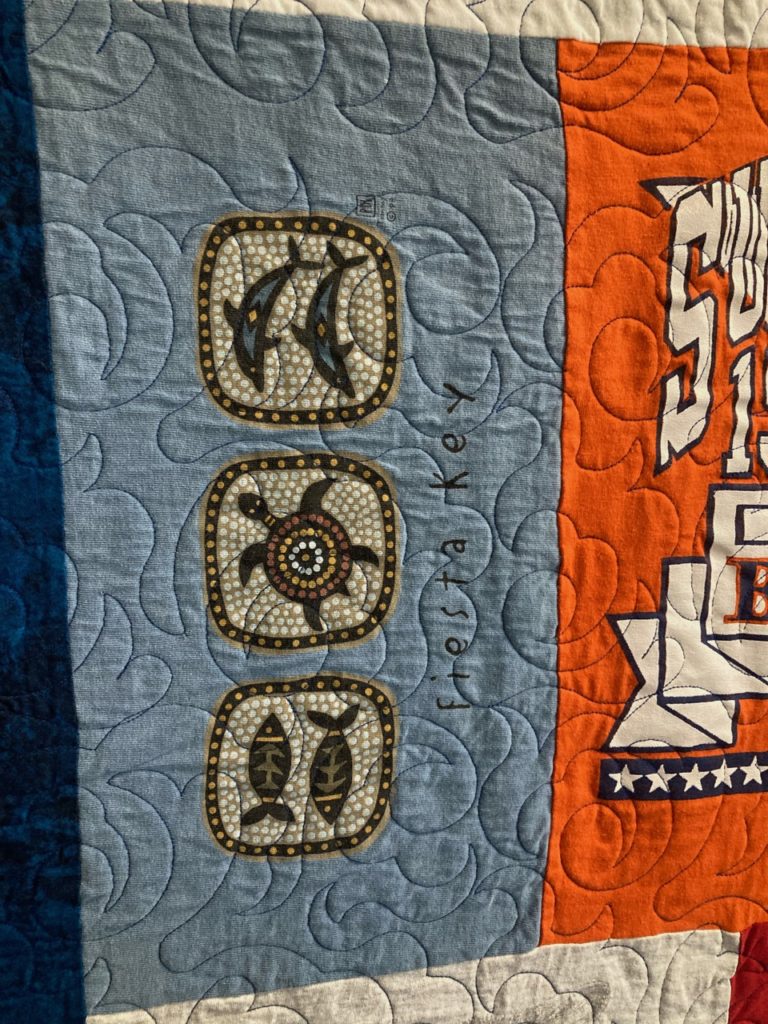
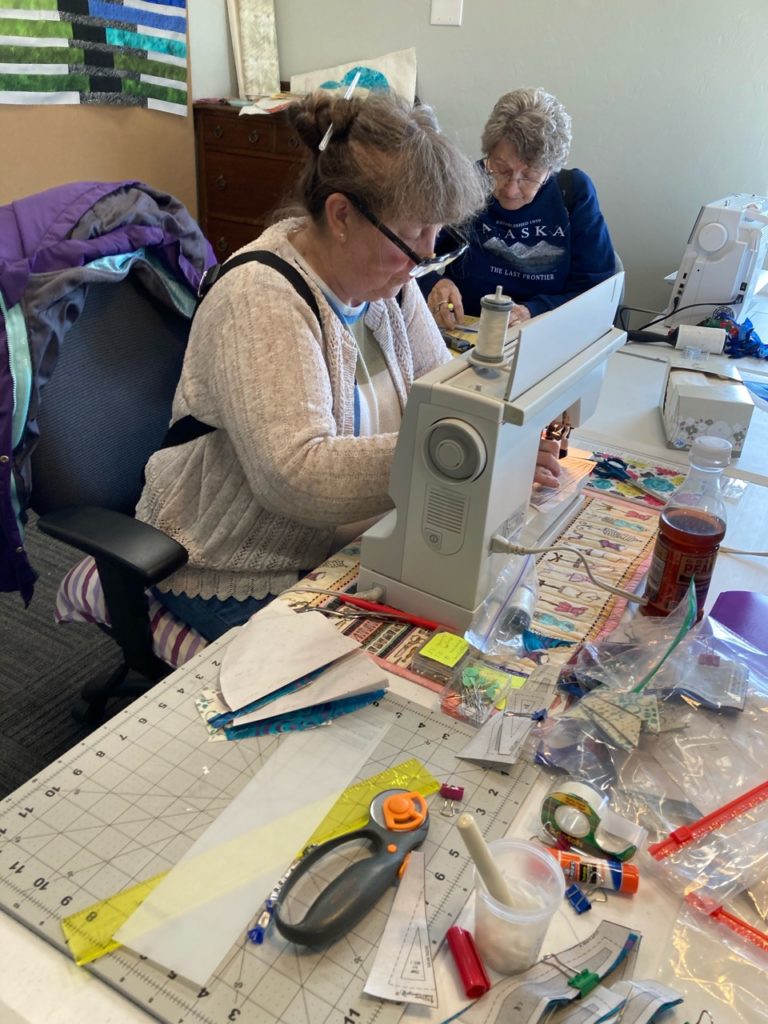
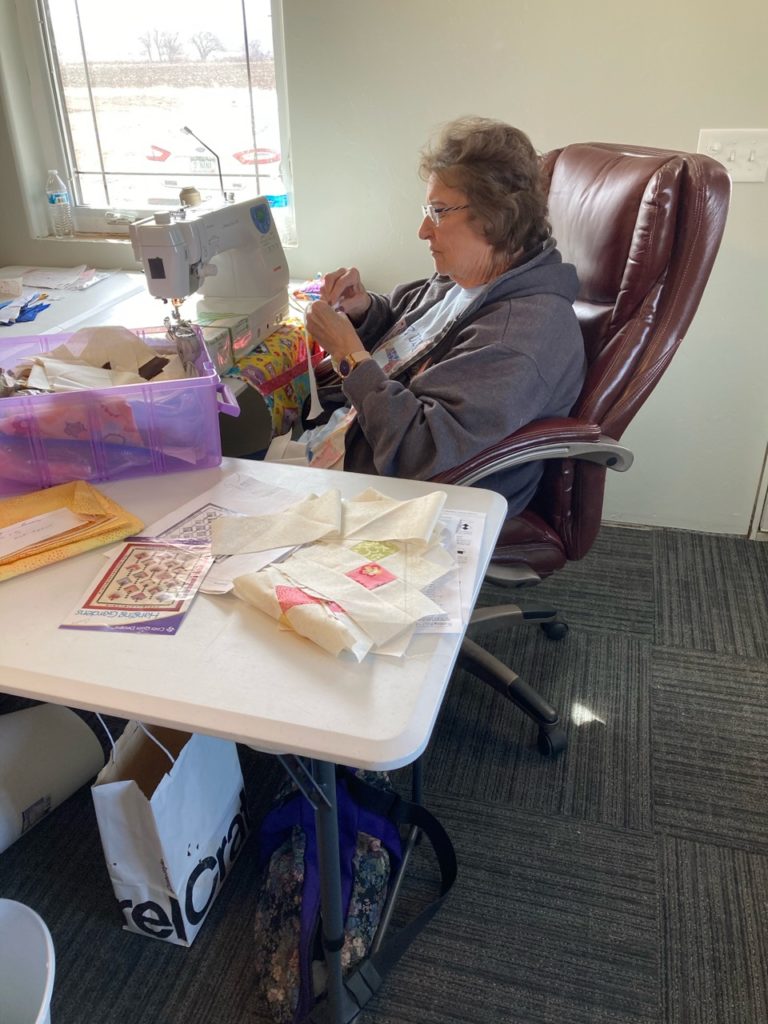
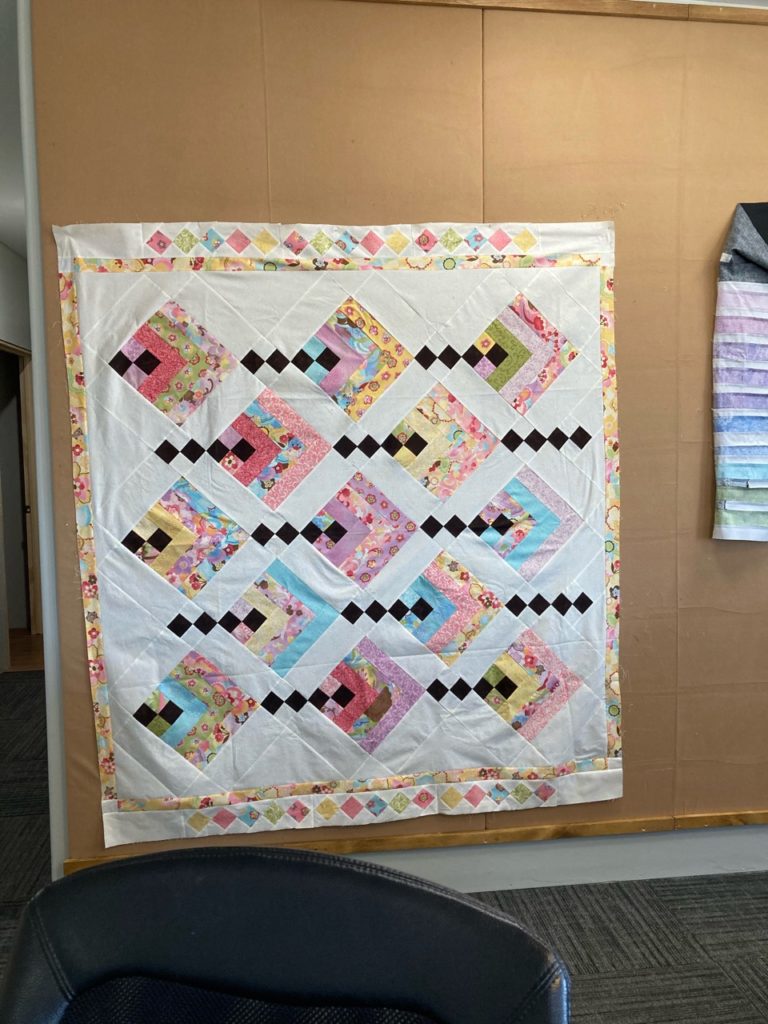
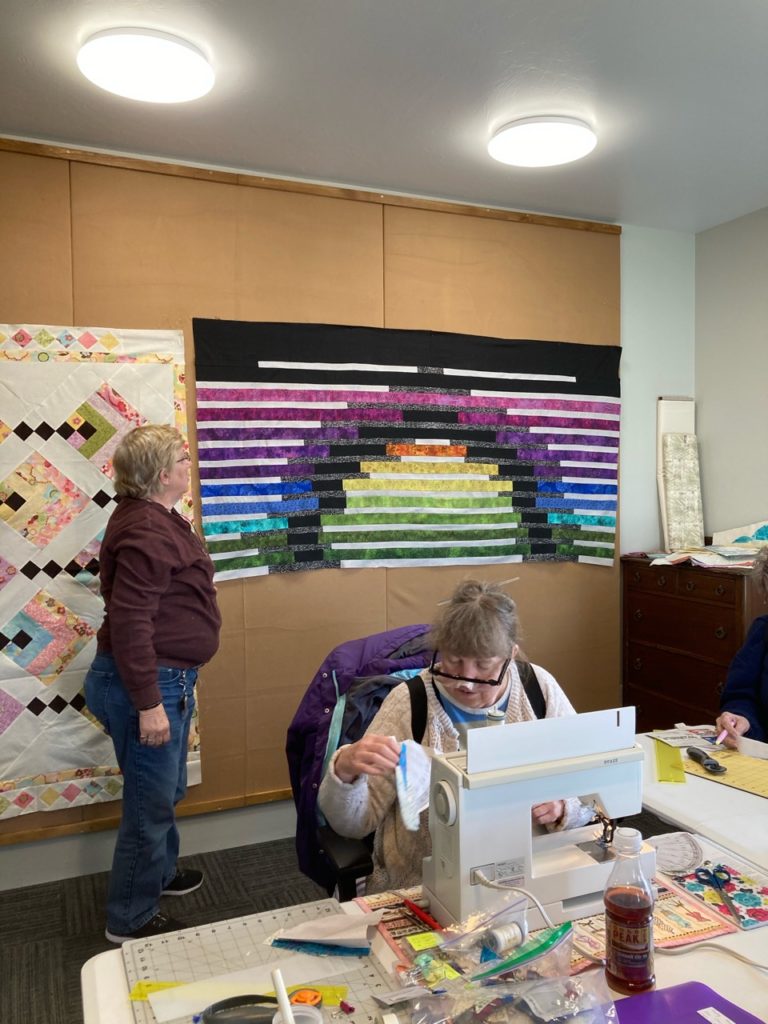
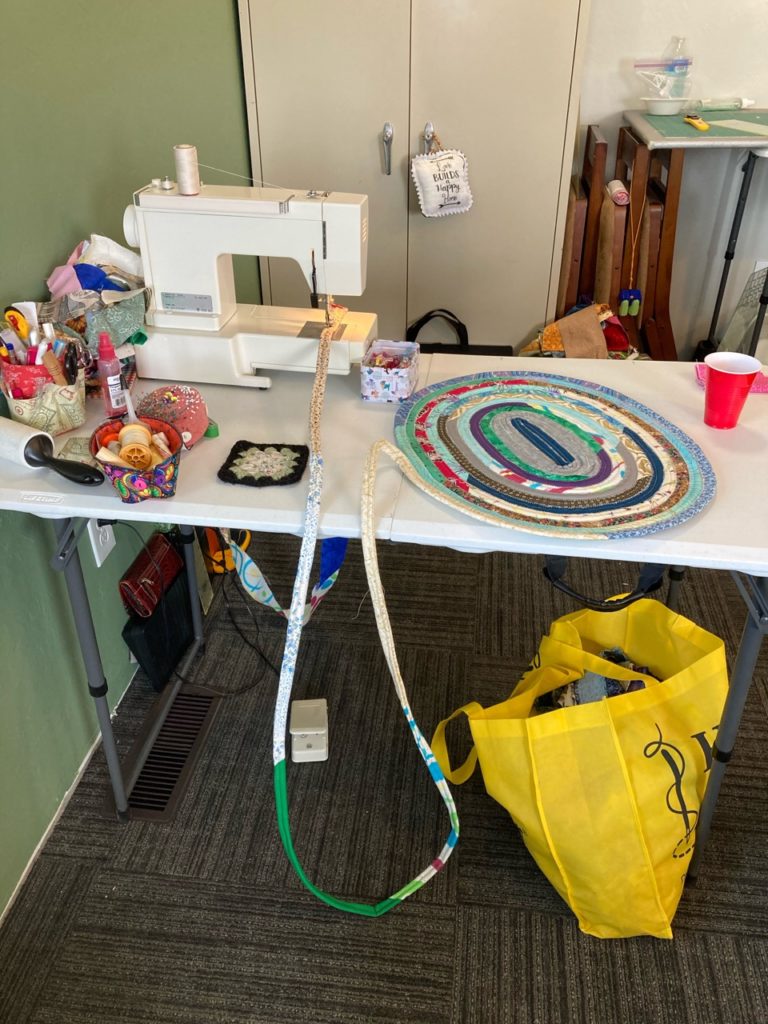
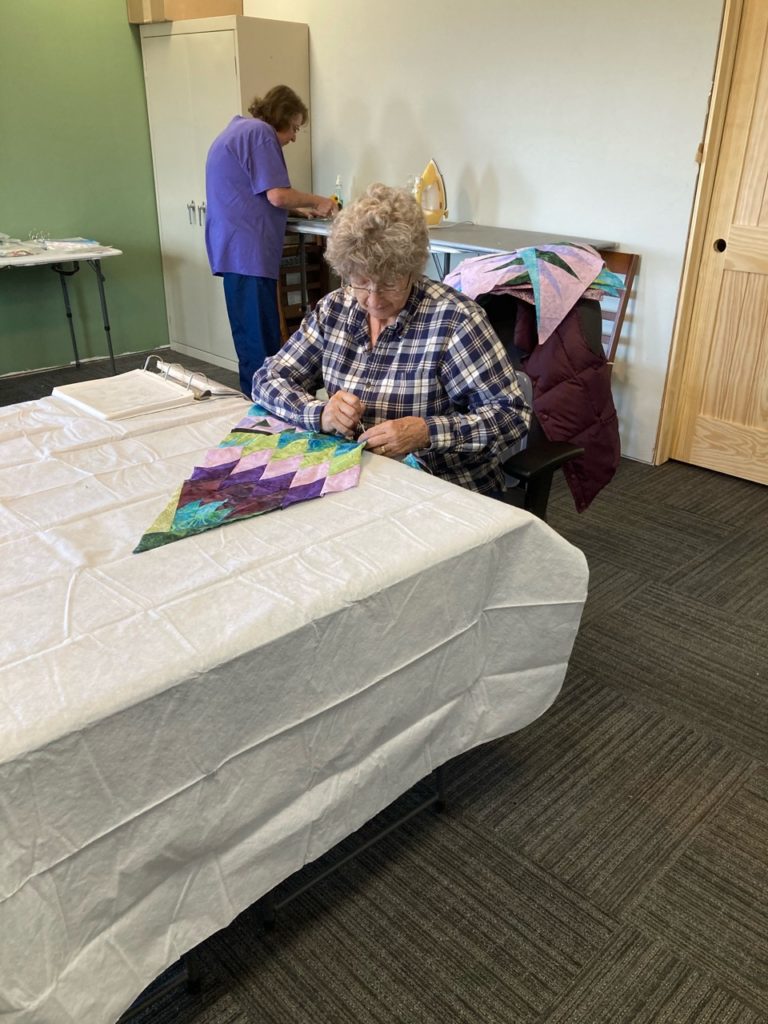
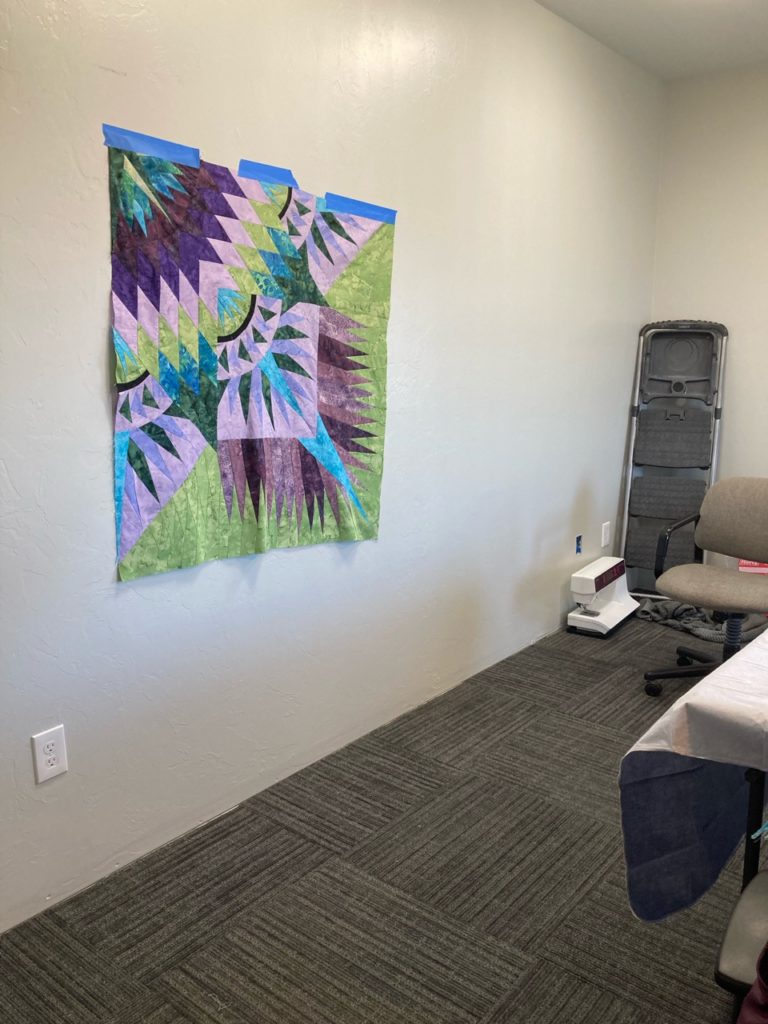
Remember when I showed how to smooth the seam of a fleece backing? Well, now that this beauty has been received, I can show you the top. The fleece was the backing for this t-shirt quilt for my parents. It’s now living in Florida with them, and all these t-shirts were acquired during their years as full-time RV’ers. Lots of fun memories for them saved into a useful and cuddle-worthy quilt.Just a close up of a shirt block and some quilting. Turtles and Florida, along with wolves and Alaska seem to be among the favorites!Another Mission UFO day here. Valarie working on her Rocky Mountain Bear Paw, and Jean working on her Prairie Star, both are Judy Niemeyer patterns.Here’s Cindy working on the borders of her Hanging Gardens.And the Hanging Garden, hanging sideways to make it easier to reach the remaining sides while on the design wall.Vicki has just put her project on the design wall, Rainbow of Jewels–Mirage Quilt, by Laurie Shifrin. It’s a real eye catcher!And last but not least, here is my work station. I’m using up a stash of strips and turning them into area rugs for the bedrooms. A long process (hahaha, pardon the pun), but it is so nice to have some scrappy rugs that can take a lot of wear.
I think that sums up the rest of the story for the quilt related events happening to date. I’m really looking forward to sharing more and more of the exciting work being done by my students.
Stay tuned! Beautiful things are about to show up!! Until next time, may your bobbin never be empty
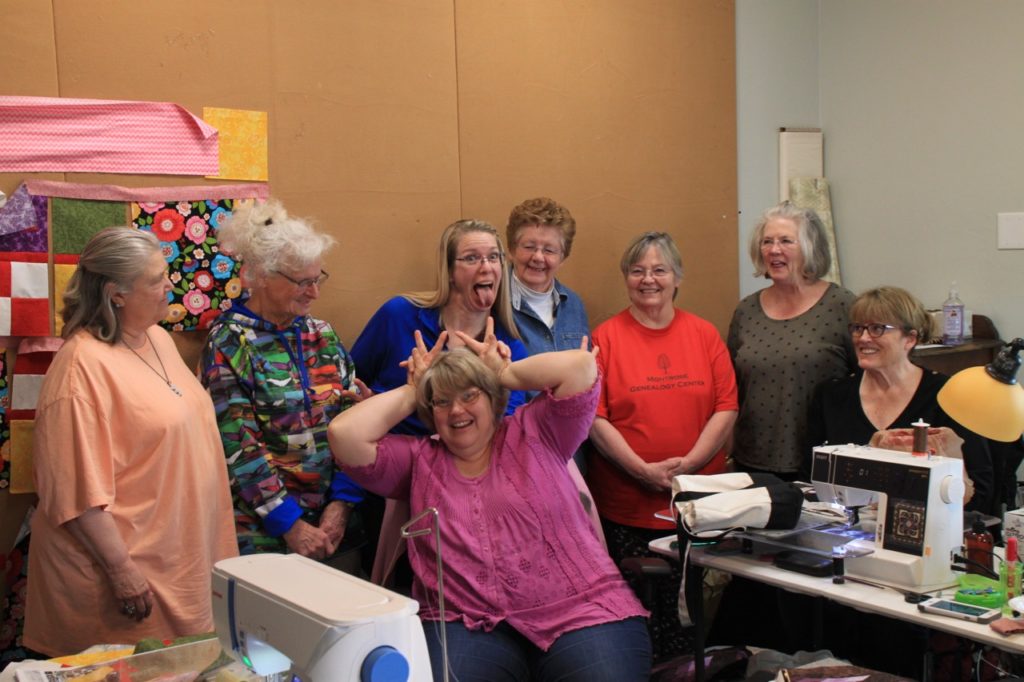
It happened! The day that Gary and I have been working towards for nearly 4 years happened on Friday!! Our very first Great Escape Quilt Camp event began on Friday morning at 9:00 a.m. sharp, and concluded on Sunday afternoon at 4:00 p.m. ….’ish. All the hard work, the worry—the excitement—the stress—the planning—the culmination and success of the event, has been accomplished.
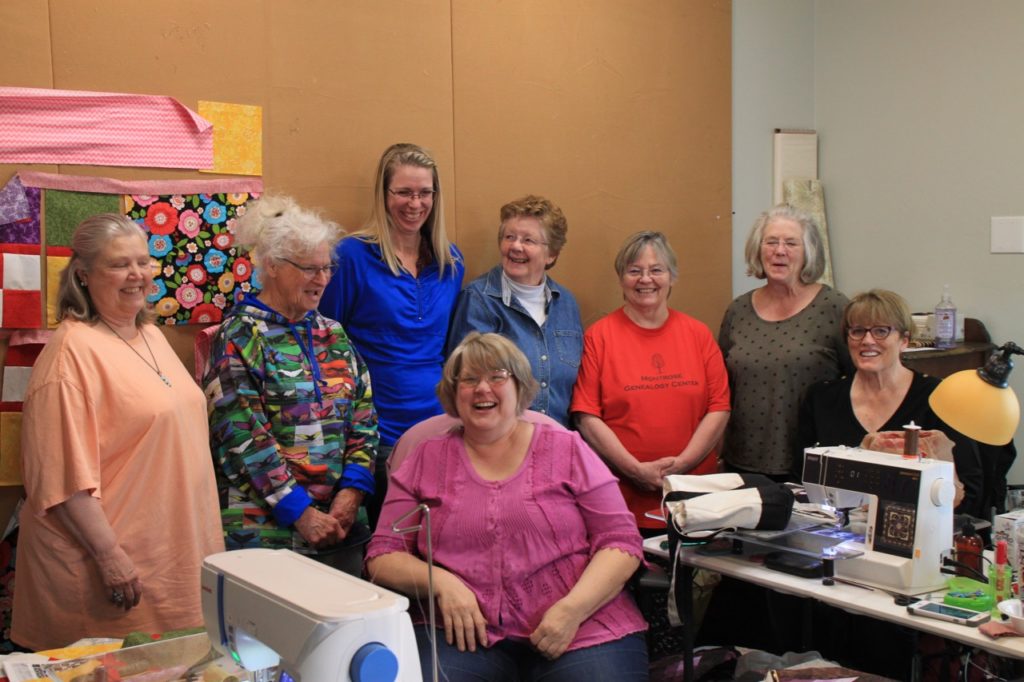
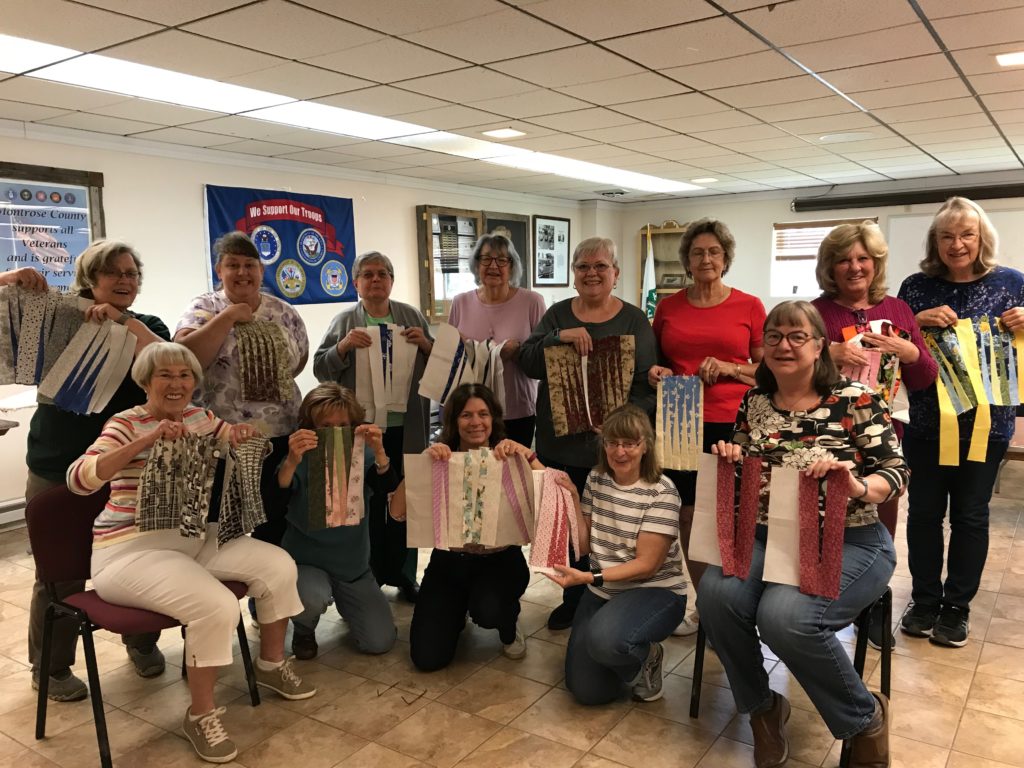
Here we are, cutting up before the “serious” group photo. Amazing women, one and all!
Let me tell you a bit about our weekend. To say it was a good time, just doesn’t paint a large enough picture. We had 7 wonderful women attend our camp to christen Great Escape, each of them bringing their own specialness to the blending of humor, insightfulness, camaraderie and caring. Their backgrounds and occupations varied from farming to nursing and everything in between…and I mean EVERYTHING in between. Their ages ranged from 30-something to 70-something. But the one thing that was a constant between them all was their love and passion for quilting. From novice beginner to quilting professional, we had them all at camp. Patterns worked on ranged from Judy Niemeyer and Jenny Doan, to Jacqueline de Jonge and various patterns from magazines. The blending of their personalities, their talents and their humor brought only one outcome… an experience so good, they all stayed until the very end of the event.
Now, I’ve held several retreats in the past 7 years, and at all of them, there were always ladies that would begin leaving as soon as breakfast was over and the rest would trickle away as the day progressed. But Sunday…they lingered, and stayed longer, and left within minutes of each other.
When do you know that you’ve finally found the work you’re meant to do? I believe, it’s when your goals are completed and your dreams are brought to life. How do you really know it’s the right one? For me…it happened the first night of the retreat, when I was in the kitchen working on dinner and I listened to the sounds coming from the classroom. There were the usual sounds of sewing…the machines, the rotary cutting and sounds from the irons. But what laid over all those sounds were not the quiet voices of women hard at work, but the sounds of laughter, sharing of personal stories, praise and encouragement for projects being brought out, and life stories shared. That humming of beautiful noise made my heart swell, and that’s when I knew…”we had arrived”.
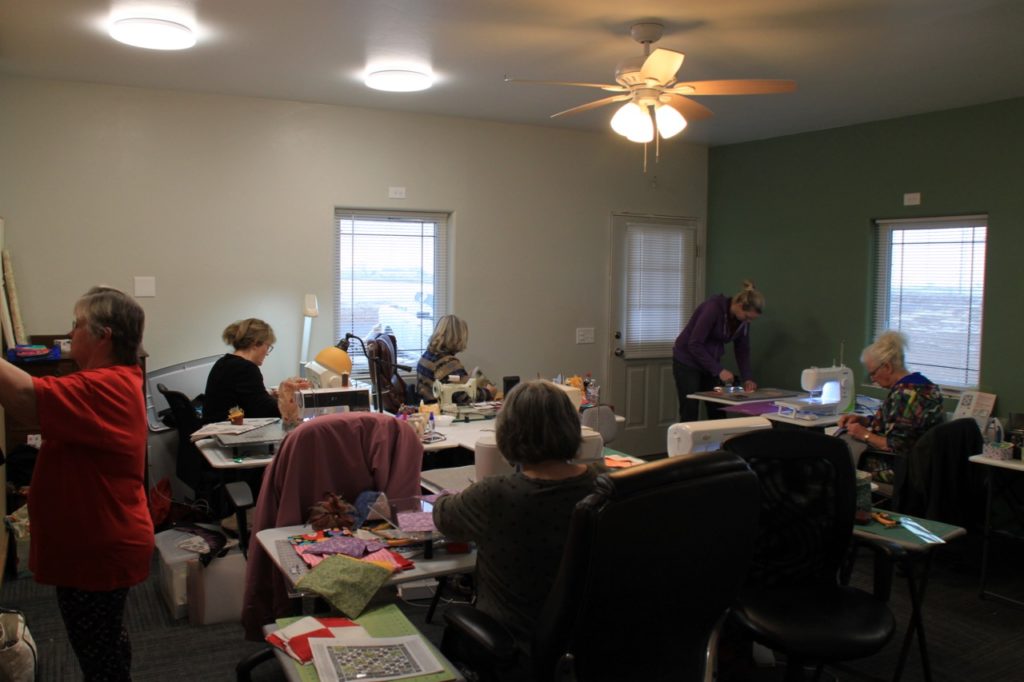
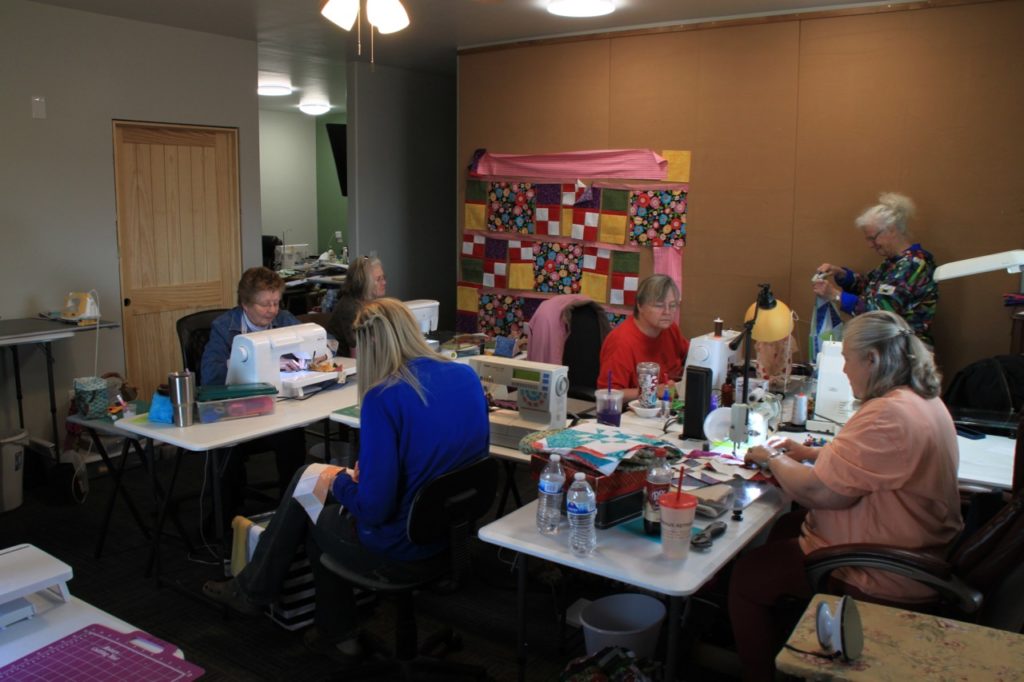
A quick photo of the classroom with everyone hard at work. Projects were coming together in a beautiful way. But what the picture can’t show is all the conversation that was buzzing amongst them all.
So, without further ado, let me share with you some of the wonderful work that was being accomplished over the weekend. You will be amazed and impressed. I know I was.
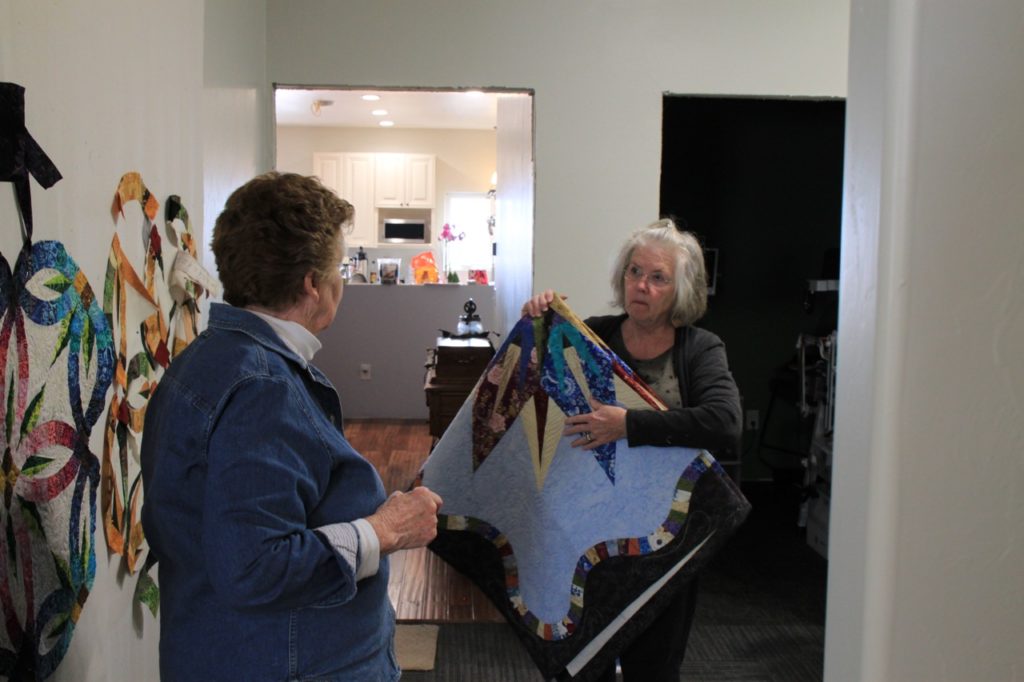
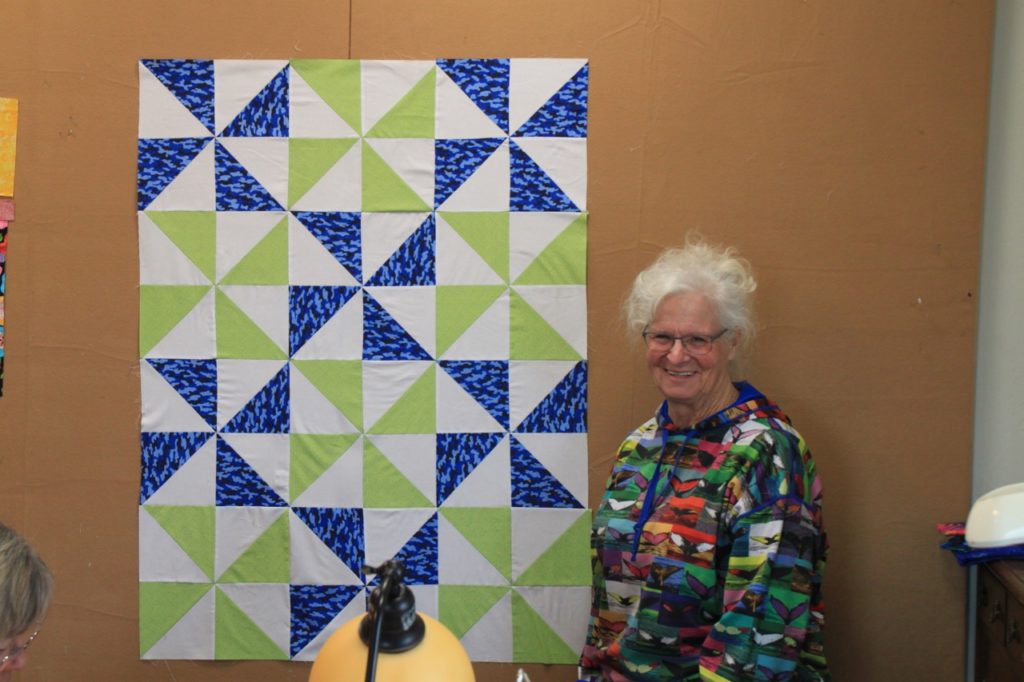
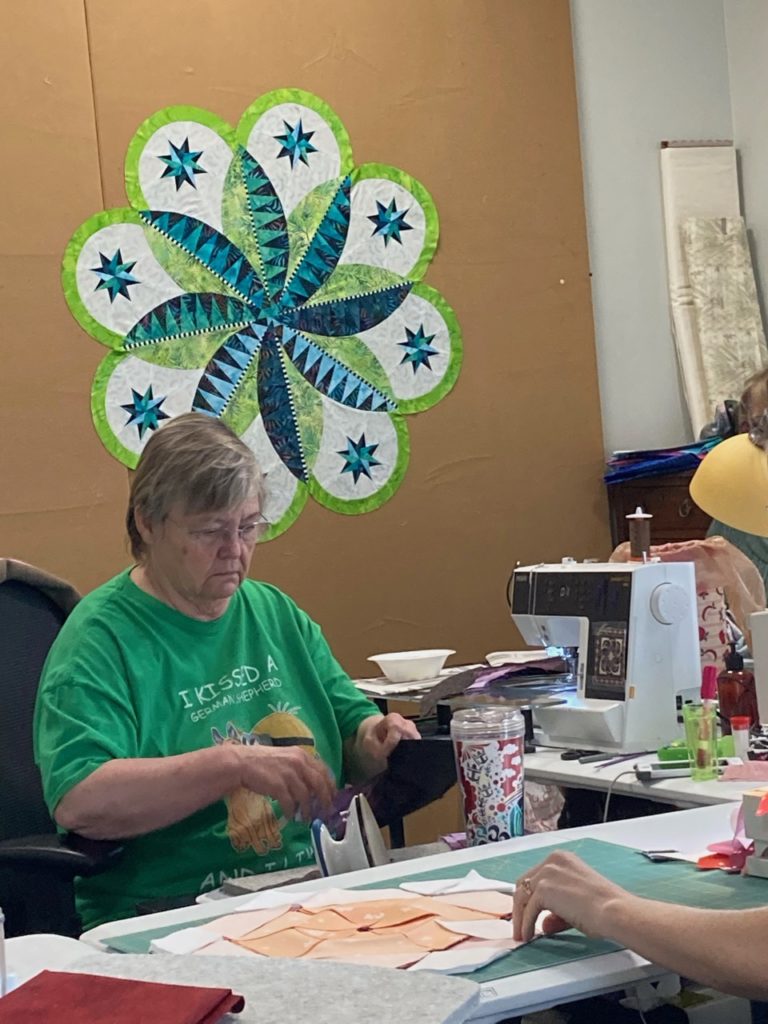
Sharon A. working through her Wedding Ring Table Topper by Judy Niemeyer. Such beautiful rich colors!Sharon A and Sharon W visiting after taking a look at my Vintage Compass, another Judy Niemeyer pattern.Here’s Ivy showing us her cute little top that she completed during the retreat. As a novice quilter, she did a wonderful job with all her corners and color placements. You go girl!!Another vantage point of the classroom with everyone busy as bees. Sharon W has a charity quilt on the design wall as she studies her block placement.A quick shot over the shoulder of Sharon E, of Betty’s project. A beautiful project by Jacqueline de Jonge, called BeColourful. Sharon E worked steadily over the weekend on a stunning version of Judy Niemeyer’s Vintage Rose. You can see Kim’s sweet project in the foreground. Her cutting and piecing were spot on, and the hombre fabrics used were so, so fun!
And now, the rest of the adventure begins. I’m hanging onto my hat and dipping into the wind, much like Sister Bertrille of the long ago TV series, “The Flying Nun”.
See—even she’s hanging on to her “hat”. Lift off is about to begin!!
Hang on Vera! The merry-go-round is about to get going real fast!
Here we are, as serious as we can be, lol! Dianna, Ivy, Kim, Sharon A, Sharon E, Sharon W, Betty and me. Now, with 3 women named Sharon and their last name initials spelling AWE, how could we have had any other time, than an AWEsome time!!! Simply the best!
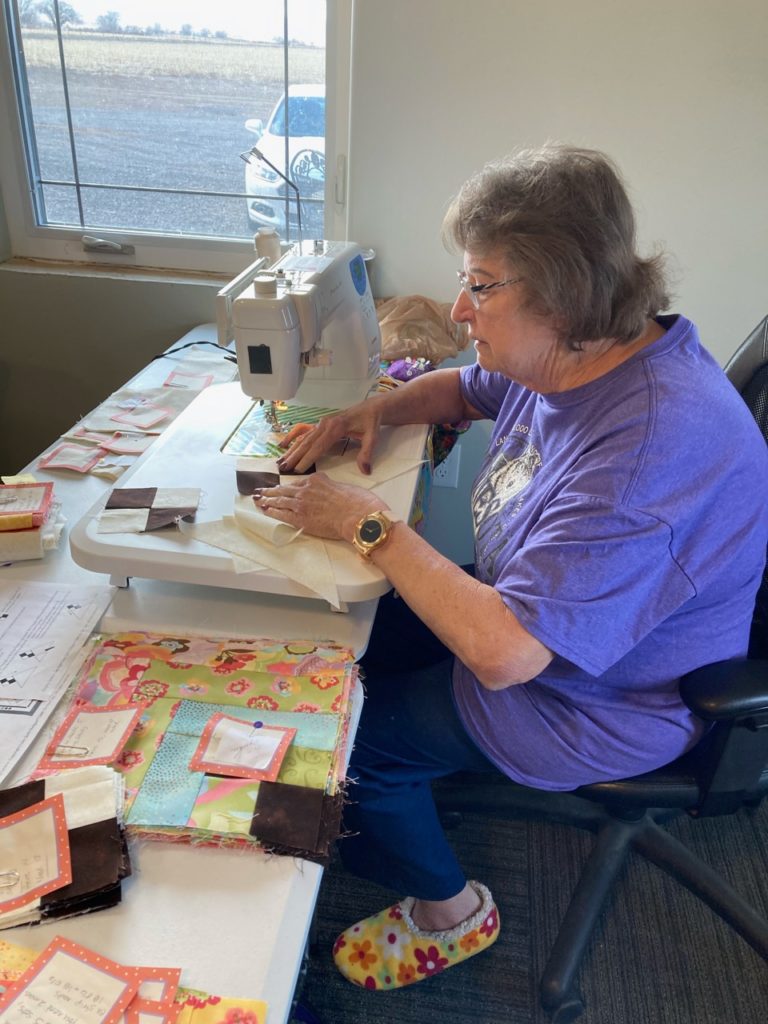
It’s been busy at my home studio/classroom. This week I started Operation UFO at my home studio/classroom on Tuesdays and Thursdays. It’s an open sew type gathering where quilters come for a day of sewing and bring their UFO’s (un-finished objects) of any type and have access to a teacher (that would be me); for as little or as much help as they need to get themselves going again on projects put aside for an indeterminate amount of time. There is a nominal fee, but I’ve been told it’s more than worth the cost. It hasn’t taken long for word to get out and interest to begin to grow. So, if you are local to me, send me a private message and I’ll be more than happy to send you more information. I’m thinking this will become a sought-after activity before too much longer. Yay!
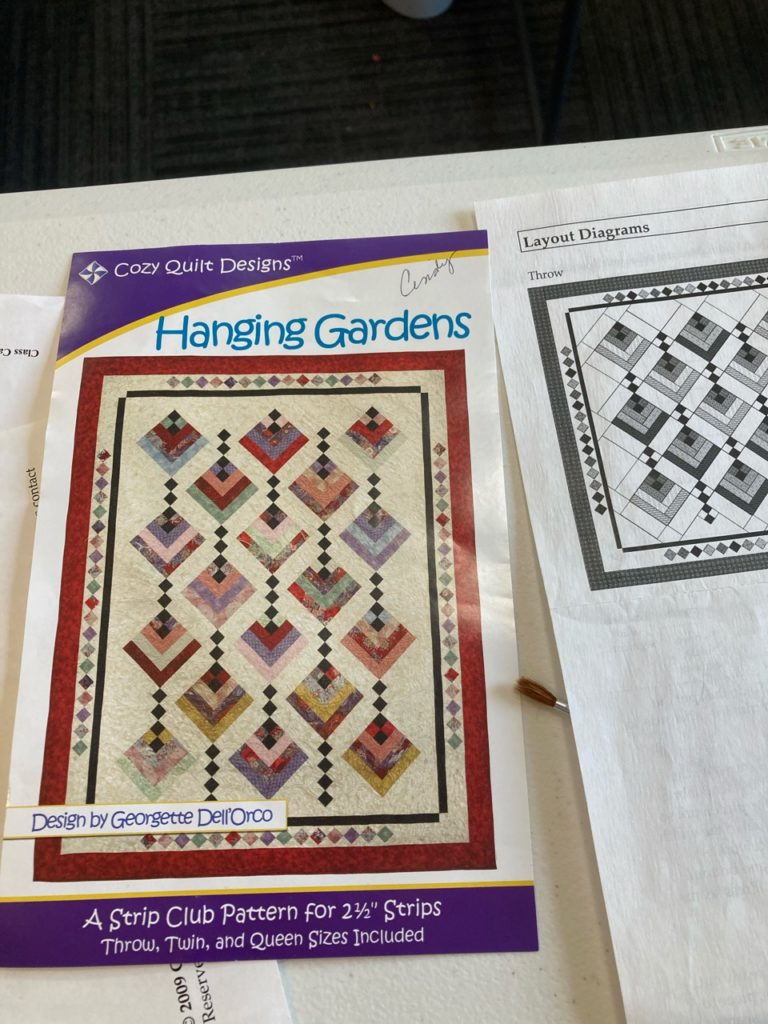
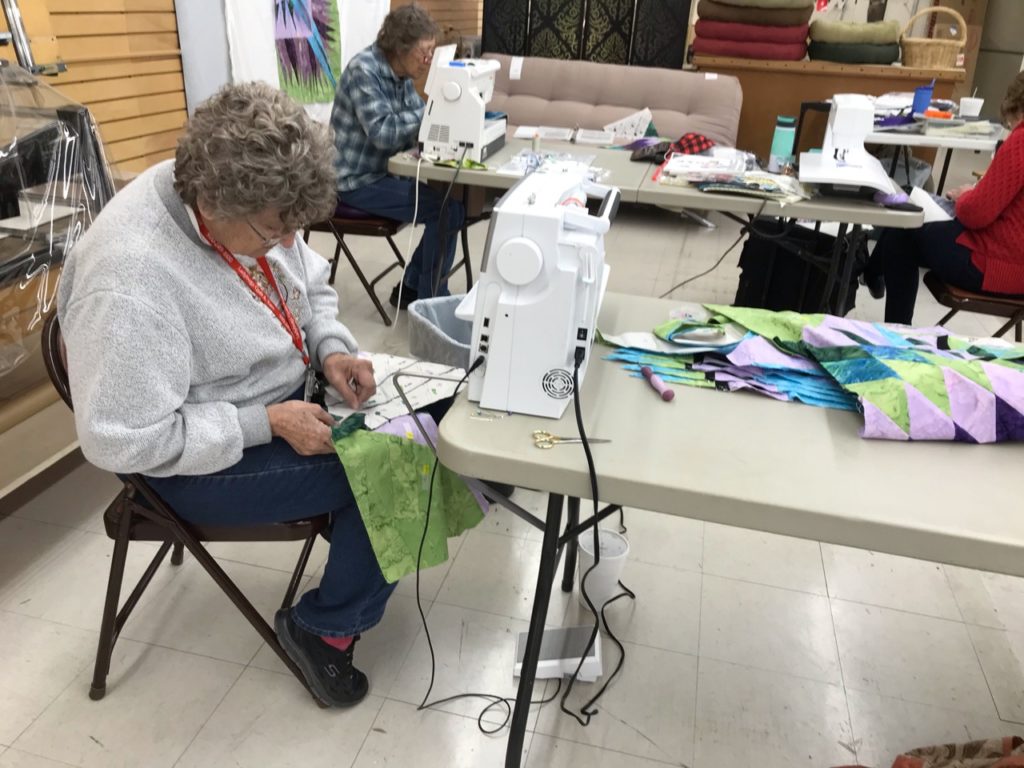
Here is Cindy, working away and totally comfy. She even brought her sewing slippers! I love it!!Cindy is working on Hanging Gardens by Georgette Dell’Orco. It’s a great little pattern, being made with a sweet line of fabrics. We both wish we knew the name of the collection, but it IS a UFO. But we’re enjoying it all the same.Jean is working on another quarter of her Prairie Star by Judy Niemeyer. She’s got a few stitches to release before moving on to the next step.Here’s the first quarter of her Prairie Star all sewn together after the Judy Clubb on Sunday. She’s about to lay out two more quarters, using this as her guide for placement.
They were lovely days with lots of progress made along with lots of stories and visiting.
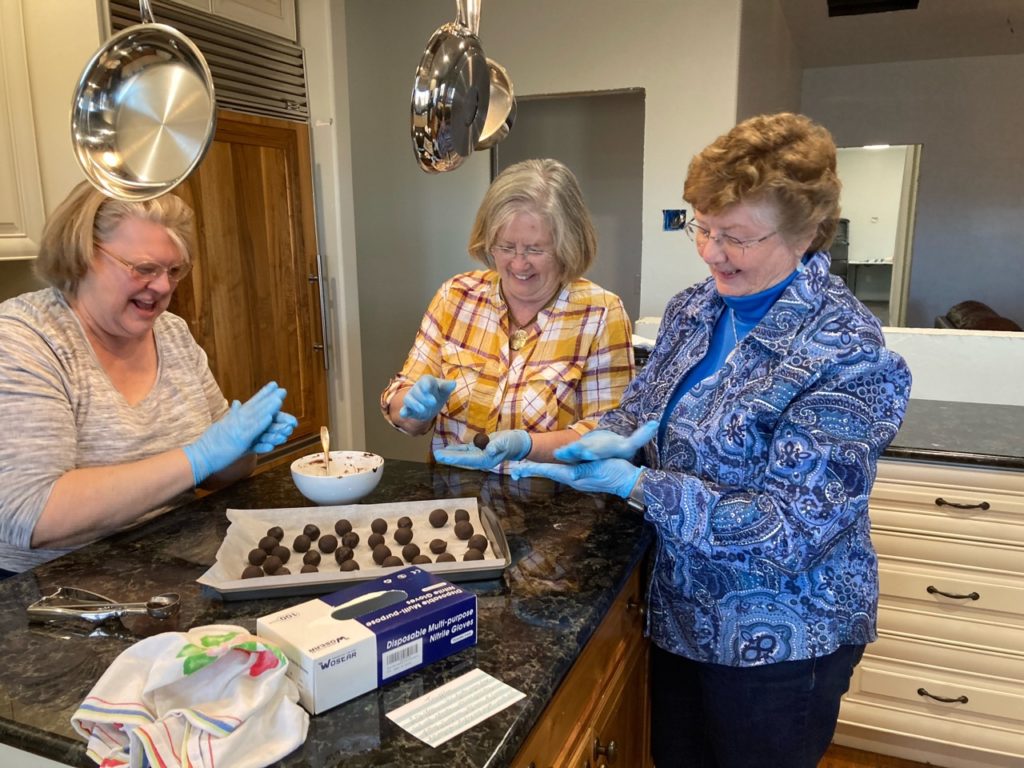
Another terrific day brought another small group of dear ladies, and I became the student! Of course, quilting was a topic that threaded its way though most every bit of conversation, along with copious amounts of laughter. But the main topic of the day was……how to make truffles. Yes! Those decadent, mouthwatering, melt in your mouth, wonderfully chocolatey wonders that only the best candy shops offer. I can only say to those reading this blog…future retreats I hold might just be the time that I pull out the stops and introduce these amazing treasures to attendees. Just sayin’…
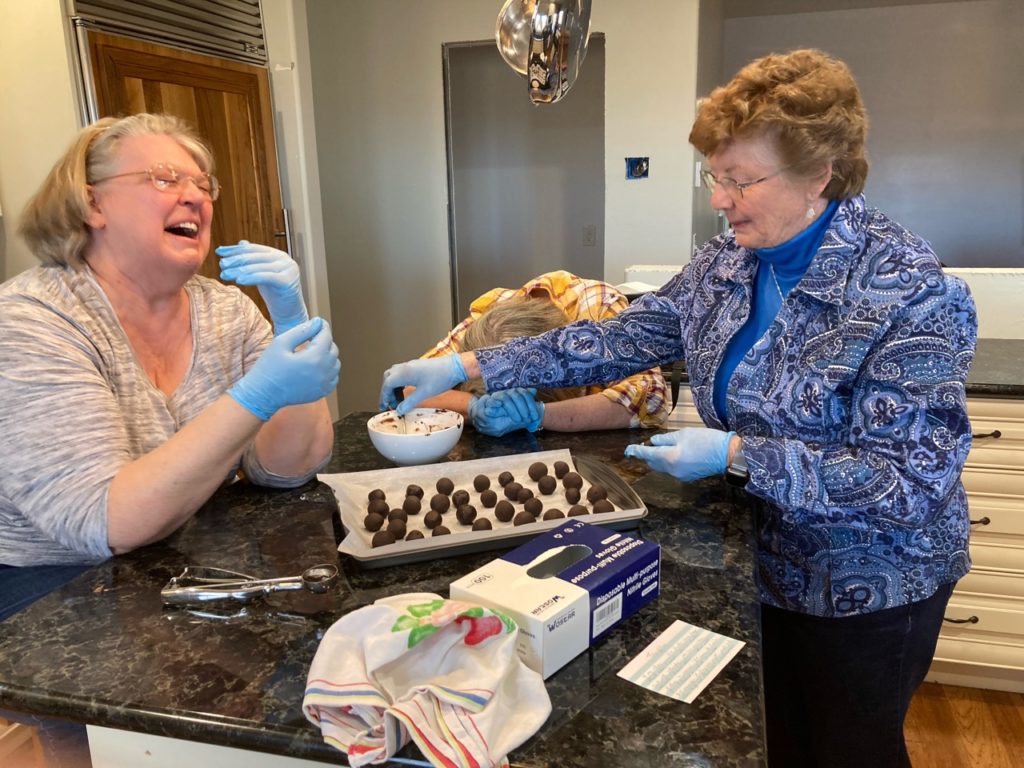
This is step two—rolling the flavored truffle center into balls which will need to chill for 24 hours before they can be dipped and decorated to complete step 3. I think the funniest of comments is about to be made….And here is the laughing, snorting and tears of too much fun! Oh my…we had such a good time. I love these ladies!!
These yummies are made with dark chocolate and flavored with caramel. But I have it on good authority they can be flavored with jams and liqueurs of choice. The combinations are endless…dark chocolate, milk chocolate, white chocolate— raspberry, boysenberry, orange, strawberry jams—coconut, rum, bourbon, crème de menthe and other spirits—oh…just imagine the possibilities!
No…I’m not a lush. LOL!! But these ARE the perfect size for flavoring truffles. Oh! And who doesn’t love these??? I personally know each of these are wonderful….mmmmmm my mouth is already watering.
So, while I’ve not been as active on the blog as I’d like, it’s been an action-packed week with lots of content that I’m eager to share with you.
Such wonderful things happened this weekend! I’m so pleased with the progress of my students over the past two days.
Saturday our Wedding Ring Class met with the goal of laying out their finished piecing and seeing for the first time what their quilts will look like. We had such a great time! Over the course of the last 6 months we’ve been meeting, using the Quiltworx Wedding Ring pattern and its variations as a Block of the Month. There have only been a couple months we weren’t able to meet, but that happens even without a pandemic going on. They’ve all made wonderful progress and each step of the way there were oooh’s and aaaah’s as we shared our progress each time we met.
And we all learned something…including me! Some things I learned because I was asked a question I didn’t know the answer to, and others because I needed a creative solution to help them obtain a goal or to make it easier to continue their work.
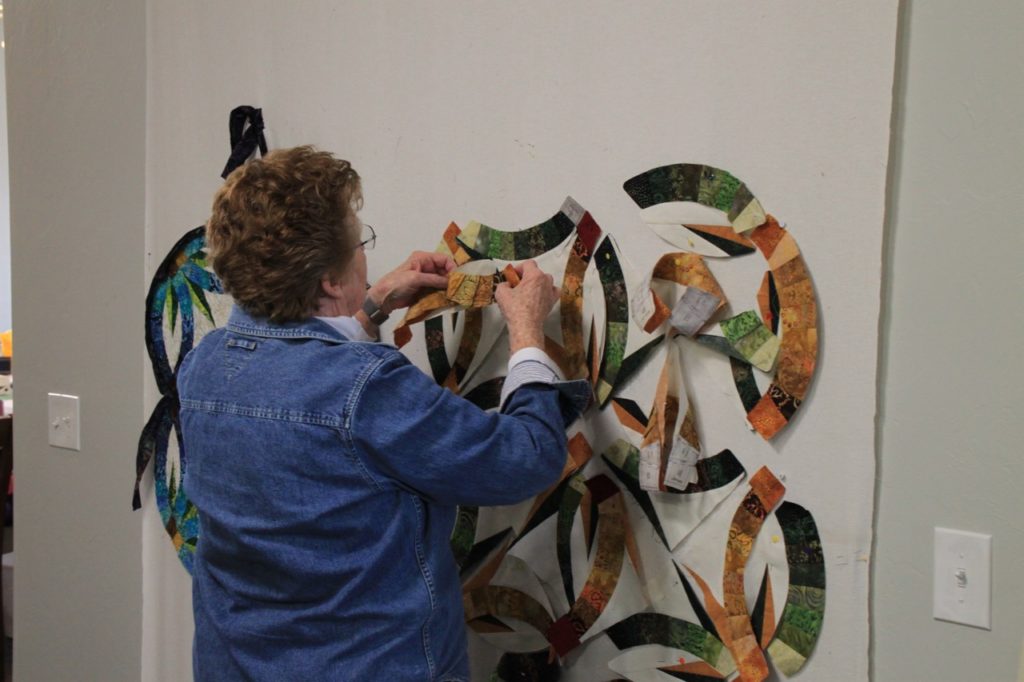
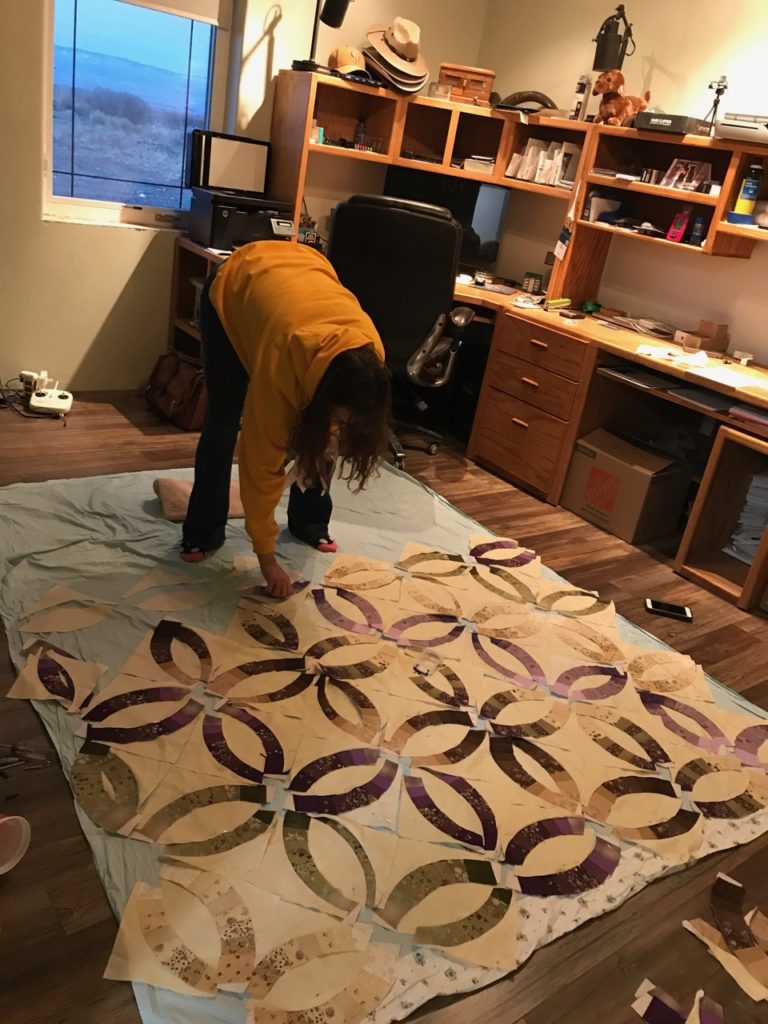
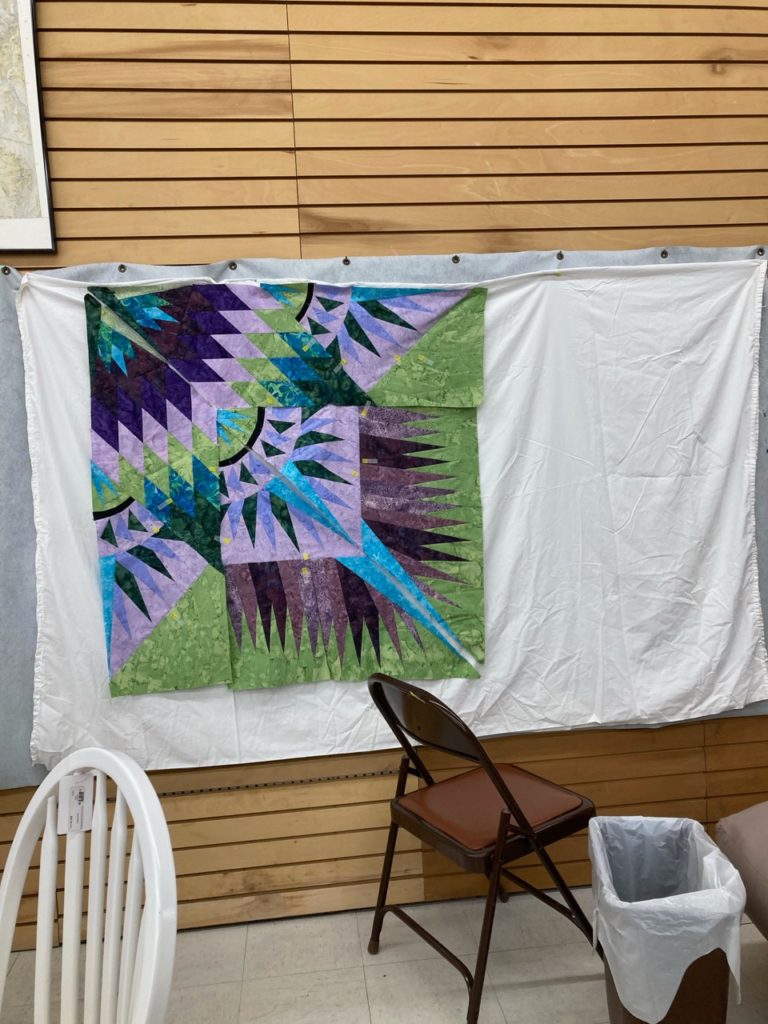
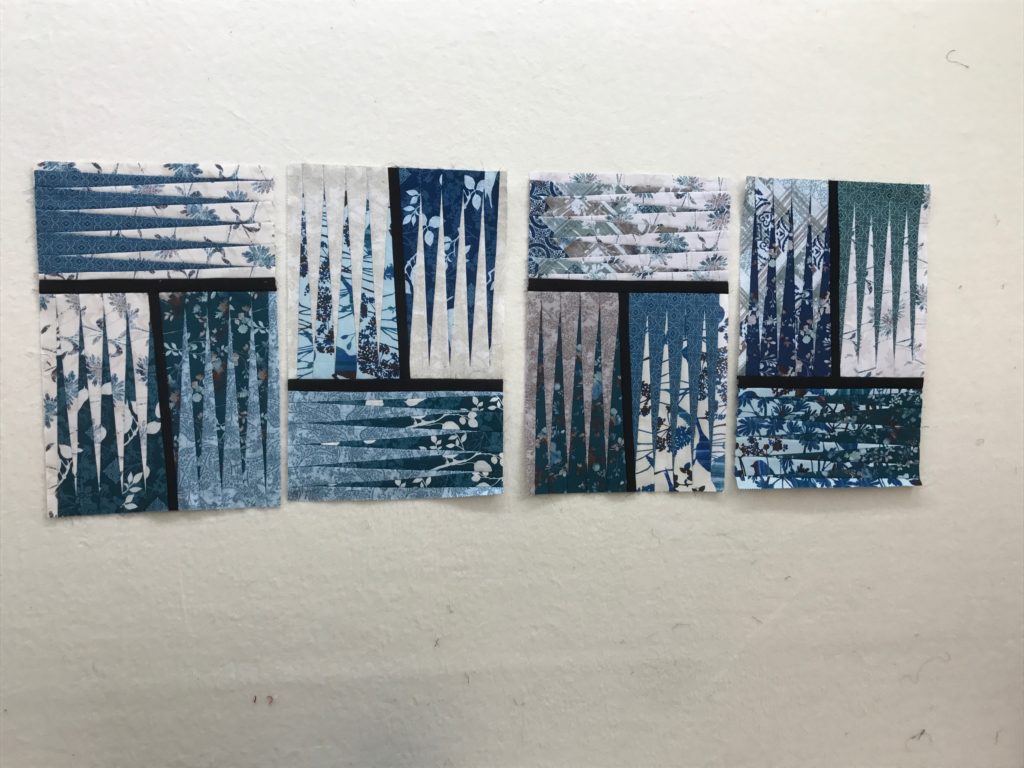
The latest solution was what to do about a design wall! In the pictures, you’ll notice their units (or block pieces) are being laid out on sheets. It’s a curiosity, but a solution that I suggested and they agreed to with enthusiasm. Neither of these lovely ladies have design walls at home. My goal was to find a way for them to layout their units without: 1) having to take copious pictures with their phones; 2) disassemble what they laid out; 3) transport everything back home; 4) reassemble it all and lay it out only in small portions either because of space or foot traffic concerns, and then hope they were getting everything together correctly They jumped at the idea! So, after handing them each a flat sheet, we got busy.
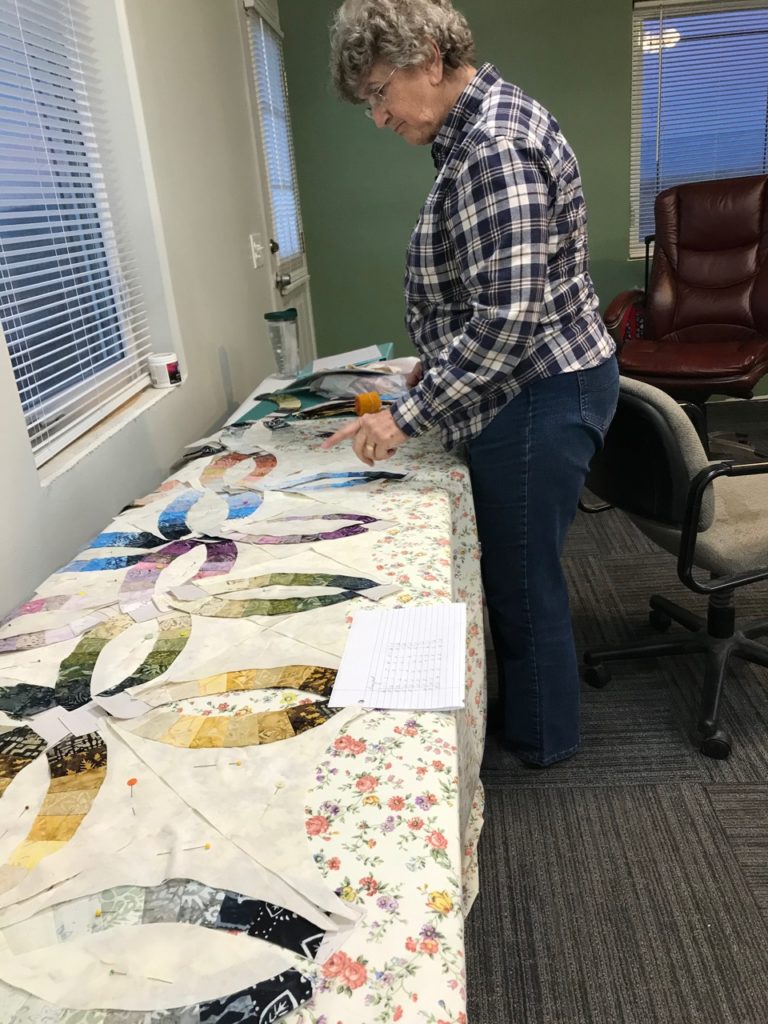
Here is Shirley laying out her units. After each row across there was a happy dance of excitement and a “Boom-chicka-boom-boom” coming from her as she saw things coming togetherAnd here is Jean working on a table doing the same thing. From her came “mmmm-mmmm-mm-mm-mm”. For Jean, we worked out a number chart for her to follow as she laid out her units. It worked like a charm!! Another teaching aide that will go into my files for the next time I teach this class.
As they laid the units out, each one was pinned to the sheet. And at the end of class, each sheet was gently rolled up and carried to the car with the confident knowledge that each time they went to work on their project they could just go right to work without the time spent on trying to find their place in the process.
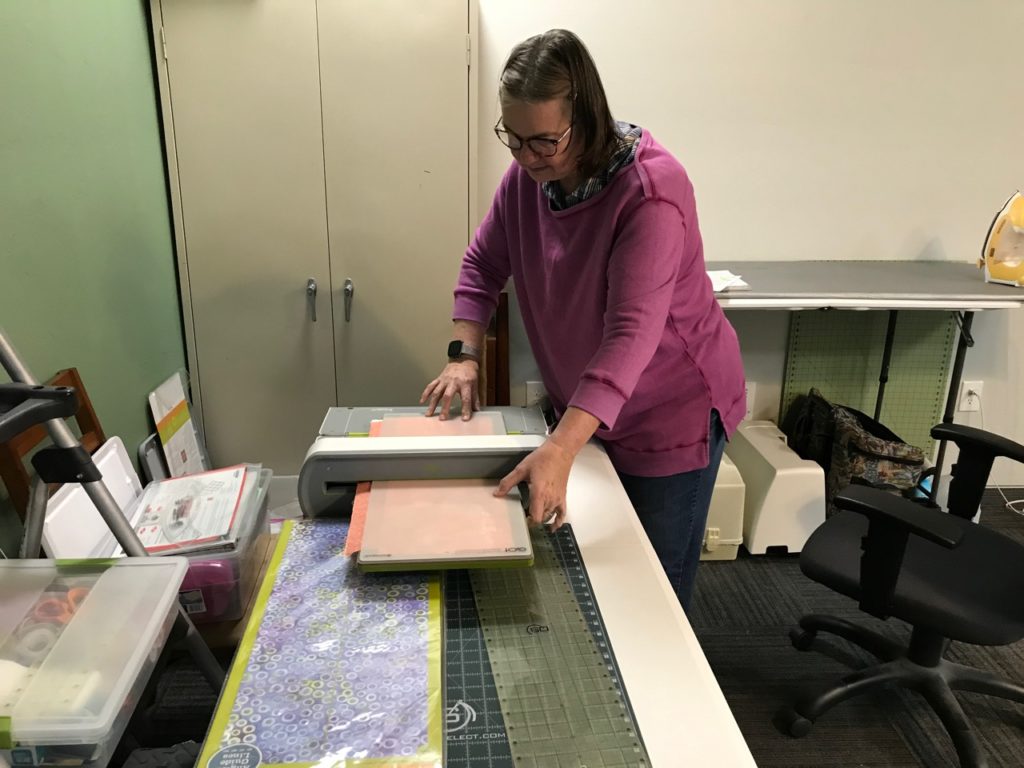
Dottie was also with us and she brought her AccuQuilt Cutter to make quick time of cutting the 2 ½” strips for her project. I’ve never seen one of these in action, and I must say, it was so cool to see how they work.
I’m thinking this may need to be an investment for some time in the future. They sure are slick little machines that make quick work on lots of repetitive cutting
It was an awesome day full of great friends, fun and lauging, and tremendous progress!
Sunday was much the same for the ladies that joined me at Clubb’s in Delta for our Judy Clubb. The Judy Clubb is an open sew kind of class where anyone working on a Judy Niemeyer pattern is welcome to come and sew for the day, and I’m available for as much or as little help as is needed
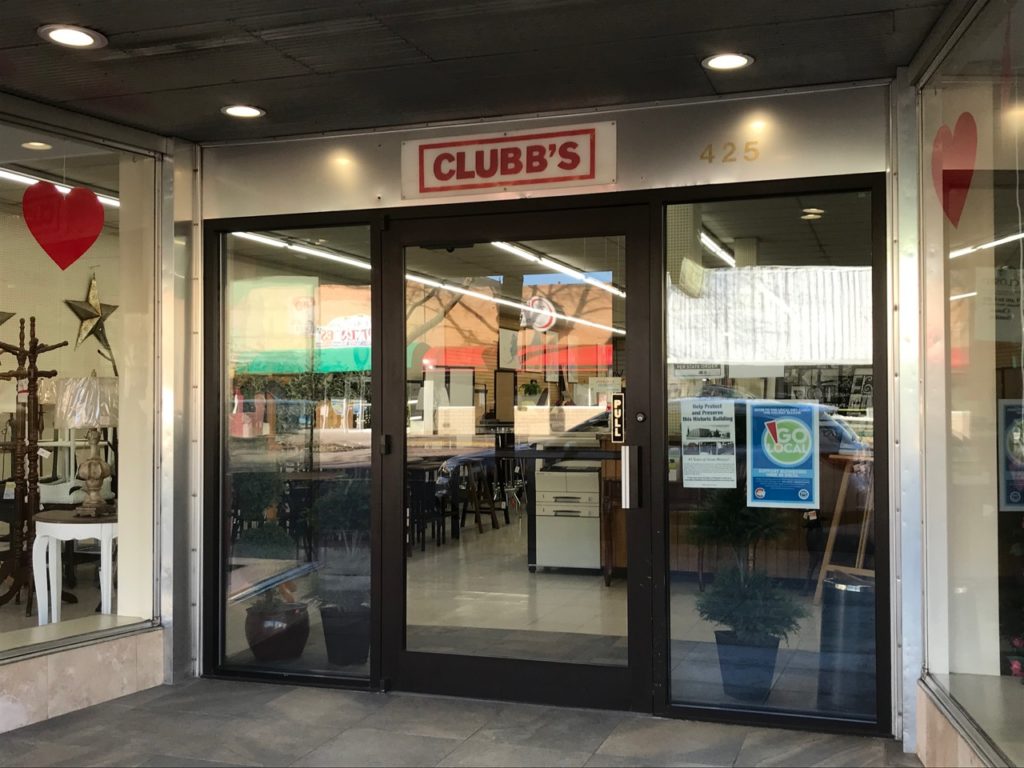
The entrance to our classroom. Our class area is the furniture store. And the fabric store is right next door, always open for us during class and ready for anything we need. It’s a terrific arrangement!
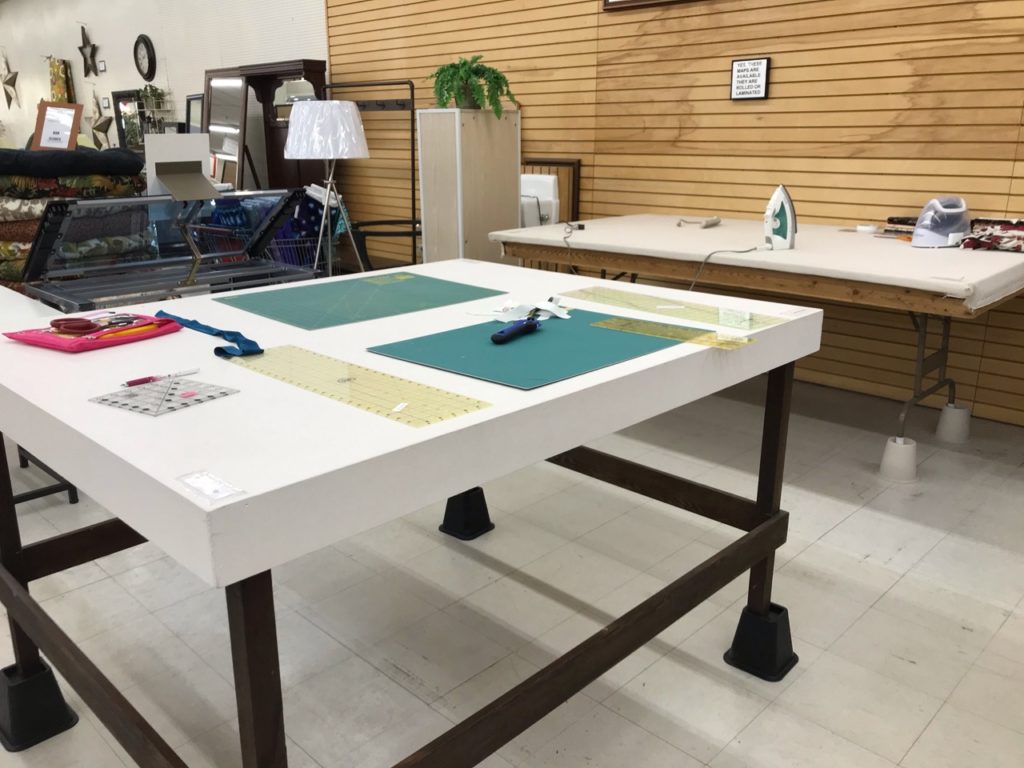
We have a wonderful work area at Clubb’s where a terrific cutting table and ironing area are provided. Lots of beautiful lighting and abundant room is provided for us to work our magic.
These stations are sooo nice! Plenty of room for multiple people to work at the same time.
Take a look at what was worked on!
Cheryl is working on putting the binding on her Impatiens placemats. Her color choices are simply beautiful! And one of the best helps I could give her was to show her the UTube videos by Judy Niemeyer on that very subject. It’s amazing that we have the ability to carry an iPad, secure an internet connection and tune into a free, on-line video and then help the student to utilize the same resource at home. When Cheryl had a question, we worked through it together finding a few additional helps for her to use at home. She’s doing a marvelous job!
I love Cheryl’s color choice on this project and she is so precise in her stitching. What a lovely project she will have when all finished.
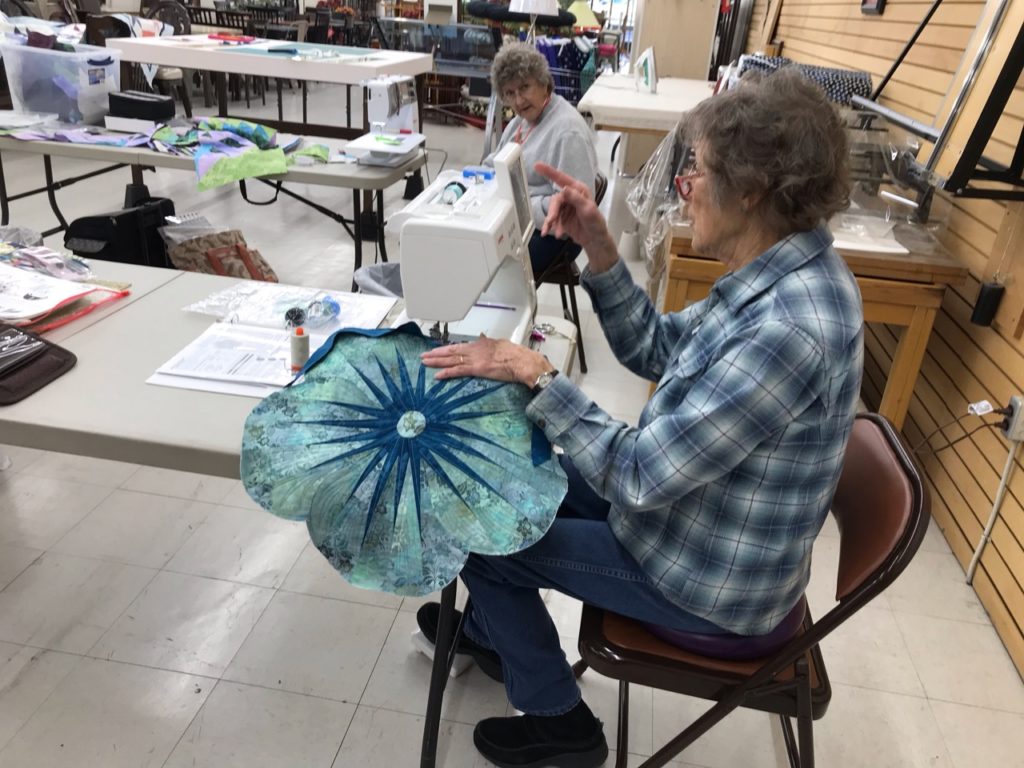
And here is Jean, using a sheet as her backdrop on the design wall to pin her Prairie Star to. Her goal for the day was to get one quarter of the quilt on the wall and assembled and marked with notes on how to complete assembly for the rest of her quilt when she’s back home.
The quarter section of Jean’s quilt is nearly put together. She’s added some little yellow notes for her to follow when she gets home so she can get this project all finished up. How exciting!Jeans pulling a few more papers off the back of a unit before assembling the next section. Making great headway.
All in all, it was a very productive, and rewarding weekend. I think one of the things I truly love about this work that I do and the quilters that start out as students and then become friends, is that I get to help them reach their goals.
People, non-quilting people, frequently remark to me about how this is nice and all that, but what’s so special about a quilt…. it’s just a blanket after all. And my knee-jerk reaction is that they just don’t get it. And they don’t. But what I say to them is that quilting is a tool. It’s a tool, or a means to reach a huge plethora of outcomes. Quilting is a creative outlet, which is a crucial aspect of our mental and emotional health. Quilting is a skill-building tool that enhances our cognitive and deductive reasoning utilizing color theory, math, planning and organizational skills to just start the list. And one of the very most important things quilting does is to both create and revive memories for those making the quilts as well as those receiving the quilts. Quilting as an art and a skillset is something that has a huge ripple effect on all those around us quilters. And no…these are not just blankets. They are works of love.
And I….me…I get to help these lovely people create and fulfill their goals.
Sitting at my desk this morning, I pondered what to blog about today…and it struck me the while I’ve been showing pictures about my work, and that of my students, I’ve not expanded much upon how I came to this adventure and the tasks this journey requires. Making samples of patterns for my portfolio is just the tip of the iceberg. A beautiful one to be sure, but there is so much more to the whole endeavor. Come along with me while I share a bit more of the journey.
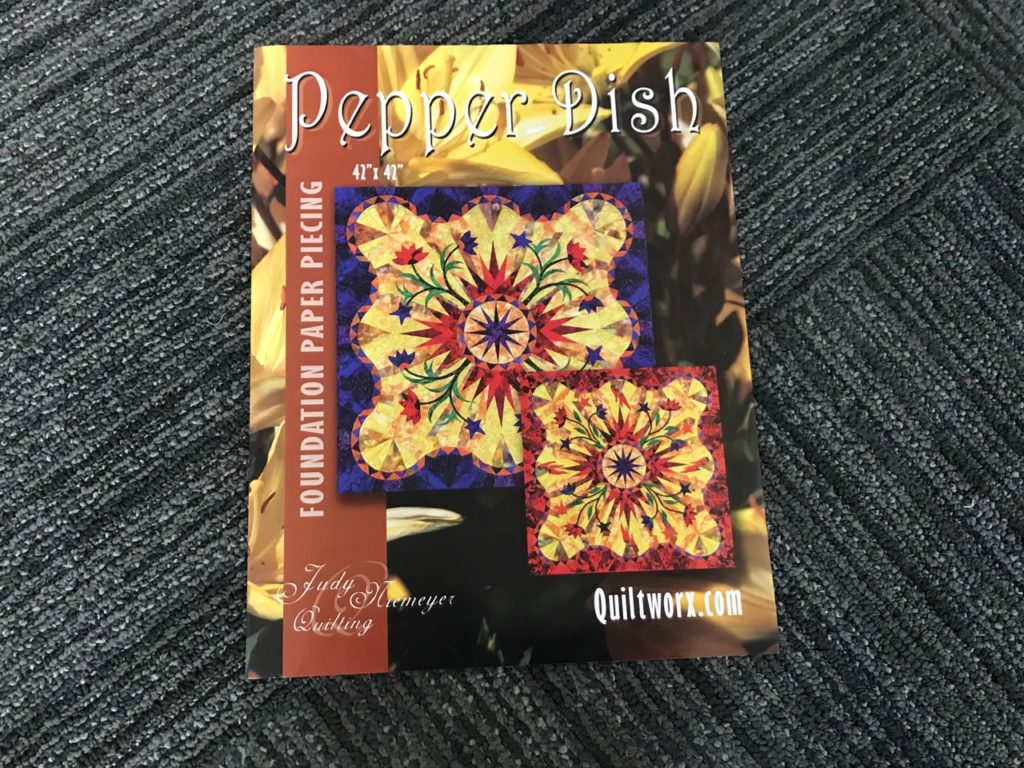
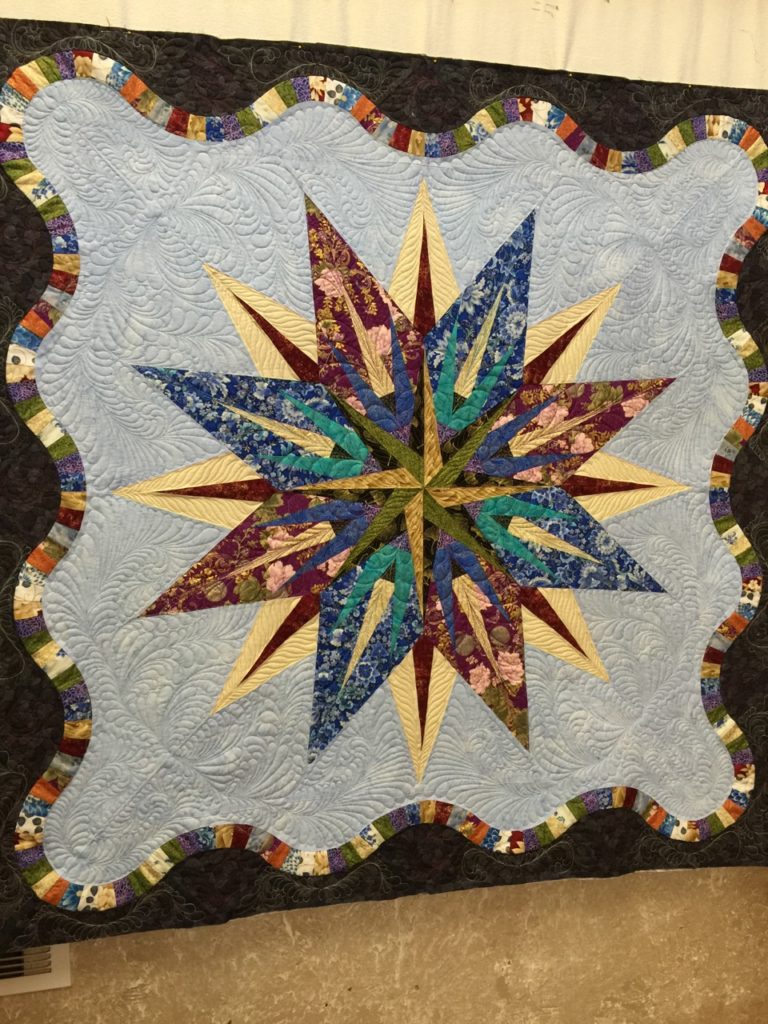
Let me start by telling you how I came to love the patterns that Judy Niemeyer designs. The first time I ever saw a Judy pattern was in 2005. I was at The Great American Quilt Factory (which is sadly no longer open) just poking around and checking out the store. They had a red version of this on display and no joke, I stood there staring at it for 15 minutes! I was spell bound. And I HAD to have the pattern. I bought it with the thought that s-o-m-e-d-a-y I would be good enough to make this. I had never seen anything like it, and I knew nothing about Judy’s method of paper piecing. I had taught paper piecing before, but nothing to this degree. I went home and dreamt of this pattern many times for a number of years.
Here it is…the one that started it all. The store sample was of the red color way. Red just happens to be my favorite color, so of course it caught my eye. It was a love at first sight that still captures my heart. 2021 will be the year that I bring it to life. A 16 year love affair is long enough to wait.
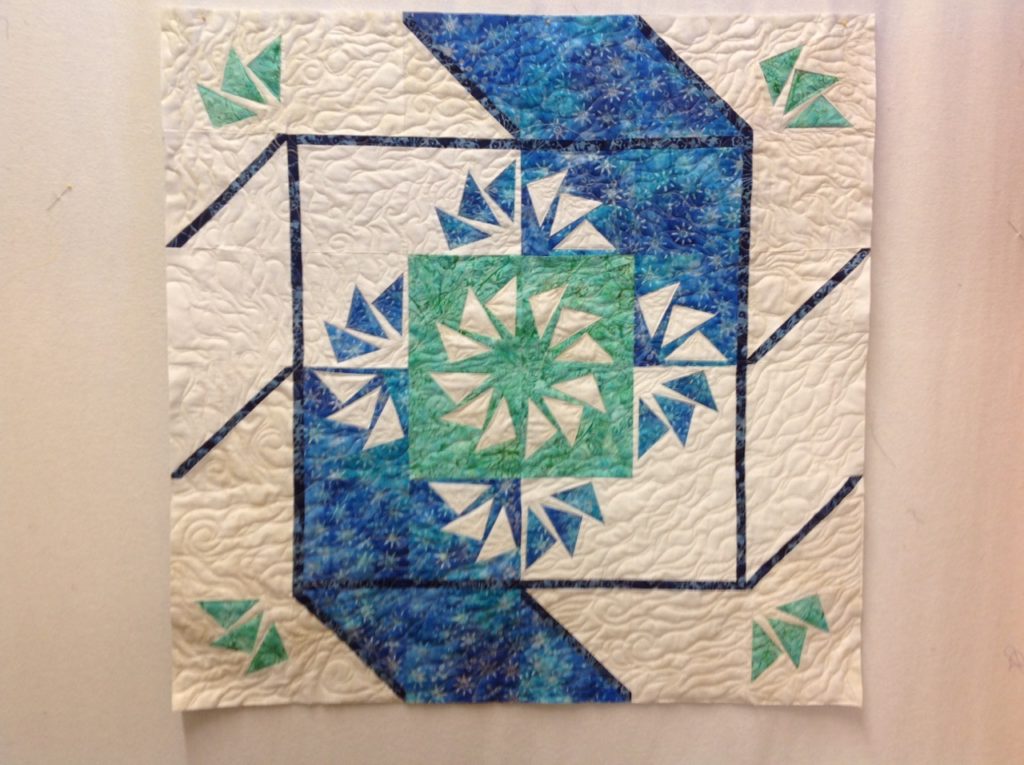
Fast forward to 2015 when I was perusing the pages of the April edition of American Patchwork & Quilting and lo and behold…there was the Paddle Wheel. Another Judy pattern! I said to myself, “If it’s in the magazine, it must surely be easy enough for anyone to make! I’m going to give it a try.” I did, and following all the directions, and the pictures (which are always worth a thousand words), I gave it a go. And I was hooked.
Here is my Paddlewheel, fresh off the long arm from a few years back. Isn’t it silly that I’ve still not taken a picture of the finished one with the binding on it?? I used colors that reminded me of the ocean along the Australian west coast when my husband and I vacationed there for our 25th wedding anniversary. Both my paper piecing and my long arm quilting have improved greatly since then.
I decided to check out their website Quiltworx where I learned about Certified Instructors and retreats in Montana with Judy Niemeyer herself. I was intrigued by what I was reading and the idea began to percolate on my back burners. Over the next few years I made a number of different patterns and really found my groove. I finally found what I wanted to be when I grew up! (You can click on the underlined word and the link will take you to their website.)
In 2018 I bit the bullet and decided to attend my first retreat in Montana to venture into the world of becoming a Certified Instructor. It’s challenging to be sure, and it should be. To date, at my last count I’ve complete about 25 different patterns with an undisclosed number currently still in progress, lol. (Not everyone needs to know the extent of my fetish, heh heh heh.) There are some that I’m very happy with, and some that make my buttons pop. Here are a couple pictures of one of those.
This is my Vintage Compass, made from my stash of Asian fabrics. It’s the second pattern I attempted and attended a class with a certified instructor. My goal was simply to learn the techniques of the pattern. I had low expectations of how it would turn out due to the fabrics as I’d never seen an example made with non-batik fabrics. Imagine my amazement when I saw the finished product.And here is the back. Don’t mind the wonkiness of the picture…IT is straight, quilt hanger (me) had a wonky time of it. This is also my long arm work using Quiltworx digitized patterns. I’m super proud of this one. I won my first ribbon at a quilt show with this one. Red is a good color, (it IS my favorite after all). Hoping for a blue and maybe even a purple some day.
So along with making quilts and learning patterns, there are a number of things that a CI-in training must do to reach certification. Things like teaching and getting in front of groups for trunk shows and demonstrations; learning about and introducing others to Quiltster and it’s amazing capabilities to literally color a quilt to see what your ideas for color and placement actually look like BEFORE you buy one inch of fabric! It even gives you the yardage requirements for each color in the quilt, as well as how to sub-cut it for the proper size needed in each component where it’s used. I’m telling ya it is genius! Go check it out at Quiltster You’ll be so impressed! Here’s a few pics to show what you can do.
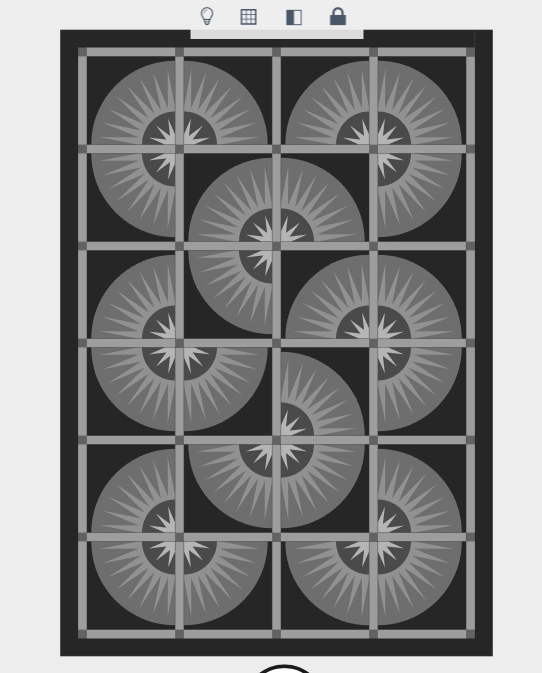
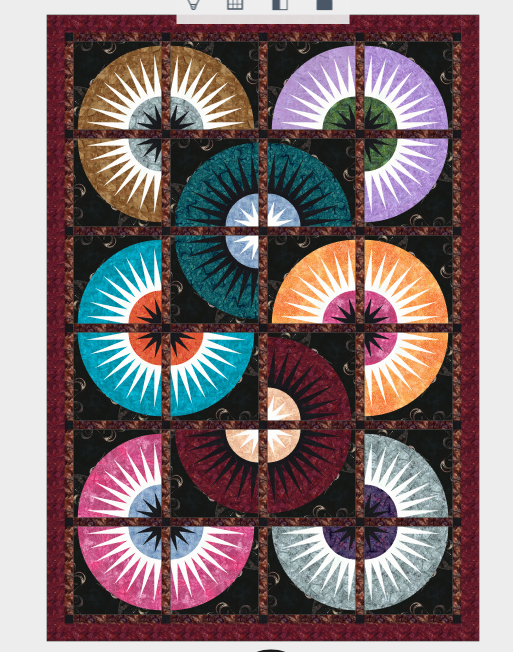
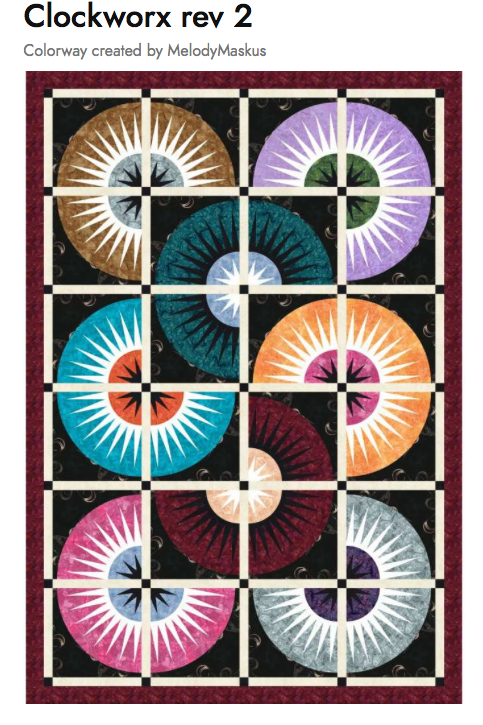
This pattern is Clockworks. You start out with a black and white version.Next…you begin to color by selecting different fabrics.Then, you can make slight changes, or big ones, to arrive at a version you like best. For this quilt I chose to make my first rendition. The white of the sashing in this version was just too much. I felt the darker sashing of the first attempt was more cohesive and allowed the colors of the New York Beauty circles to shine more. Would love to hear your thoughts on this!
Other things include developing an on-line presence. While there are many, many ways in which to do this, I’m starting with this blog. I’ve wanted to do this for a while, and have tried my hand at it a couple times, but never really got in a groove. They say to really do well and find inspiration you should write about what you know. And that’s how I got this little blog going again. 5 days in and I’m loving it. They say it takes 21 days to create a habit, but I think for this…it’s already stuck. I’m craving my blogging time.
There are more things on the “To-Do” list of the CI-in training, which I’m sure I’ll be sharing about as time goes on. But I wanted to touch on the highlights that are happening for me right now. Covid has thrown more than just a monkey wrench into the mix on trying to accomplish some of these things, so being creative about how to keep going forward is an important part of this whole adventure as well. I’ve always been a firm believer that it’s better (not easier, just better) to start with the hardest part of anything you want/need to do. After that, everything gets easier. But if the hardest part can whoop you, it’s worth finding that out sooner rather than later. This hard part–the Covid hard part–has jumped into the middle of my equation setting me to dig in and really work through it. IT will not be the deterrent it could have been if I were just beginning this journey.
It’s a big thing when you figure out what you’re meant to do in life. I’m not about to let a pandemic get in the way. Detours and alternate routes are definitely in order!
So hang on Vera! We’re gonna blast our way through this and get to the other side squealing and laughing the whole way through. Quilting really IS my life!
Welcome to my blog! Through these pages I’m excited to share with you my wonderful adventure of being a quilt-a-holic. I confess…I love quilts. I love everything about quilts! And most of all, I love teaching and sharing what I know with any who may ask.
Quilting is a huge part of my life, and I wear many hats within the field of quilting. I do repair and restoration; I am a long-arm quilter; I hold quilting retreats know as quilt camps; and the very best of my adventures includes my journey to become a Certified Instructor for Judy Niemeyer/Quiltworx patterns.
Let me tell you about a wonderful experience I had last week!
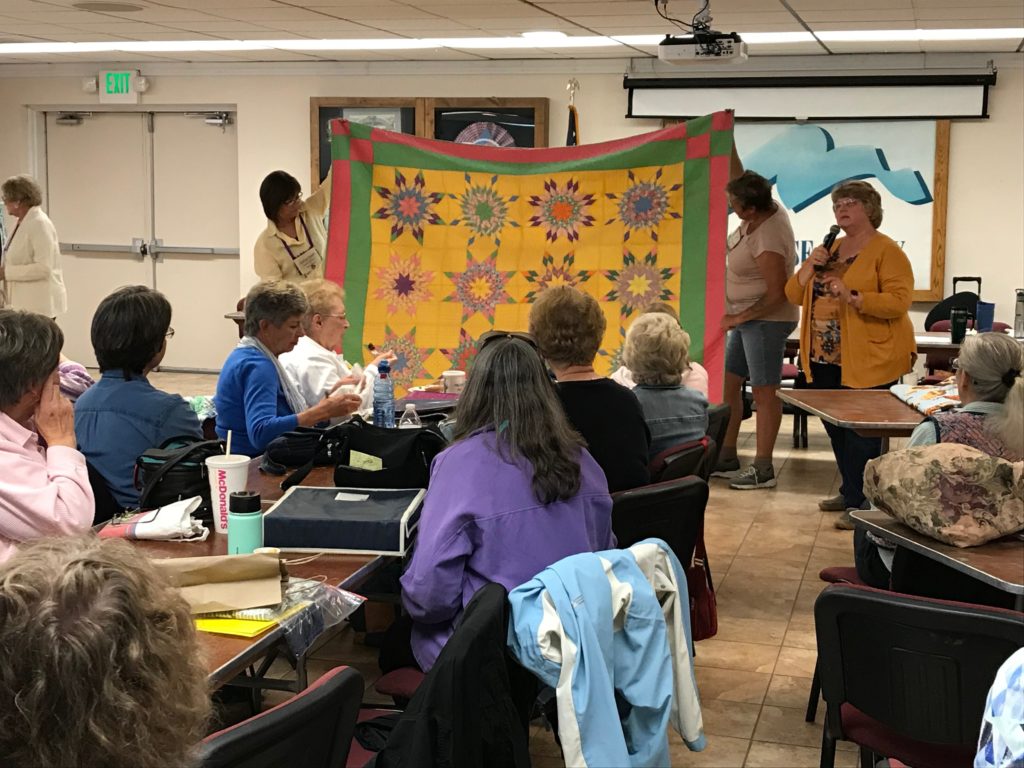
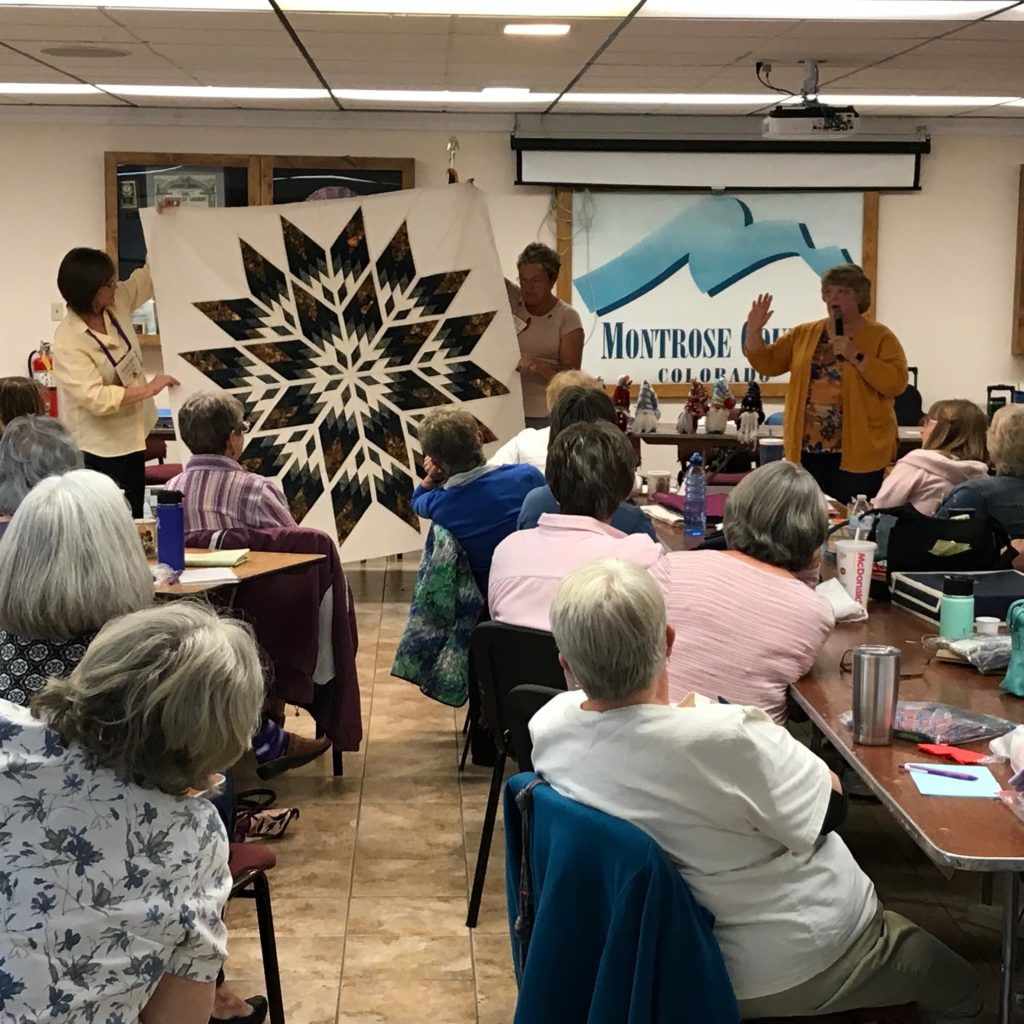
On Thursday, I had my very first trunk show! I did the program for my guild (Friendship Quilters of Western Colorado). I was as nervous as could be. Now, I have no problem getting up in front of people and speaking about any number of things, but generally not about myself. This was different, and in a very good way. Our attendance is usually around 45-50, but on last Thursday, we were over the 60 mark. Yikes! But it was all good. We all laughed, and we cried a tear or two, but mostly we laughed and had a terrific time.
After that, and on into Friday, I taught a class to 21 ladies!! It was a full house, and a wonderful success. Oh my, was it a blast. Most of the ladies were new to Judy patterns, and by the end of the second day, they were well on their way to mastering the Quiltworx pattern Cappuccino. I couldn’t be more pleased.
Let me show you some of the highlights of those two days.
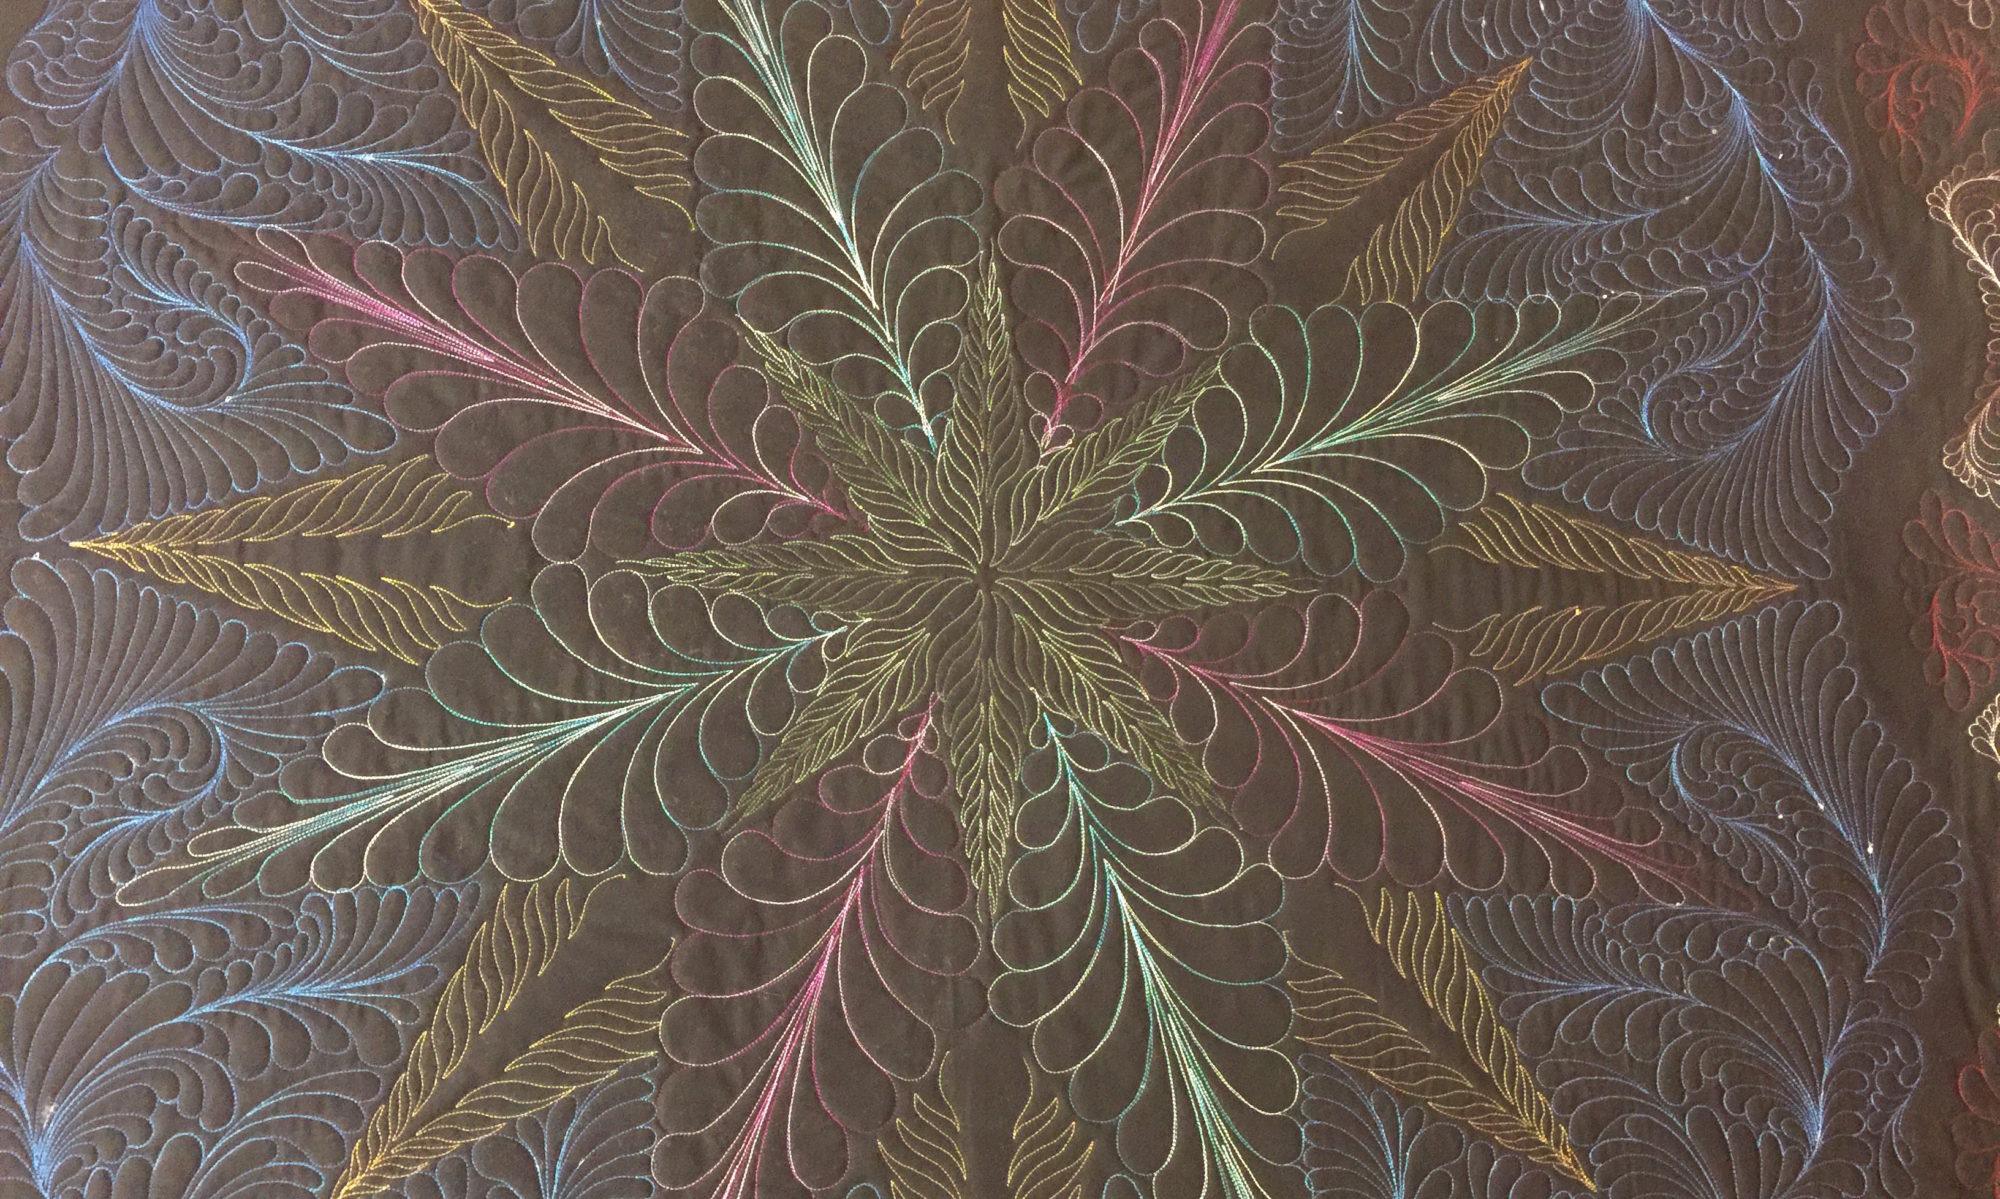
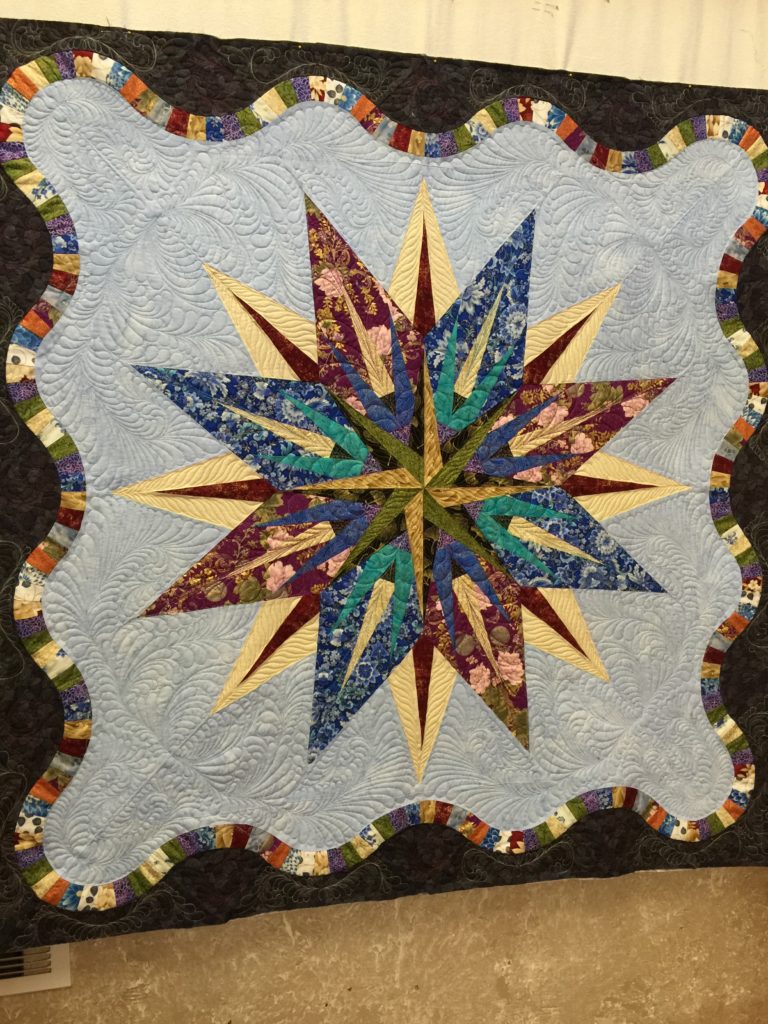
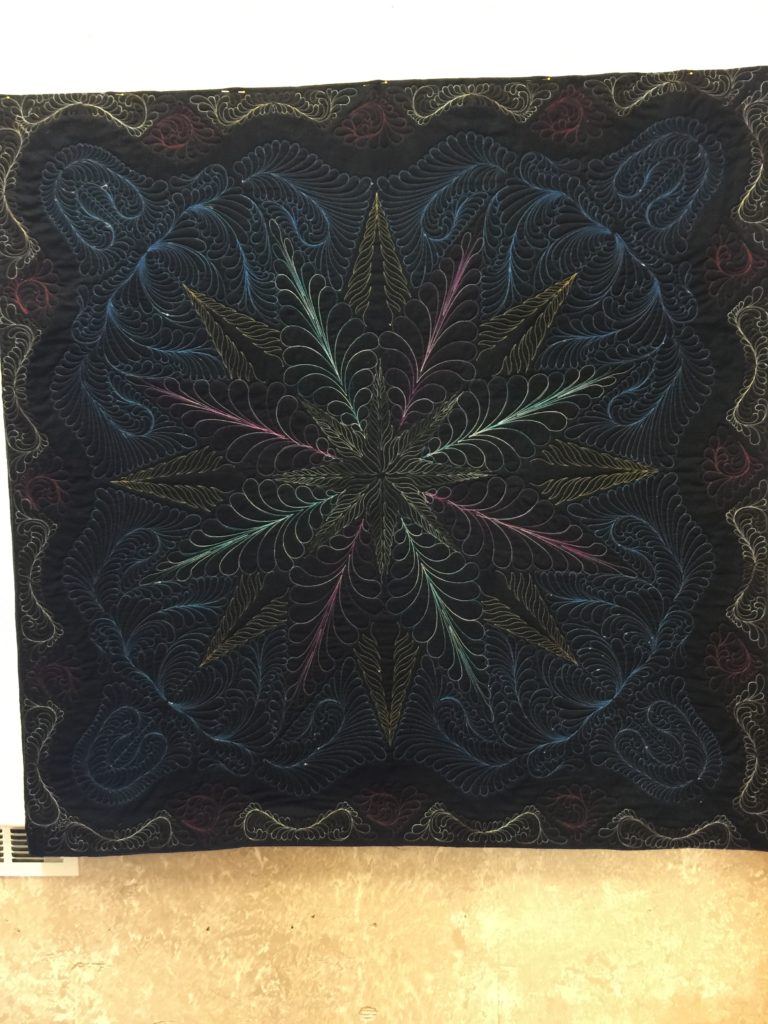
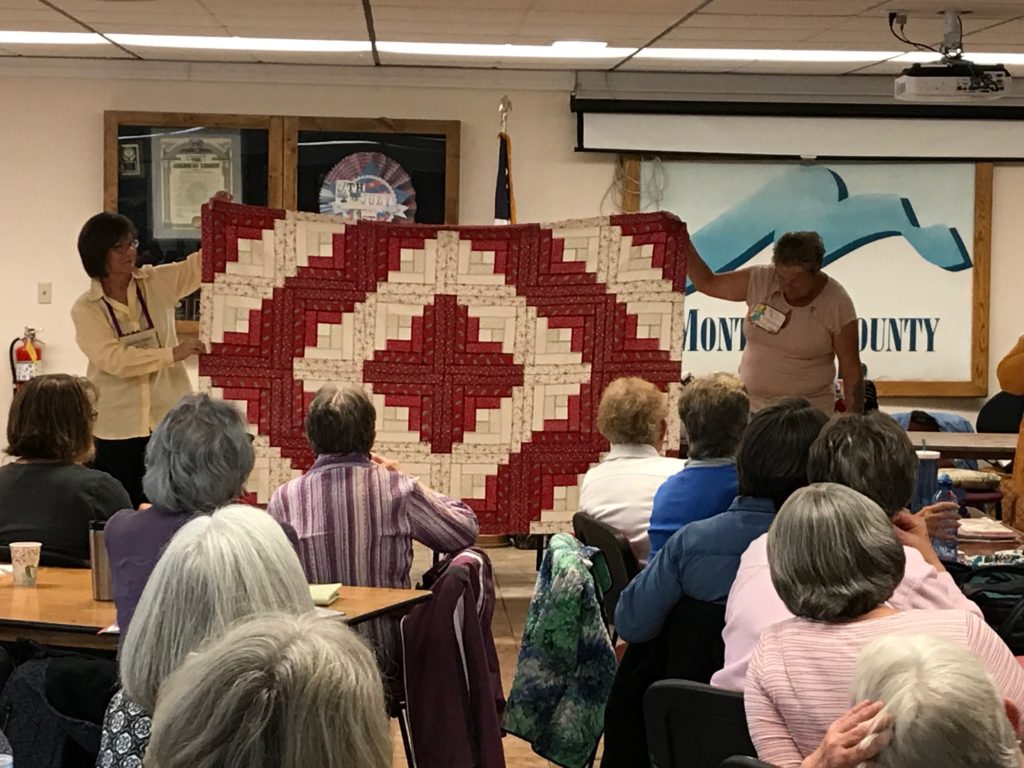
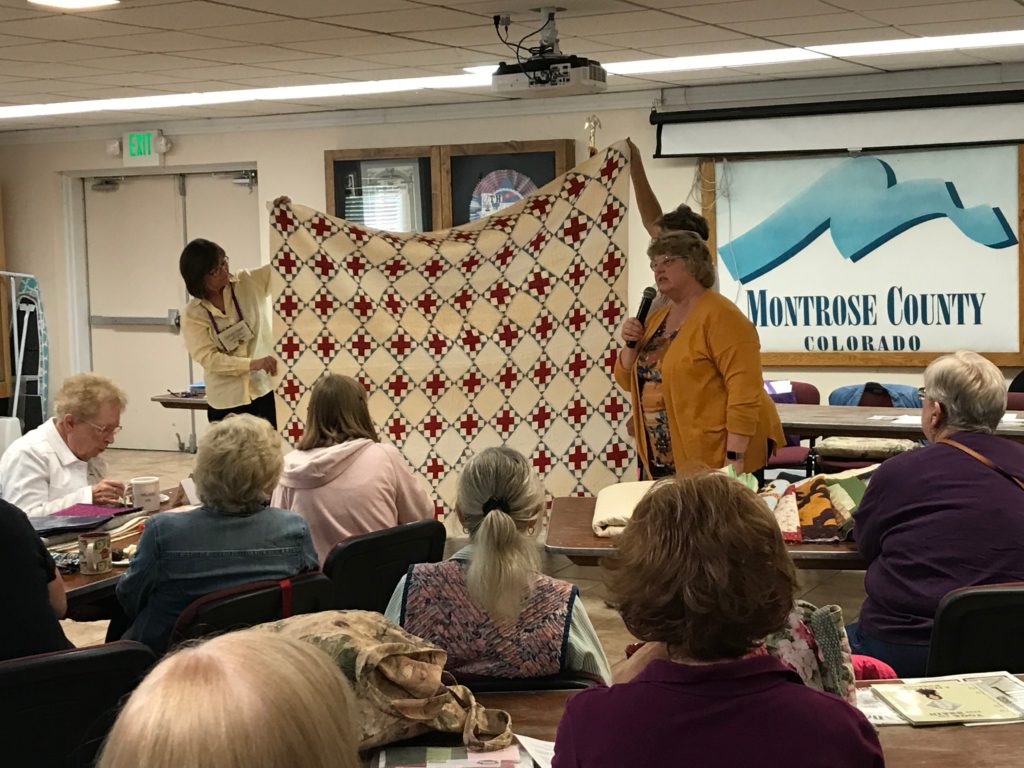
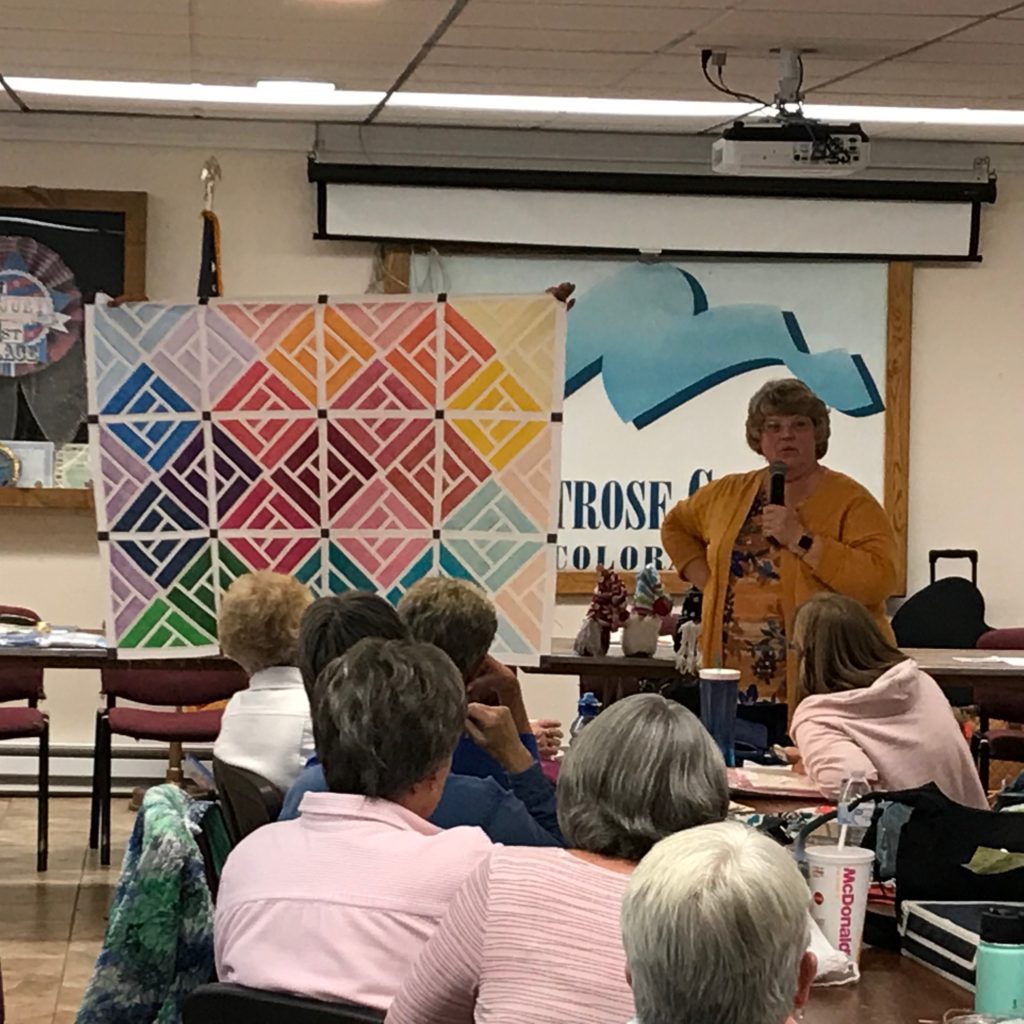
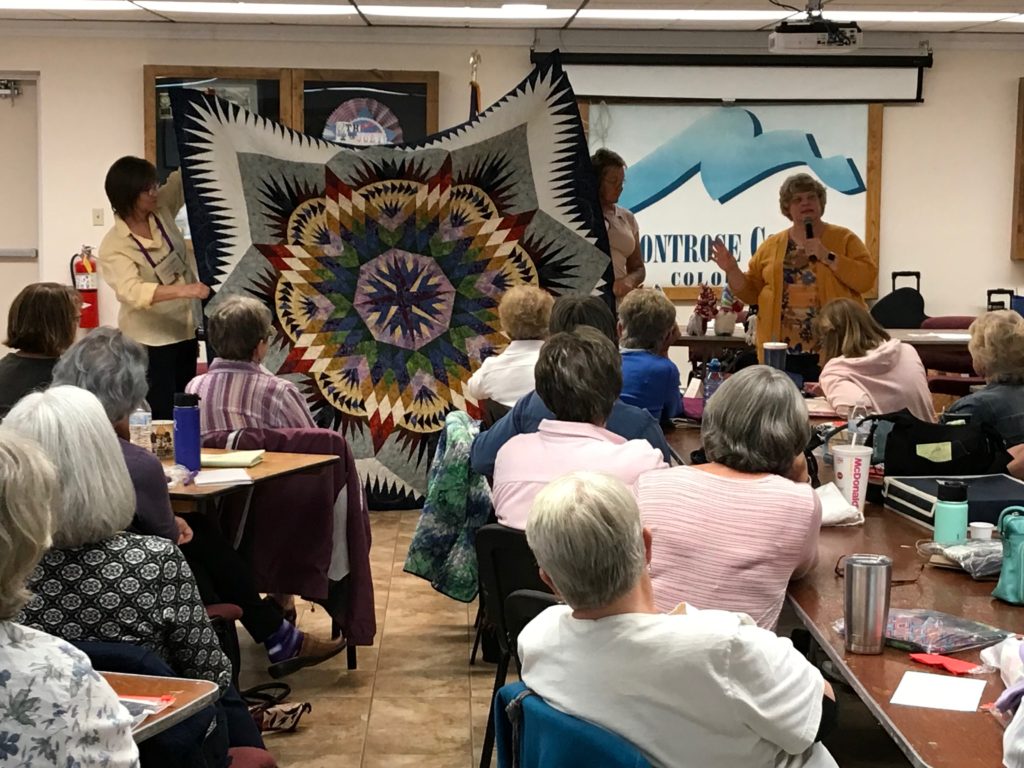
Here is my Vintage Compass, (Quiltworx), made with Asian fabrics. It was only my second Judy pattern. Lots of good lessons learned on this quilt. I especially like how the quilting turned out using the Quiltworx digitized patterns for this quilt. The back of this quilt is just as striking as the front. Changing thread colors may be a bit of a chore, but it certainly has a dramatic effect on the over all presentation. I love this quilt! And here is the very first quilt I ever made!! It is an Eleanor Burns Quilt in A Day Log Cabin. After 20+ years, it is still just a top (held sideways) with no borders. I enjoyed making this piece, but once I got this far—I never looked back! Needless to say, this needs to make the migration from my UFO pile and into the completed pile, ready for the next trunk show. This was the very first quilt I showed. It is from my great-grandmother, circa WWI. A “Red Cross Quilt”. I am so very proud to have this beautiful heirloom to cherish. And here is an amazing quilt from my father-in-law. Beautiful hand quilting and pristine condition! An absolute treasure.Prismatic Star (Quiltworx pattern). I chose to make this from a kit and it’s a very striking color way for this quilt. These are not my first choice of colors, but I felt the best way to acquaint myself with these type of colors was to utilize a well designed kit. It proved an excellent learning opportunity, as I’m much more comfortable in working with colors such as these. Really enjoyed making this quilt…much more than I anticipated. A Fractured Paint Box (Quiltworx) made with a Chambray jelly roll. Fast — fun — and easy! Prairie Star (Quiltworx). A terrific pattern that I am now teaching at Fabrics and More as a “Block of the Month”. Our class is small, but the ladies are so enthusiastic about their work. Learning, and teaching, this quilt is turning out to be a very rewarding experience.
There were about 20-25 more quilts in the trunk show, but I’ll save those for another day.
The project for the class following my trunk show was a set of placemats made from the pattern Cappuccino (Quiltworx). Look at those smiling faces! These ladies have some beautiful beginnings to their projects.
It was certainly an exciting and fulfilling event. I feel so honored and pleased to have shared my first trunk show with my guild sisters.