I’m thinking, a cuddle is worth a whole heck of a lot. Whether it be with a pet, or a child…a loved one or a warm fuzzy cover…cuddles take care of a very specific thing we humans need.
In a word…Comfort. Cuddles bring comfort—to both the giver and the receiver. And comfort brings security and peace and eases stress, and—and—and… The list goes on and on for the benefits of a cuddle.
As quilters, we have the unmatched ability of being able to create cuddles without even being present. I love that aspect of what we do. It reaches not just beyond our immediate surroundings and those we gift our work to, but it also reaches beyond time. Much like the quilt in a quilt mystery that I unveiled yesterday.
Over the weekend, I made a cuddle throw. Literally…a throw sized little thing made from Cuddle fabric by Shannon. It has a great story to start it off. And I’ve included some of the tips I learned about dealing with this sort of project. Read on, my friends…
During the summer, last year, Gary and I went to an estate sale. I was specifically looking for vintage linens that I use to make quilts. These items also are incorporated into my trunk shows and workshops to teach about this method. Of course, when at an event like this, I look at everything I can find to see if there is anything to re-purpose or might be a treasure of another kind. You can find literally anything and everything at one of these sales.
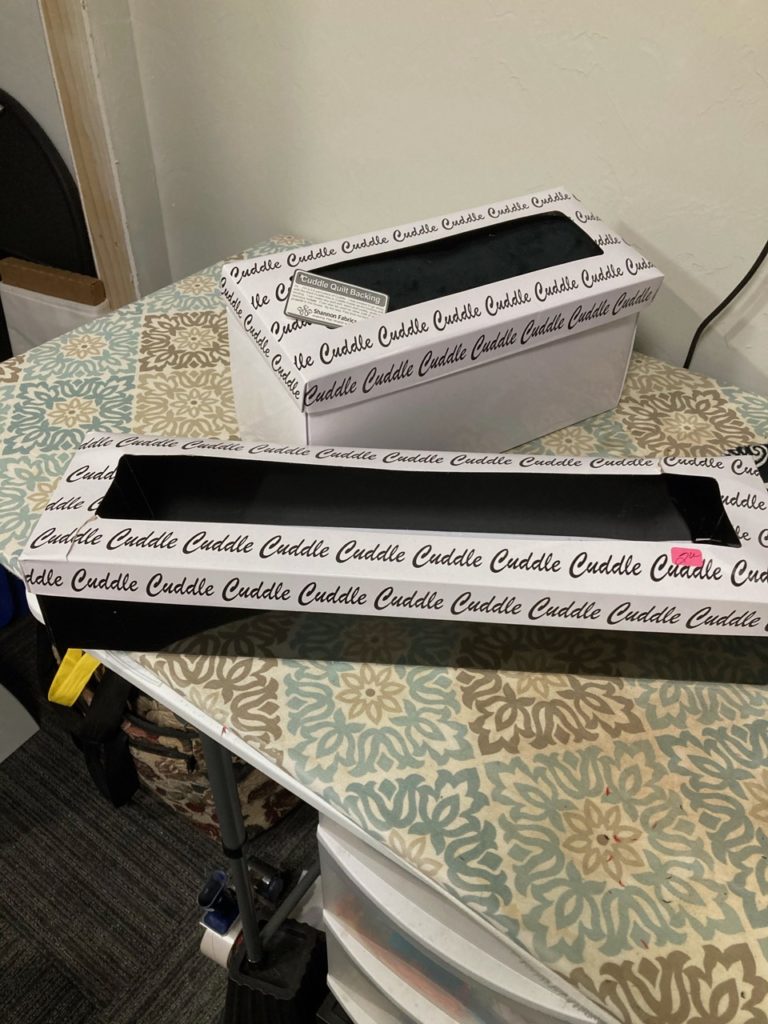
I found these boxes tucked under a table, just haphazardly sitting on the floor. I knew what they were and was a bit intrigued to see if the contents matched the boxes. They sure did. And when I saw the price on the boxes, they didn’t just slide quietly into my bag, they jumped.
You see, there is a technique to shopping at a sale like this. You don’t pick it up unless you are truly interested in the item. If you need to think about it before you buy it, you put it in your bag and carry it with you until you decide. Because believe me when I say, people watch you and if you touch it and show interest in it, others will as well. Then, the likelihood of it being there when you decide to go back and get it, is nearly zilch.
The price alone was worth the purchase…$2.00 a box! That’s right…just 2 smackers a box. The original price was over $50.00 a box! Yep…they jumped into my bag, and home they went.
I decided right away I was going to make this little cuddle throw for our daughter, and over Valentine’s Day weekend seemed to be the perfect time to get started.
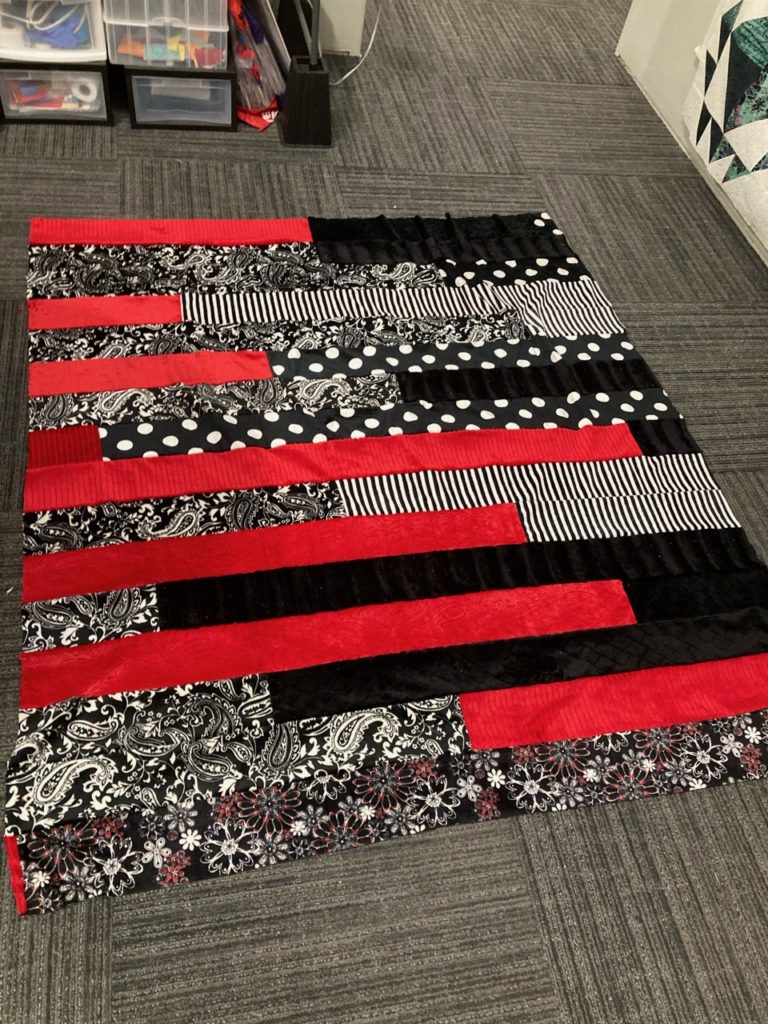
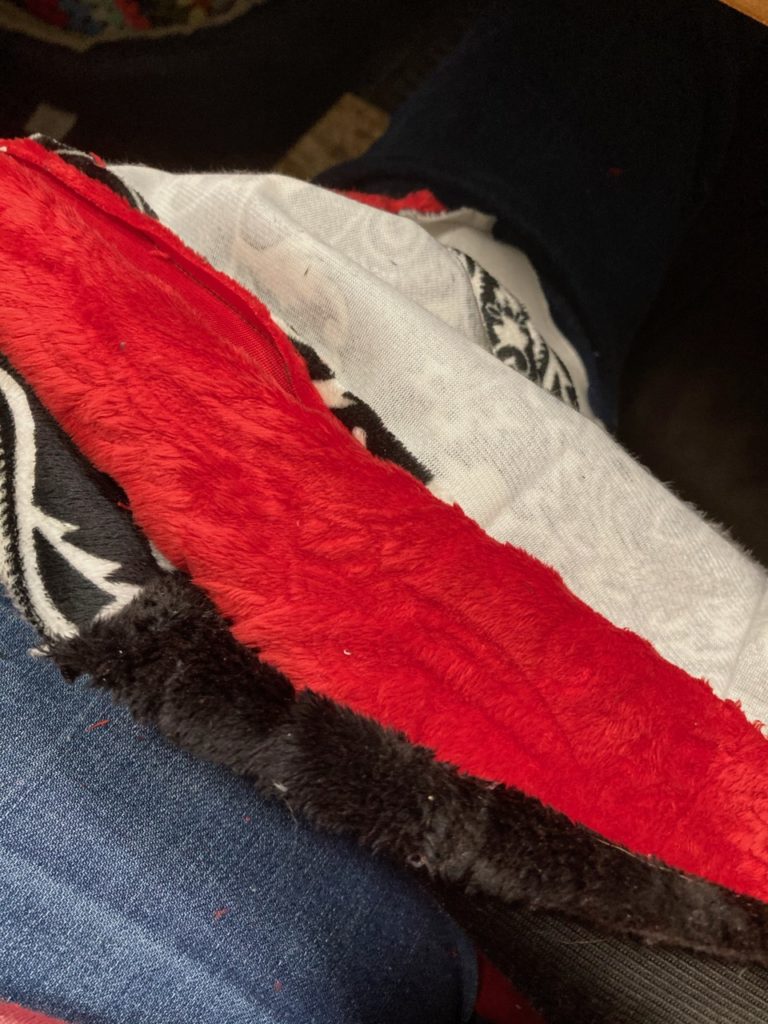
The long narrow box held 17- 5” strips of a variety of red, black and white colored Cuddle fabrics. A “quilt-as-you-go” pattern was included, which I promptly ignored. I chose to use a “Jelly-Roll Race” pattern. No measuring, no fuss. But…. there was lots and lots of muss.
Cuddle fabric is a unique product which has a lot of wonderful qualities, but also some things about it that are less than fun to work with. Now, I’ve used Cuddle type fabric several times as backings for quilts, and they give me absolutely no problem at all. The end product is totally worth the little bit of care that’s needed to ensure a good result.
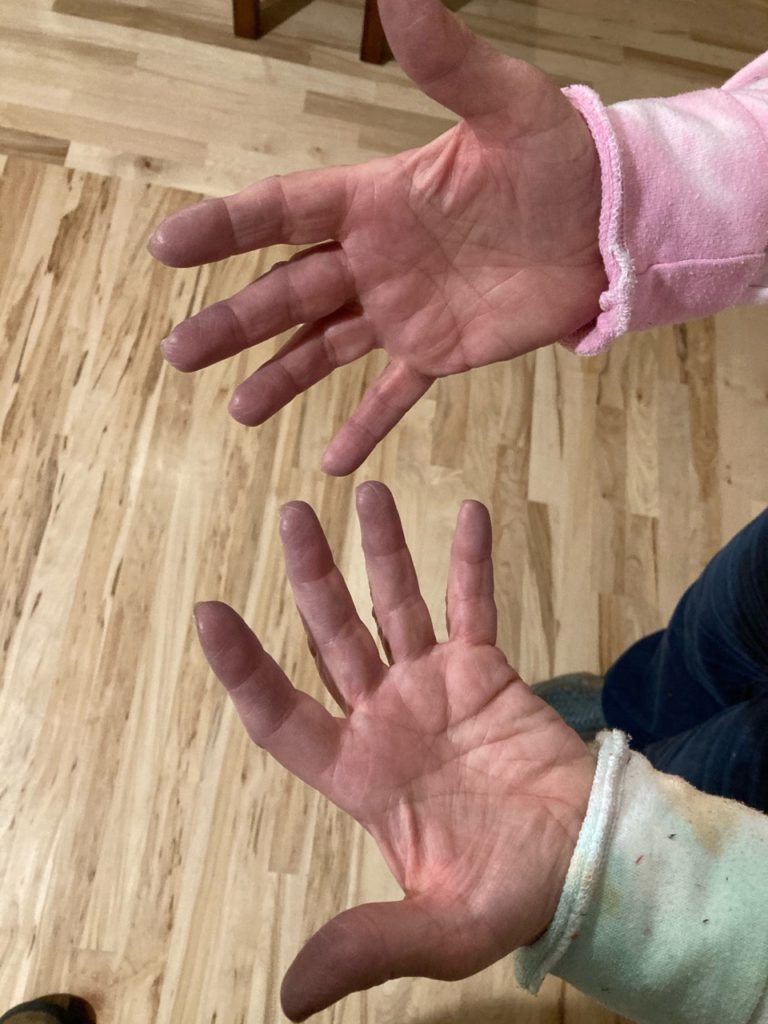
Having said that, the issues in working with a fabric like this…regardless of the type, whether it is Minky or Cuddle, smooth or textured, they ALL are slinky and stretchy. And! Their edges curl when cut. The larger pieces don’t curl quite as much, but the smaller the pieces are cut the more they curl. Stretching the fabrics cause them to curl even more. BIG thing to be aware of.
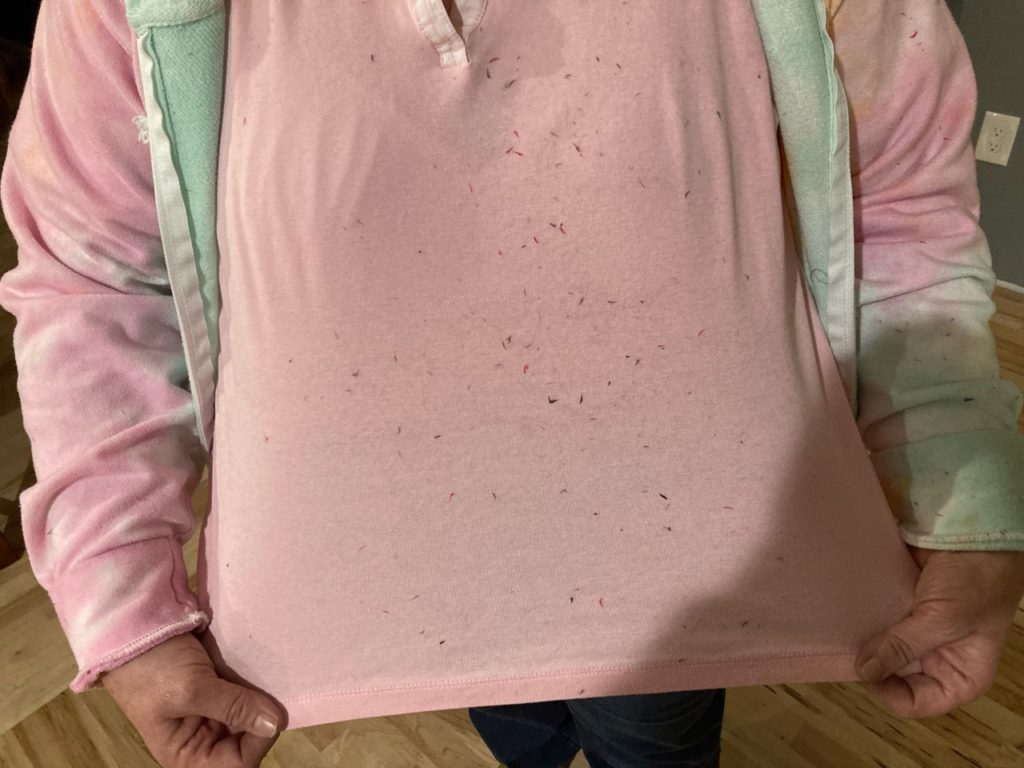
The other thing to be aware of is that they shed. Like a shorn angora anything. There is fuzz EVERYWHERE! You simply cannot avoid it. There are ways to reduce the fuzz…like placing painters tape across the backside of the fabric to make a long WOF (width of fabric) cut. You cut down the middle of the tape so each side has a bit of the tape when separated. Then you don’t take the tape off until that edge is sewn into a seam. Taking the tape off takes most of the fuzz, and the pulling of the tape and subsequent curling of the edge won’t matter because it’s already got a seam to keep it straight.
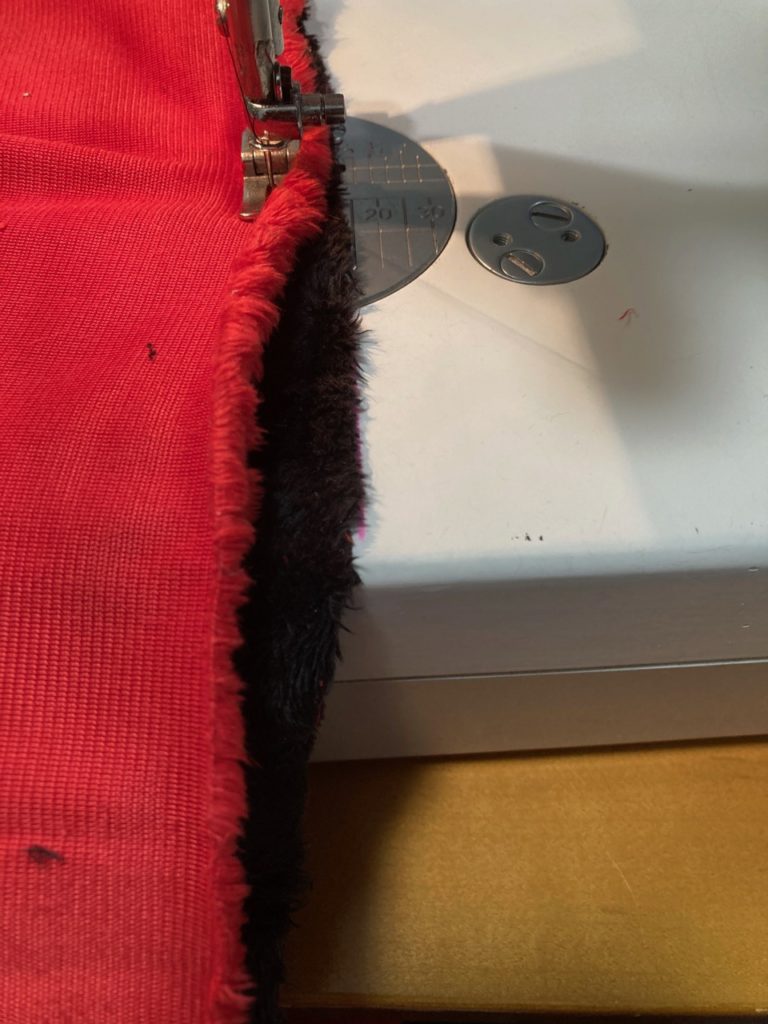
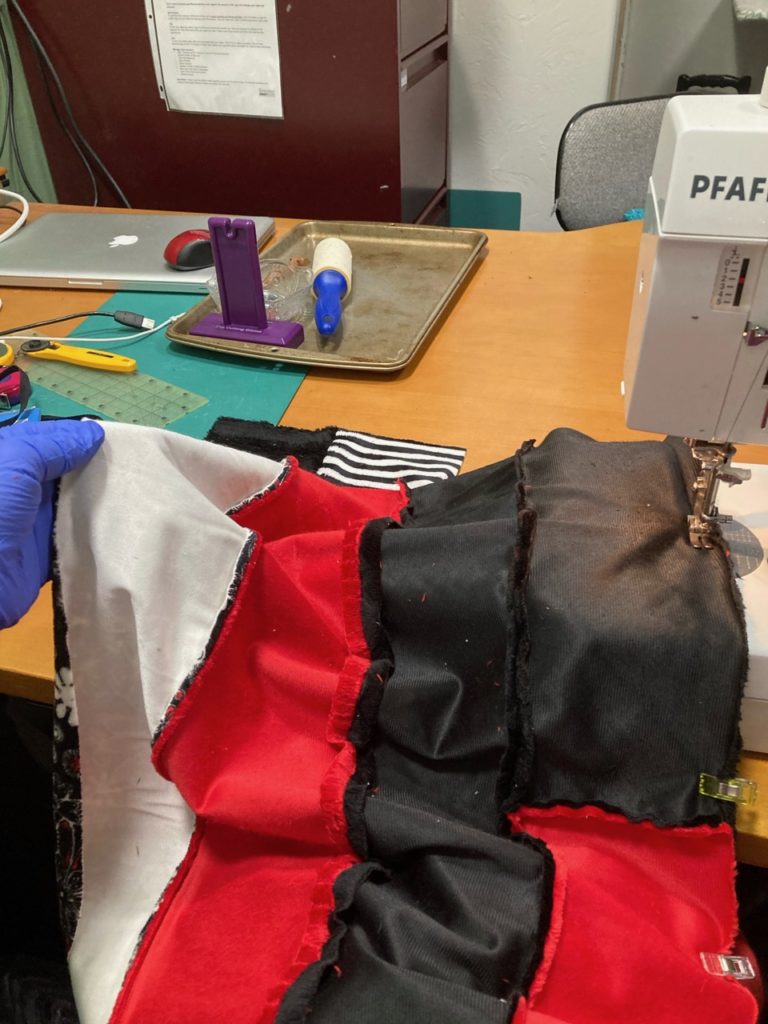
But I digress. The tape method doesn’t work with smaller pieces. And these 5” WOF strips had curl to them as soon as they came out of the box. Knowing how to manage the curl is a learned skill that I’m happy to share. To have a good outcome I did several things. First, I increased my seam allowance to ½” which allowed me more maneuverability on the approach to the presser foot. Curling on the bottom fabric could be managed by the machine bed, but the top fabric had to be continually uncurled and repositioned as I fed the layers to the presser foot/needle. But the struggle grew as the project did.
Then, there is the sliding/slickery issue of having two layers of this pass through the machine. As the project grew, it became heavier and thus would pull slightly to the side. So, another factor was added into the “anti-curl” technique. The bottom fabric had to be guided with the right hand to keep it true for the ½” seam allowance. The left had to continually readjust the top fabric, along the left side, to keep the “curling” influence at the right side of the fabric from pulling it askew. Uncurl, readjust the tug-of-war, sew; uncurl, readjust, sew; repeat to the end.

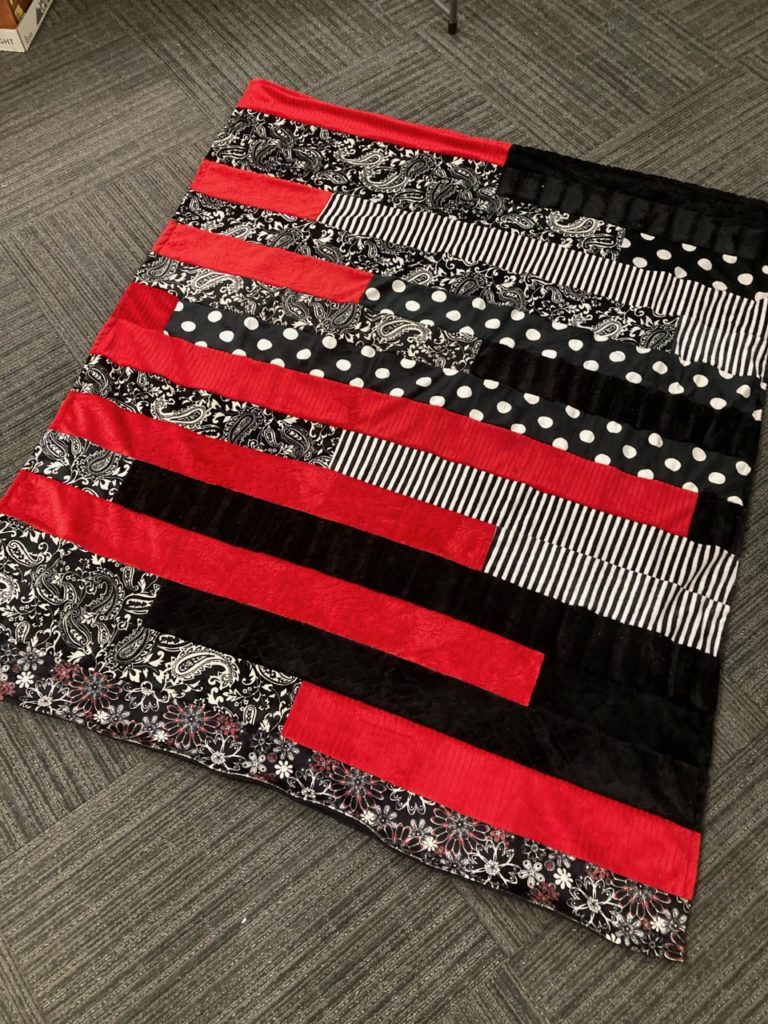
Even with the added steps necessary to work with this fabric, it went together quite quickly. The finished top size was 58” x 67” and took only about 4 hours to sew up. Perfect!
Next, was what to do about the finish.
The top was a bit weighty, and backing of the same fabric doubled the weight. Adding batting was too much. So, I opted for no batting. I also decided to not quilt it either. Reason being, to add stitch lines for the quilting would completely change the look but more importantly the feel and drape of the cuddle.
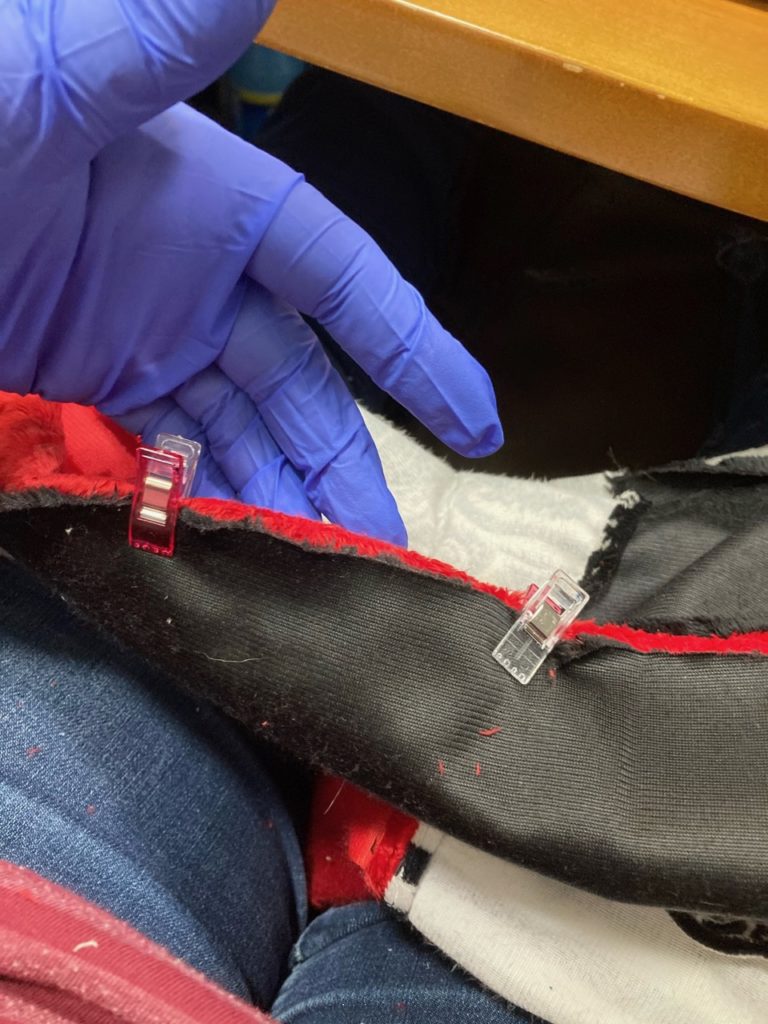
Finishing looked like this! I laid the backing on the floor, face up. Then, placed the top over the backing, face down. I pinned along one side, the top and the bottom of the quilt. That left the uneven 4th side of the quilt, which always happens on a Jelly-Roll Race. Measuring in from the side of the backing along the last side, I marked a straight line the full length of the quilt, then pinned it in place. Now, I had everything secure. And I did NOT cut anything off to bring it square at this time!
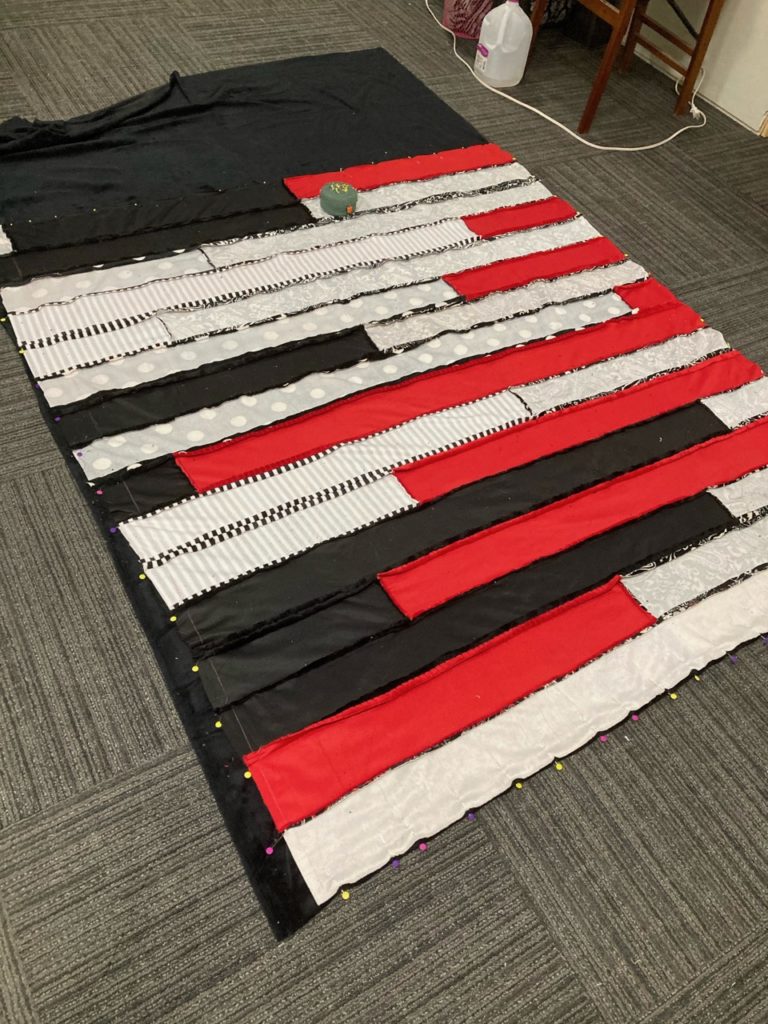
Next, I sewed a ½” seam all the way around the quilt, using the marked line along the crooked side as the edge, and leaving a 4-6” opening along one of the other sides. Once it was all sewn, THEN I trimmed the excess fabric off the bottom and the crooked side, making all sides even and no trouble with the curling problem.
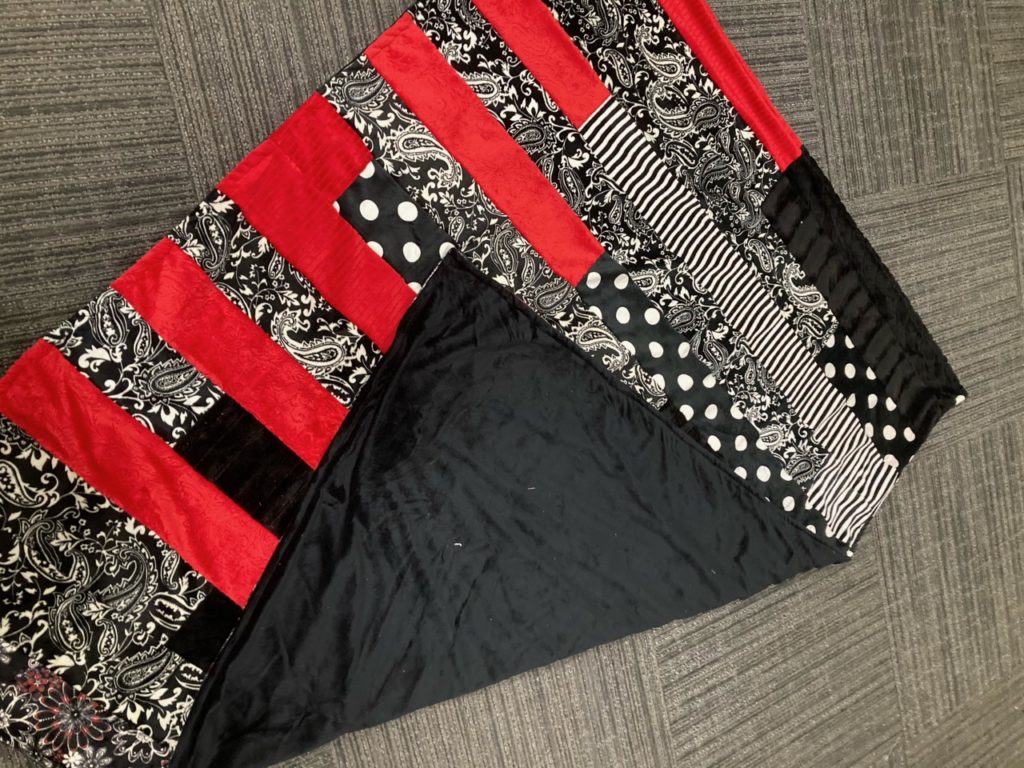
Last step was to turn everything inside-out and sew a 1” seam around all 4 sides. Plus, a few inches of hand sewing nicely closed the turning opening. Just another couple of hours of sewing.
When our kids were little, I always made them pajamas to sleep in. I told them that even when they were sleeping, I was holding them and giving them lots of love and snuggles because I made their pj’s to do that job for me when we were apart during the night.
This little cuddle blanket is kinda like those pj’s…sending lots of love and snuggles to my girl when I can’t be there in person.
So, what’s a cuddle worth to you? It’s worth everything to me…and I’d do it again in a heartbeat.
Until next time, may your bobbin never be empty.
Very well worded!