Terrific Tuesday

Would you believe me if I told you that I’m really enjoying my Tuesdays these days?  Well actually my Tuesdays AND my Thursdays which are now dedicated to Mission UFO. 

While the weather outside was looking blustery and full of snow over Grand Mesa to our north, we were warm and toasty in the classroom being industrious and having a great time visiting and sharing stories with each other.

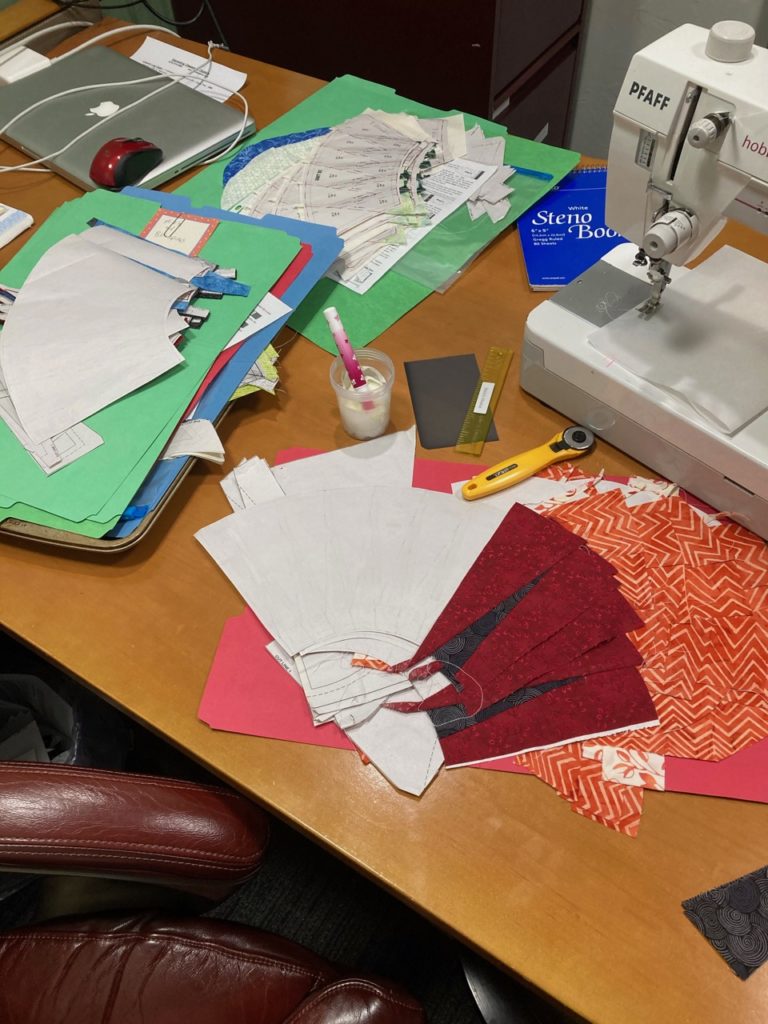
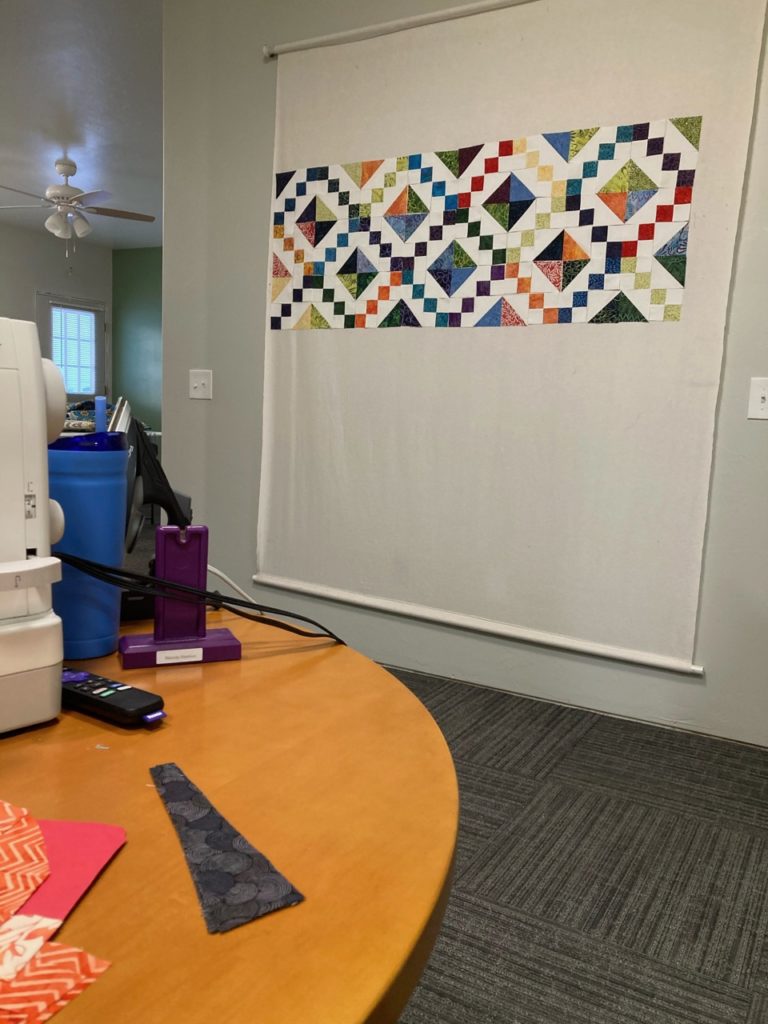
Cindy is making lots of progress on her Hanging Garden project. Take a look at how far she got today. 

I love how this is going together. It’s built on-point, so tilting your head slightly will give you a better view of what it will look like when finished. Just a little more for the body before the borders go on. Such a great pattern!

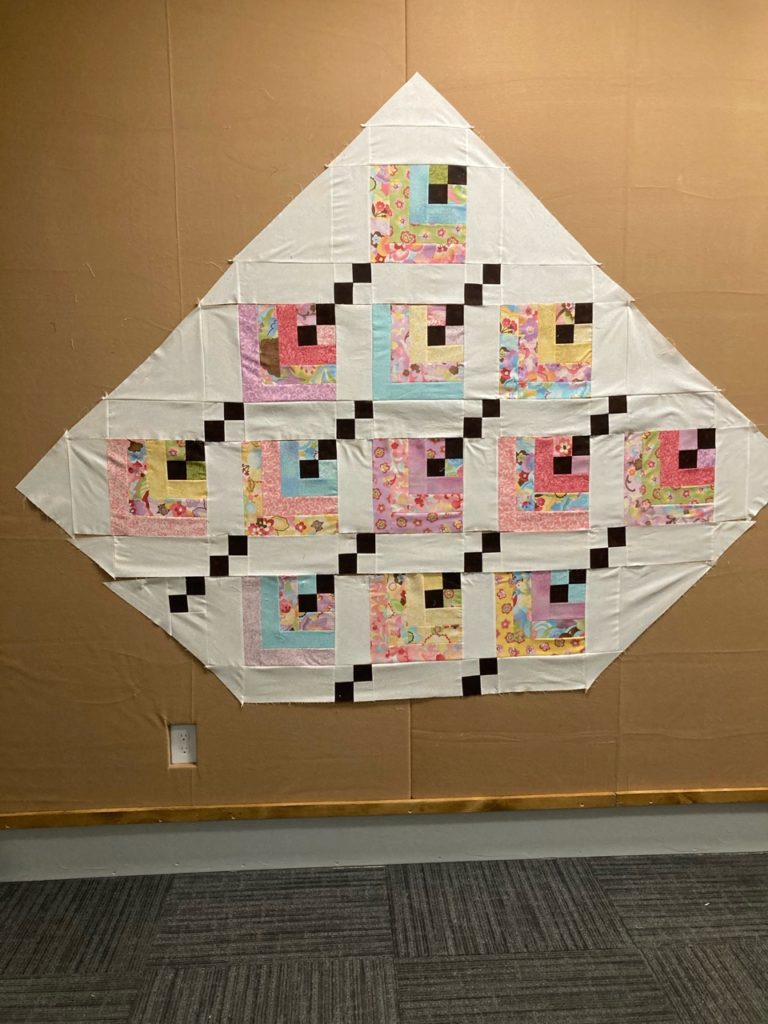
Her boarders are already made, and her goal on Thursday is to finish up the body and then get the borders put on.  I think I’m looking forward to her finish as much as she is.

I was able to get the blocks on my Ganache set with side sashing.  Now, I just need to add the horizontal sashing and put the rows together.

Here it is…growing wider all the time. Adding the horizontal sashing will increase the body to be a much better shape to fit on a bed, lol. I struggled a bit in trying to put the smaller components together in a scrappy way until I tried a sample block that all matched. THAT was way harder to do, which surprised me a lot! Back to a scrappy layout and it just got easier from there.

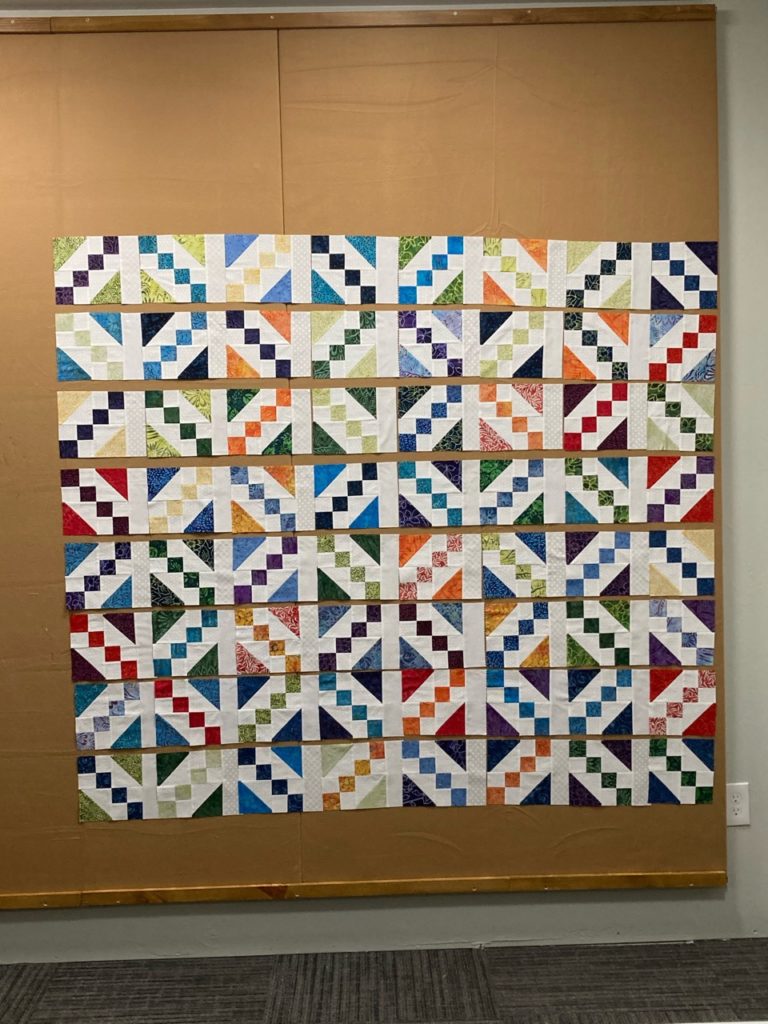
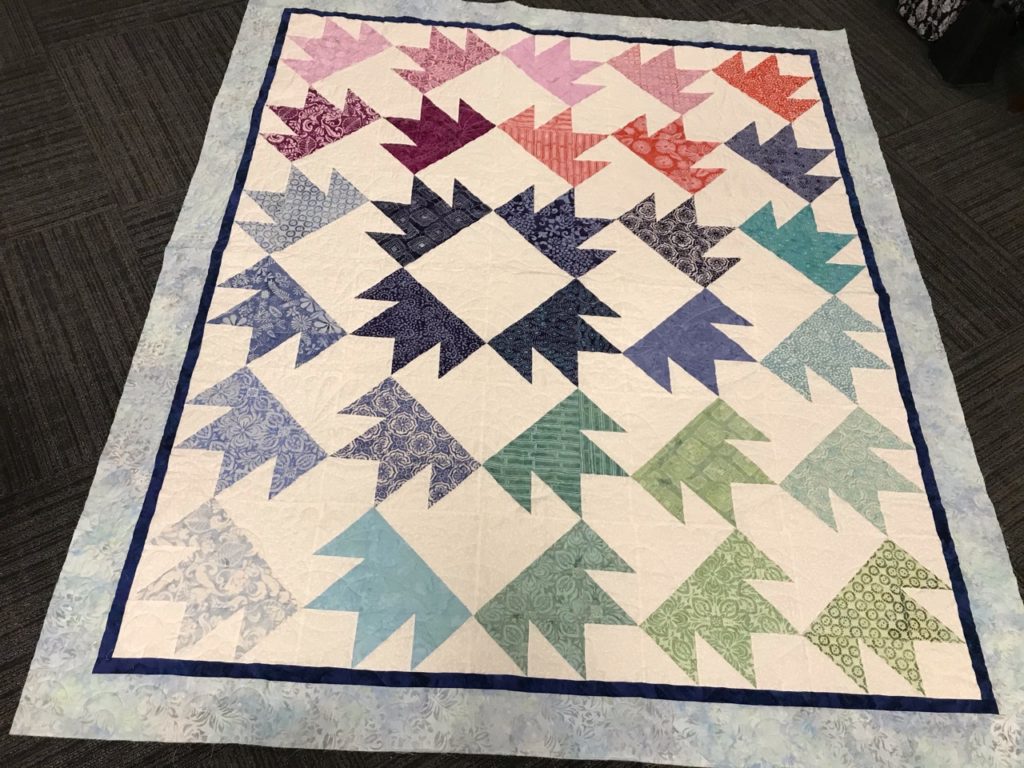
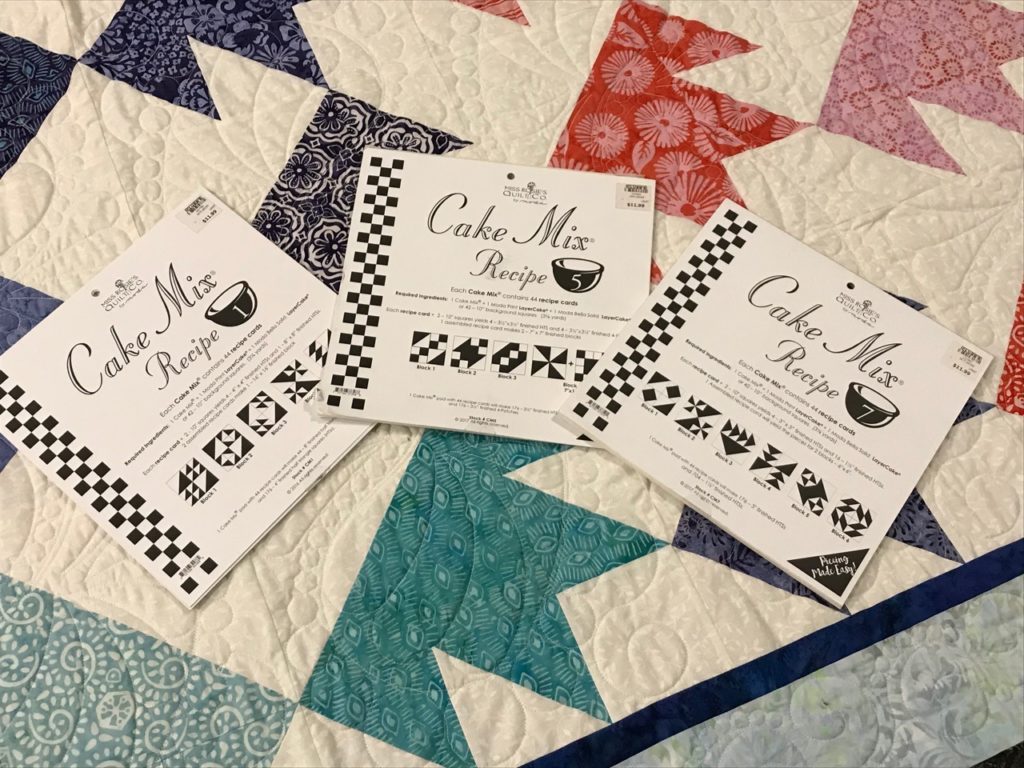
Out of the same project box (…my Moda Bakeshop box), I pulled out a set of blocks that I’ve had waiting to be set for several months.  This quilt is called “Sherbet” and is made from the Bakeshop Recipe Card #1.  It’s another quick and great looking quilt made from a layer cake plus some additional background fabric.  

I can honestly say that I don’t remember a thing about buying the layer caked being used here. I like the fabrics well enough. Actually, I like them a lot better in this quilt than I did as a layer cake. My preferred palette is much brighter than the colors here. But it’s growing on me and I’m glad that I’ve worked with this color way. It’s stretching me as a quilter…and that’s always a good thing.

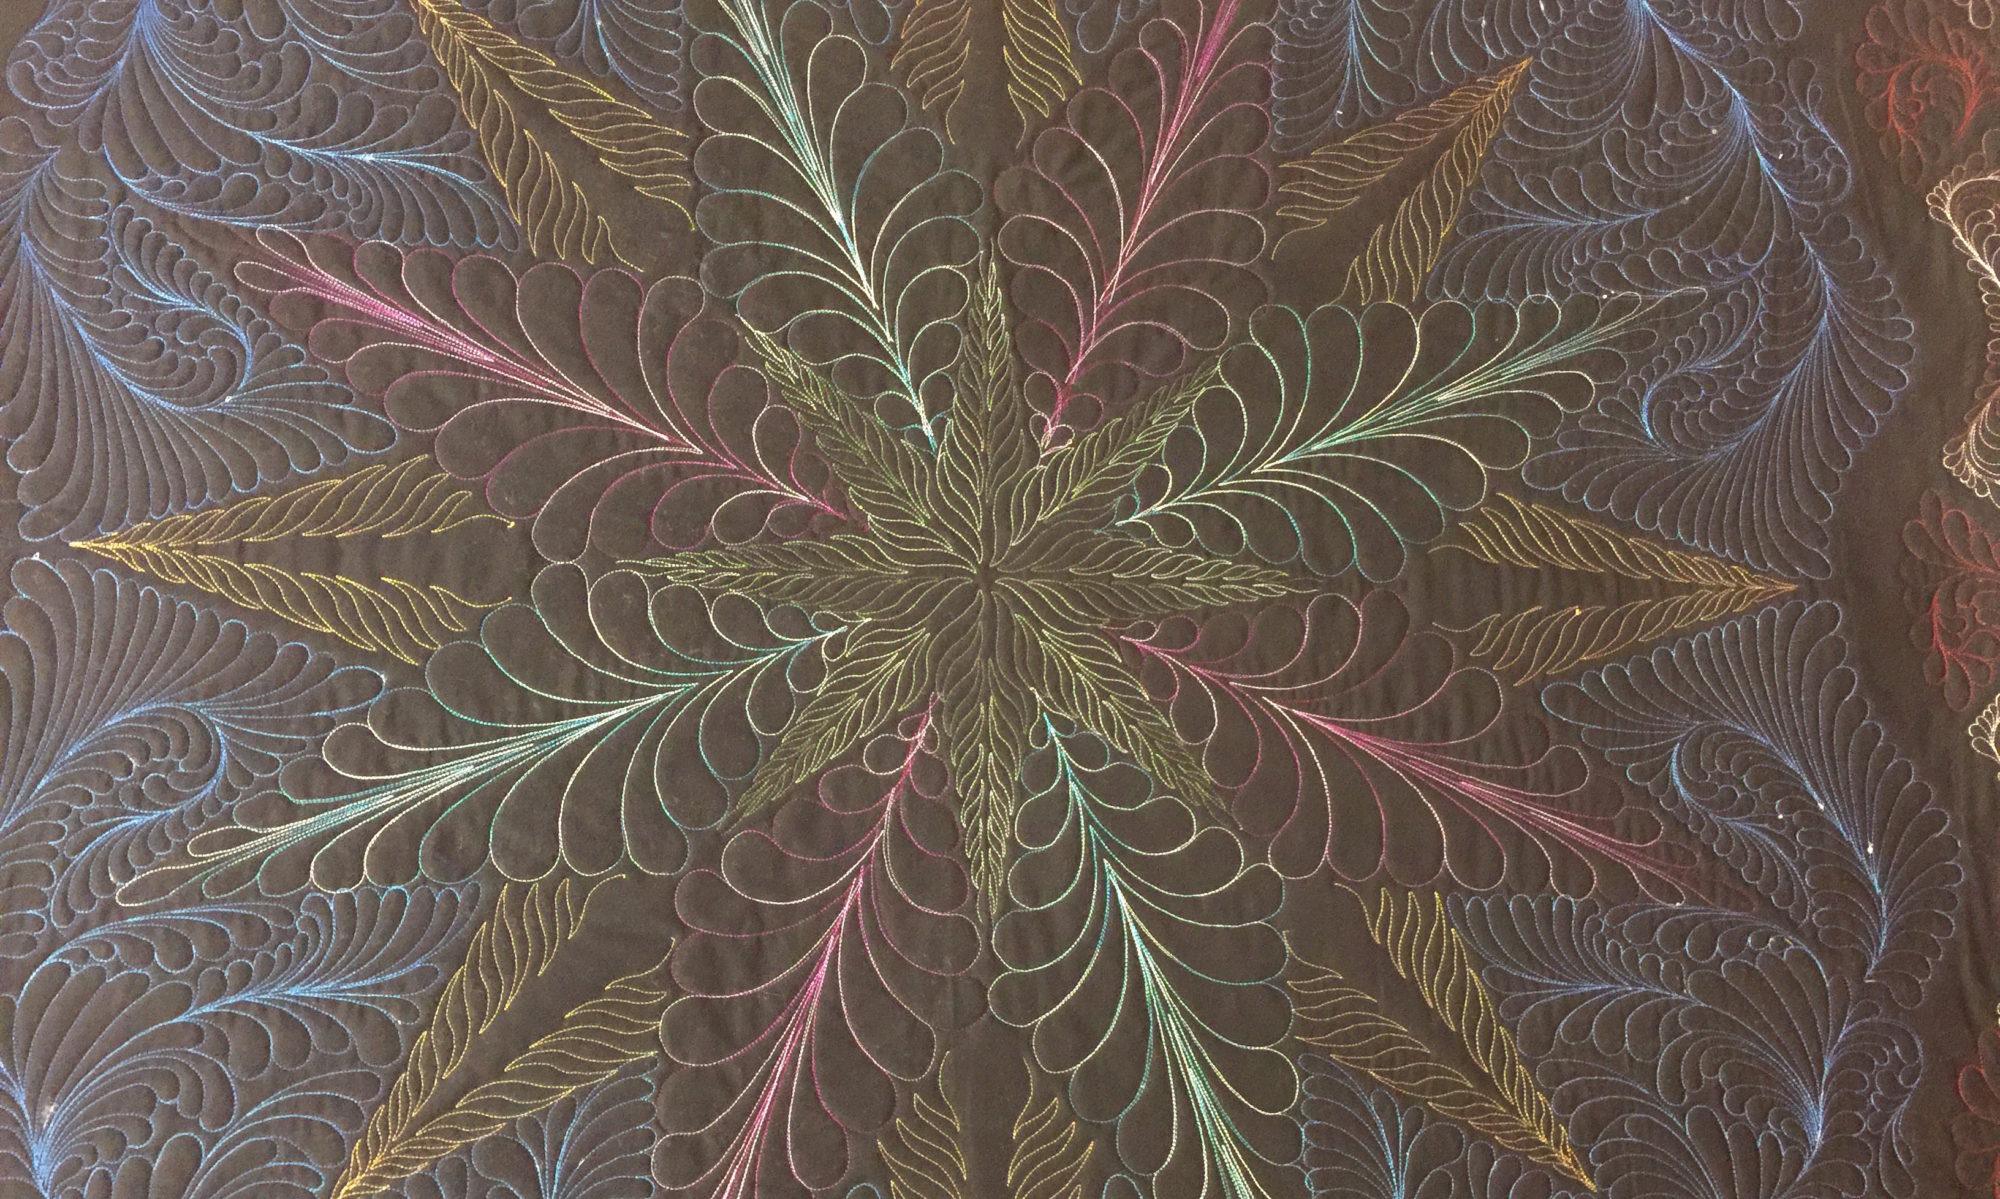
And over the weekend, the yummy plaid fleece that I showed in a previous blog became a cozy quilt.  As soon as it makes it to its new home, I can show you pictures of the front, but for now…a peek at the back is all I can share.

It’s a happy day when the quilting motif looks so good on the back of a quilt. It’s curvy without being too feminine, and a quick moving e2e pattern that allows a nice drape to the over all quilt.

Tomorrow, I have another friend coming to spend the day and we plan to sew and visit to our hearts content.  We haven’t been able to have a sew day for a couple months now.  So, I’m really looking forward to our time together.  I hope to have some great pictures for you too!

Have you had a chance to sew with a friend lately?  I mean, in person and not through a virtual platform?  Even in our current life where so many of us are taking extra precautions, and self-isolating, I think it’s an important thing to still try and get together with others.  Don’t get me wrong, each of our personal situations require us to do the things we are compelled to do, but the shortest story to the long diatribe is that we are social creatures.  Everyone needs personal contact to thrive — and we are suffering in ways many of us cannot see right now because we are just trying to make it through all this “stuff”.  But for others, they feel it more acutely.  

I suppose that as I write this, my readers could easily ask about what I do and the why that goes behind having classes and meeting with a friend or two.  The honest truth about the classes is that I’m trying to get my business back on track…classes and retreats followed closely by long arm business are my focal points.  But meeting with a friend is purely because I need to be in contact with that person.  

I would love to say to everyone, just meet with one friend, and catch up with them.  Meet outside or wherever you can to respect each other’s personal decision about dealing with “stuff”, but reach out.  Our isolation can be such a hard decision to bear, and the simple act of seeing a face you care about…a whole face, is like food for the soul.  

Somehow, somewhere, sometime…we have to reach out and re-connect.  I think those days are going to become easier to accomplish.  I hope we all can find a way to reconnect and regain so much of what we’ve lost by being absent from our regular lives.

I wish everyone a better day today than what we had yesterday.

Until next time, may your bobbin never be empty.

Just Puttering

Do you use that phrase?  Just puttering around.

I did a fair amount of that this weekend.  You know, doing the busy work of a home…some laundry, some dishes, a bit of cooking and so on.

The laundry and dishes are the same for us all.  And pretty much so is the cooking, but over the weekend I did some batch cooking so that I’d have a few things for later in the week.  There was a huge stockpot of vegetable beef soup that bubbled away for an afternoon.  And some Keto snacks for us to have on hand when the urge to nibble makes its appearance.  A favorite for the man of the house is Key Lime Cheesecake Tarts, and for me it was Lemon Poppy Seed Scones.  Other menu items were Keto Stroganoff, a Chicken Tortilla soup, and Baked Salmon with a Parmesan Basil Crust.  Left overs and snacks to get the week started.  Can’t get any better than that.

And a bit of this happened.

Buster got this little stuffie from one of my student this past week. I was really proud of him too, because this little green toy stayed stuffed for 3 whole days before losing its fluff. We retrieved the squeaker that’s laying towards the upper right of the picture. But once the fluff was out for all to see, the work was done.
He wasn’t shy about owning up to it either. Now, our little green friend is re-stuffed and ready for the next time the oven goes on. Access to the fluff will be a bit easier, as the small hole won’t be sewn shut. A repeat de-stuffing hole is much easier on us both. Besides, I’d had to think that there would just be another hole and another until one day, poor green stuffie would look more like swiss cheese than an anxiety management tool.

You could call it murder on the dining room carpet, but we just call it a de-stuffing.  And the culprit sat right there to be caught.  Buster doesn’t like the oven, so whenever it gets turned on, he gets wound up and super nervous.  We’ve found some “calming treats for dogs”, which only work so-so.  But sometimes, the bugger gets a bit more anxious which ends up in a floppy toy on the floor.  I just gathered up the stuffing and put it back for the next time he gets antsy.

I did get some sewing time in.  This is what my desk looks like when I’m working.  Kinda messy…but it’s all part of the work I love.  

Love working on all these different projects. It’s a restful place for my thoughts when it’s quiet. But for today, I had my TV on and was streaming the series “White Collar”. I use a Roku, and it works really well in my studio.

I also started laying out the blocks for this quilt.  It’s another Moda Bakeshop like what I’ve written about before.  This one uses a #5 Recipe card, and the quilt that I’m laying out is called “Ganache”.  Only about half of it is on the design wall right now. I’ll lay the other half out tomorrow and then rearrange anything that might need it.  This design actually has sashing between the blocks which I’ll add into the construction once I’ve decided on the final placement.  It would just be too large for the design wall if I put them in now.  But, the jury is still out…I might just go ahead and call this arrangement good and add extra borders to reach the size I want.  I dunno…it’s a process.

This is a pretty cool little layout. Reminds me of a Jacobs Ladder, but also has some “X’s” and “O’s” movement to it. Got some pondering to do…

So, that’s pretty much the weekend for me.  Kinda restful, kinda busy…..but mostly…. Just puttering.  Feels good to go a little slow for a couple of days.  Makes the merry-go-round of the regular week that much more fun.

Until next time, may your bobbin never be empty.

Are You in a Bind?

Are you in a bind?  Well, I mean…are you binding?  I am.  Today I am putting on a binding to a sweet quilt that has been hanging as a store sample at Clubb’s Fabric Store in Delta.  I retrieved it for a class and then brought it home to put a binding on it. 

I simply love this quick and easy pattern. The batiks remind me of the beach, so I’ve named it my Beach Bear Gingerbread quilt. It’s the second time I’ve done this same pattern, and I have a 3rd set of blocks in this pattern made with rich mulberry and green batiks with cream background. Looking forward to seeing how that turns out too!.

This is a Moda Bakeshop, by It’s Sew Emma Patterns.  Bakeshop?  Well, let me give you a quick run-down on this clever pattern set-up.  The “Bakeshop” is built on layer cakes.  You have an instruction book called “The Cake Mix Quilt Book, Volume One”, (the “cookbook”, aka the instruction book).   All these patterns utilize “layer cake” fabric collections plus some amount of yardage for backgrounds, borders and binding. Genius!

This is such a great pattern book! The instructions are written with clear and concise directions, and has lots of graphics and pictures to help in construction of the project.

And you have “Cake Mix Recipe” cards like this.

This is so clever. The mixing bowl shows the number of the recipe card. And the black and white pictures on the covers show the variations of how to set the block that each of the recipe cards can make. You can make them all the same, or a combination of any shown.

These “recipe cards”, (printed like a tablet that you can tear off, one page at a time), are numbered 1 thru 8. In the “Cookbook” each recipe card has two different quilts from which to choose.  For instance, the quilt I’m working on is from Recipe Card #1.  I made this quilt, named the Gingerbread Quilt, but I could have chosen to set the same recipe card into a different quilt named the Sherbet Quilt.  Totally cool!

I have used these Bakeshop patterns several times, and love them as a quick gift or easy “take-along” project where I know I’ll be talking a lot or have lots of interruptions.  It’s a perfect retreat project. It’s also a terrific introduction to paper piecing.  And it would be an excellent project for a younger aged 4-H youth project.

Then, because I had nothing else to do with my time, and because I can’t stand to throw away fabric that I think can be used for something else, I took my scraps from a couple different Bake Shop quilts and threw these blocks together.  I know, just a tad OCD, but definitely cute.  I’m sure that I’ll be doing something clever with them before too much longer….stay tuned.

These little gems were done in a weaving method…much like kids do with paper strips. I used fabric glue to keep things together, nothing is sewn yet. They vary slightly in size and the tapered ends still need to be trimmed, but I think there will be more coming. It won’t take many more to create something else to add to the “tops to be quilted” pile hanging out in the long arm pile.

But let me get back to the task at hand…binding.

I don’t know about you, but binding can be a pickle.  Some quilters love it, some don’t.  Some even avoid it at all costs.  But let me tell you about a method I found while I was surfing around Facebook one day.  Or rather, it surfaced in my Facebook feed as a “suggested for you” type of item.  Usually, I don’t follow those bunny trails, but for this one I did.  And boy howdy am I glad I did.

This is the link to Karens Quilts, Crows and Cardinals of the Redbird Quilt Company. This has been my saving grace for peaceful bindings! (Pardon my pun). https://karensquiltscrowscardinals.blogspot.com

If you follow this link you will go to her home page. You’ll want to click on the “My Tutorials” tab and scroll down until you see this topic.

The flange binding that is in the title of the blogpost is what caught my eye.  After reading her post, I saved it and was determined to give it a try.  Fast forward a few months and bingo…I had a quilt I wanted to try it on.  It turned out wonderfully well!!  And I’d love to show it to you, but of course the quilt was gifted away with no pictures taken before it’s departure.  

But even more than the flange binding, I want to tell you about her method for joining the beginning and ending of the binding.  THIS is THE –best—method—ever!  I kid you not!  Before I read this blog, it would take me a huge…HUGE…amount of time to do this one step.  Binding prep, attachment and finishing are all a breeze to me.  But the sewing of these two ends always eluded me.  I wrote myself directions, drew pictures, cussed, cried, and cringed…always wanting to master that elusive mitered seam ending.  (Totally not cool when I can do sooo many other, and much more technical sewing tricks.)  Then the stars aligned, the angels sang as the clouds opened to rays of sunshine and I followed a bunny trail to this beautiful blog about binding.  (Yes, it’s a bit overly dramatic, but when the lightbulb finally goes on, it’s a glorious thing.)

Putting all silliness away, I want to share with you this method.  It is most definitely not my idea.  She gets all the credit and the kudos for putting together a fantastic tutorial.  Throughout her blog tutorial there are lots, I mean LOTS, of pictures of every step as well as excellent instructions showing you exactly how to make a flange binding AND how to join the two end together.  

I can’t tell you how many hours I’ve saved using this tutorials’ instructions.  And with all the projects that I have ready to bind, and those waiting for the long arm, I’ll be using this binding method even more.  If you follow no other links that I share in my blog…go to this one and at take a look. I’m telling’ ya…it’s so worth your time. And while you’re there, take a peek at the rest of her blog. Gobs of interesting things are waiting there as bountiful treasures!!

So, without further ado, I’m off to finish up this binding.  Hope you enjoy the tutes!

Until next time, may your bobbin never be empty!