Are you in a bind? Well, I mean…are you binding? I am. Today I am putting on a binding to a sweet quilt that has been hanging as a store sample at Clubb’s Fabric Store in Delta. I retrieved it for a class and then brought it home to put a binding on it.
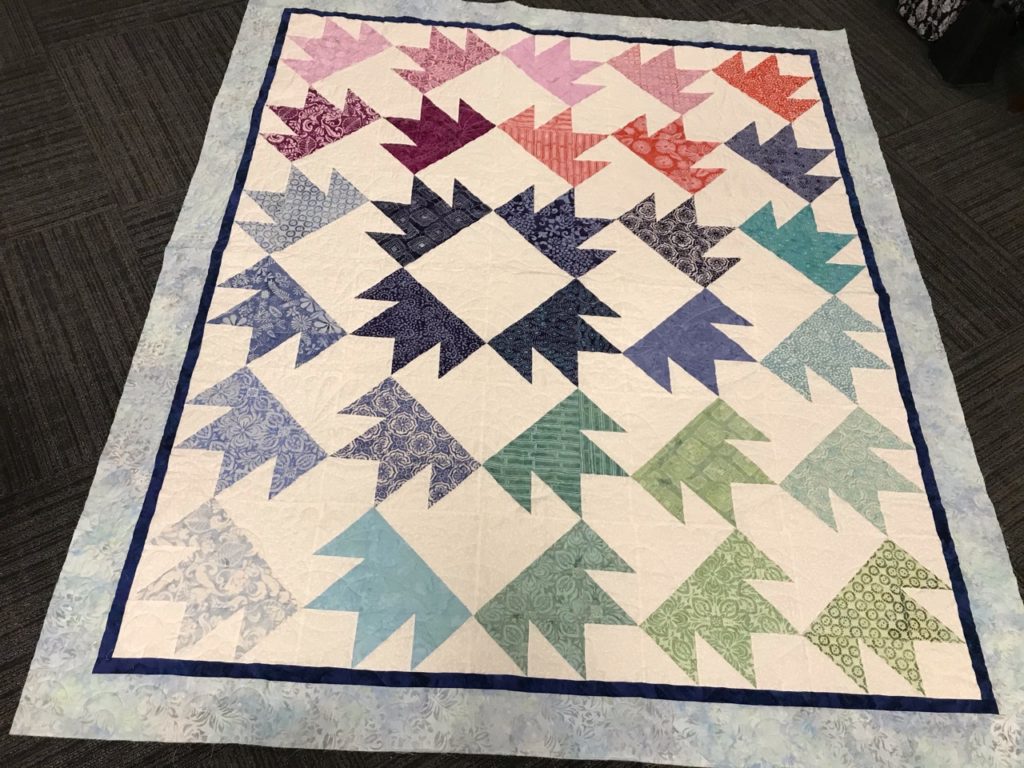
This is a Moda Bakeshop, by It’s Sew Emma Patterns. Bakeshop? Well, let me give you a quick run-down on this clever pattern set-up. The “Bakeshop” is built on layer cakes. You have an instruction book called “The Cake Mix Quilt Book, Volume One”, (the “cookbook”, aka the instruction book). All these patterns utilize “layer cake” fabric collections plus some amount of yardage for backgrounds, borders and binding. Genius!

And you have “Cake Mix Recipe” cards like this.
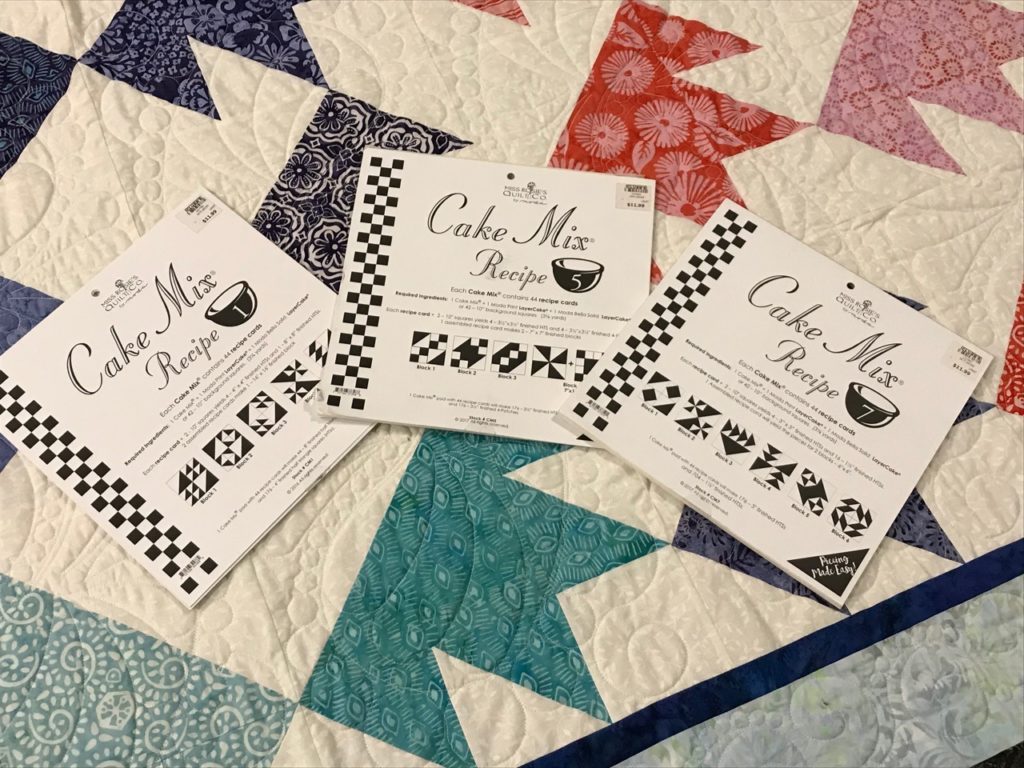
These “recipe cards”, (printed like a tablet that you can tear off, one page at a time), are numbered 1 thru 8. In the “Cookbook” each recipe card has two different quilts from which to choose. For instance, the quilt I’m working on is from Recipe Card #1. I made this quilt, named the Gingerbread Quilt, but I could have chosen to set the same recipe card into a different quilt named the Sherbet Quilt. Totally cool!
I have used these Bakeshop patterns several times, and love them as a quick gift or easy “take-along” project where I know I’ll be talking a lot or have lots of interruptions. It’s a perfect retreat project. It’s also a terrific introduction to paper piecing. And it would be an excellent project for a younger aged 4-H youth project.
Then, because I had nothing else to do with my time, and because I can’t stand to throw away fabric that I think can be used for something else, I took my scraps from a couple different Bake Shop quilts and threw these blocks together. I know, just a tad OCD, but definitely cute. I’m sure that I’ll be doing something clever with them before too much longer….stay tuned.

But let me get back to the task at hand…binding.
I don’t know about you, but binding can be a pickle. Some quilters love it, some don’t. Some even avoid it at all costs. But let me tell you about a method I found while I was surfing around Facebook one day. Or rather, it surfaced in my Facebook feed as a “suggested for you” type of item. Usually, I don’t follow those bunny trails, but for this one I did. And boy howdy am I glad I did.
This is the link to Karens Quilts, Crows and Cardinals of the Redbird Quilt Company. This has been my saving grace for peaceful bindings! (Pardon my pun). https://karensquiltscrowscardinals.blogspot.com
If you follow this link you will go to her home page. You’ll want to click on the “My Tutorials” tab and scroll down until you see this topic.
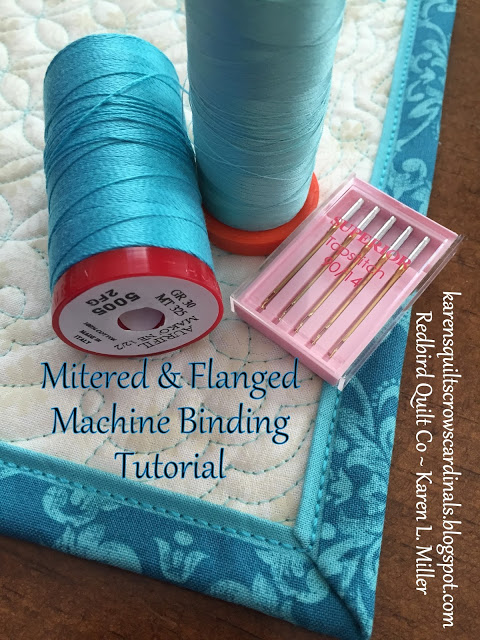
The flange binding that is in the title of the blogpost is what caught my eye. After reading her post, I saved it and was determined to give it a try. Fast forward a few months and bingo…I had a quilt I wanted to try it on. It turned out wonderfully well!! And I’d love to show it to you, but of course the quilt was gifted away with no pictures taken before it’s departure.
But even more than the flange binding, I want to tell you about her method for joining the beginning and ending of the binding. THIS is THE –best—method—ever! I kid you not! Before I read this blog, it would take me a huge…HUGE…amount of time to do this one step. Binding prep, attachment and finishing are all a breeze to me. But the sewing of these two ends always eluded me. I wrote myself directions, drew pictures, cussed, cried, and cringed…always wanting to master that elusive mitered seam ending. (Totally not cool when I can do sooo many other, and much more technical sewing tricks.) Then the stars aligned, the angels sang as the clouds opened to rays of sunshine and I followed a bunny trail to this beautiful blog about binding. (Yes, it’s a bit overly dramatic, but when the lightbulb finally goes on, it’s a glorious thing.)
Putting all silliness away, I want to share with you this method. It is most definitely not my idea. She gets all the credit and the kudos for putting together a fantastic tutorial. Throughout her blog tutorial there are lots, I mean LOTS, of pictures of every step as well as excellent instructions showing you exactly how to make a flange binding AND how to join the two end together.
I can’t tell you how many hours I’ve saved using this tutorials’ instructions. And with all the projects that I have ready to bind, and those waiting for the long arm, I’ll be using this binding method even more. If you follow no other links that I share in my blog…go to this one and at take a look. I’m telling’ ya…it’s so worth your time. And while you’re there, take a peek at the rest of her blog. Gobs of interesting things are waiting there as bountiful treasures!!
So, without further ado, I’m off to finish up this binding. Hope you enjoy the tutes!
Until next time, may your bobbin never be empty!
I’m so glad you are enjoying the blog!! That’s what I’m goin’ for, lol. Thanks so much for your comments…it’s so encouraging. XO
I absolutely love your humorous and very informative blog. You make me laugh girl!!