I don’t know who sings that song, or when it was recorded. In fact I know very few of the lyrics. But what I can say, it that I’ve got that tune on a loop inside my head, and everything is looking pretty good right about now.
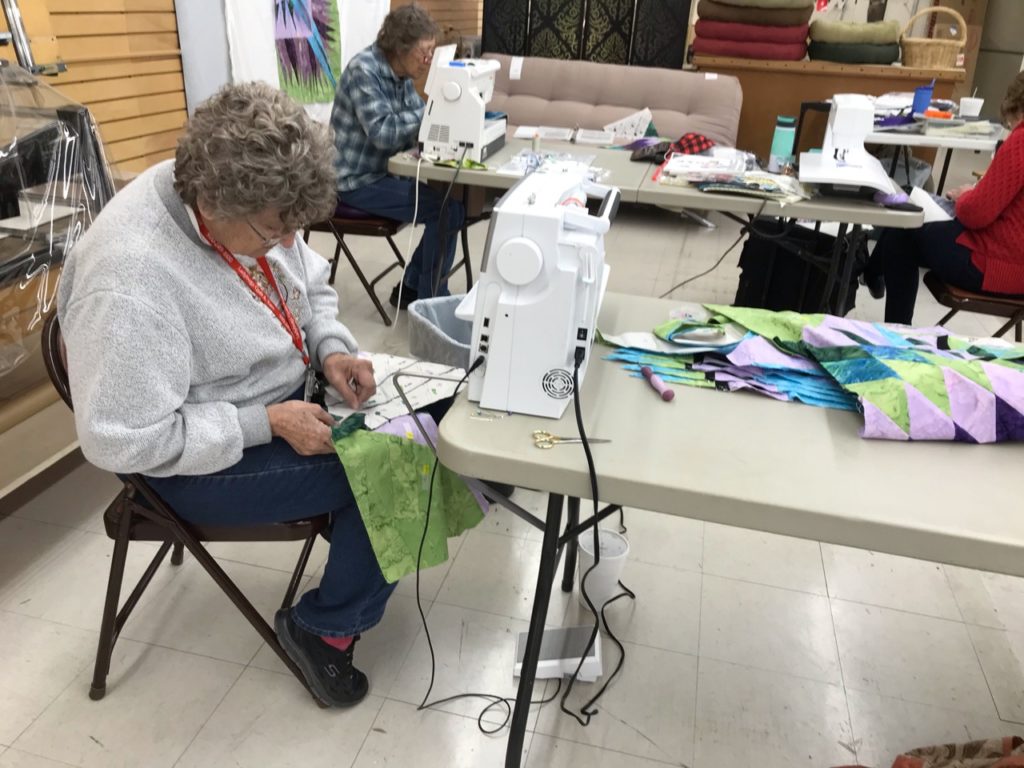
Today was Mission UFO day in the classroom, and I just had a couple of women to sew with today. But boy howdy did we get a lot of things worked on. It was a terrific day, and there are lots of pictures to share.
So while I’ve got dinner in the oven, (and it smells super tasty), let me show you what was finding it’s way under needles and onto the design wall.
Hmmm? What’s for dinner? It’s Keto Stuffed Peppers, one of Gary’s favorites, and super easy and quick to throw together. Ground beef, riced cauliflower, 2 eggs and 1 can of tomato sauce with salt and Mrs. Dash all mixed up and scooped into green peppers that have been halved and cleaned of seeds. A generous squirt of ketchup across the top, placed into a baking dish with ½ cup of water in the bottom of the dish to keep it from scorching, then bake at 350 for about an hour and out it comes ready to eat. And just to cover all the bases, I get most of my Keto recipes from www.ruled.me — so easy on a class day!
Anyway, let’s get to the best part of the day…show and tell from the classroom!
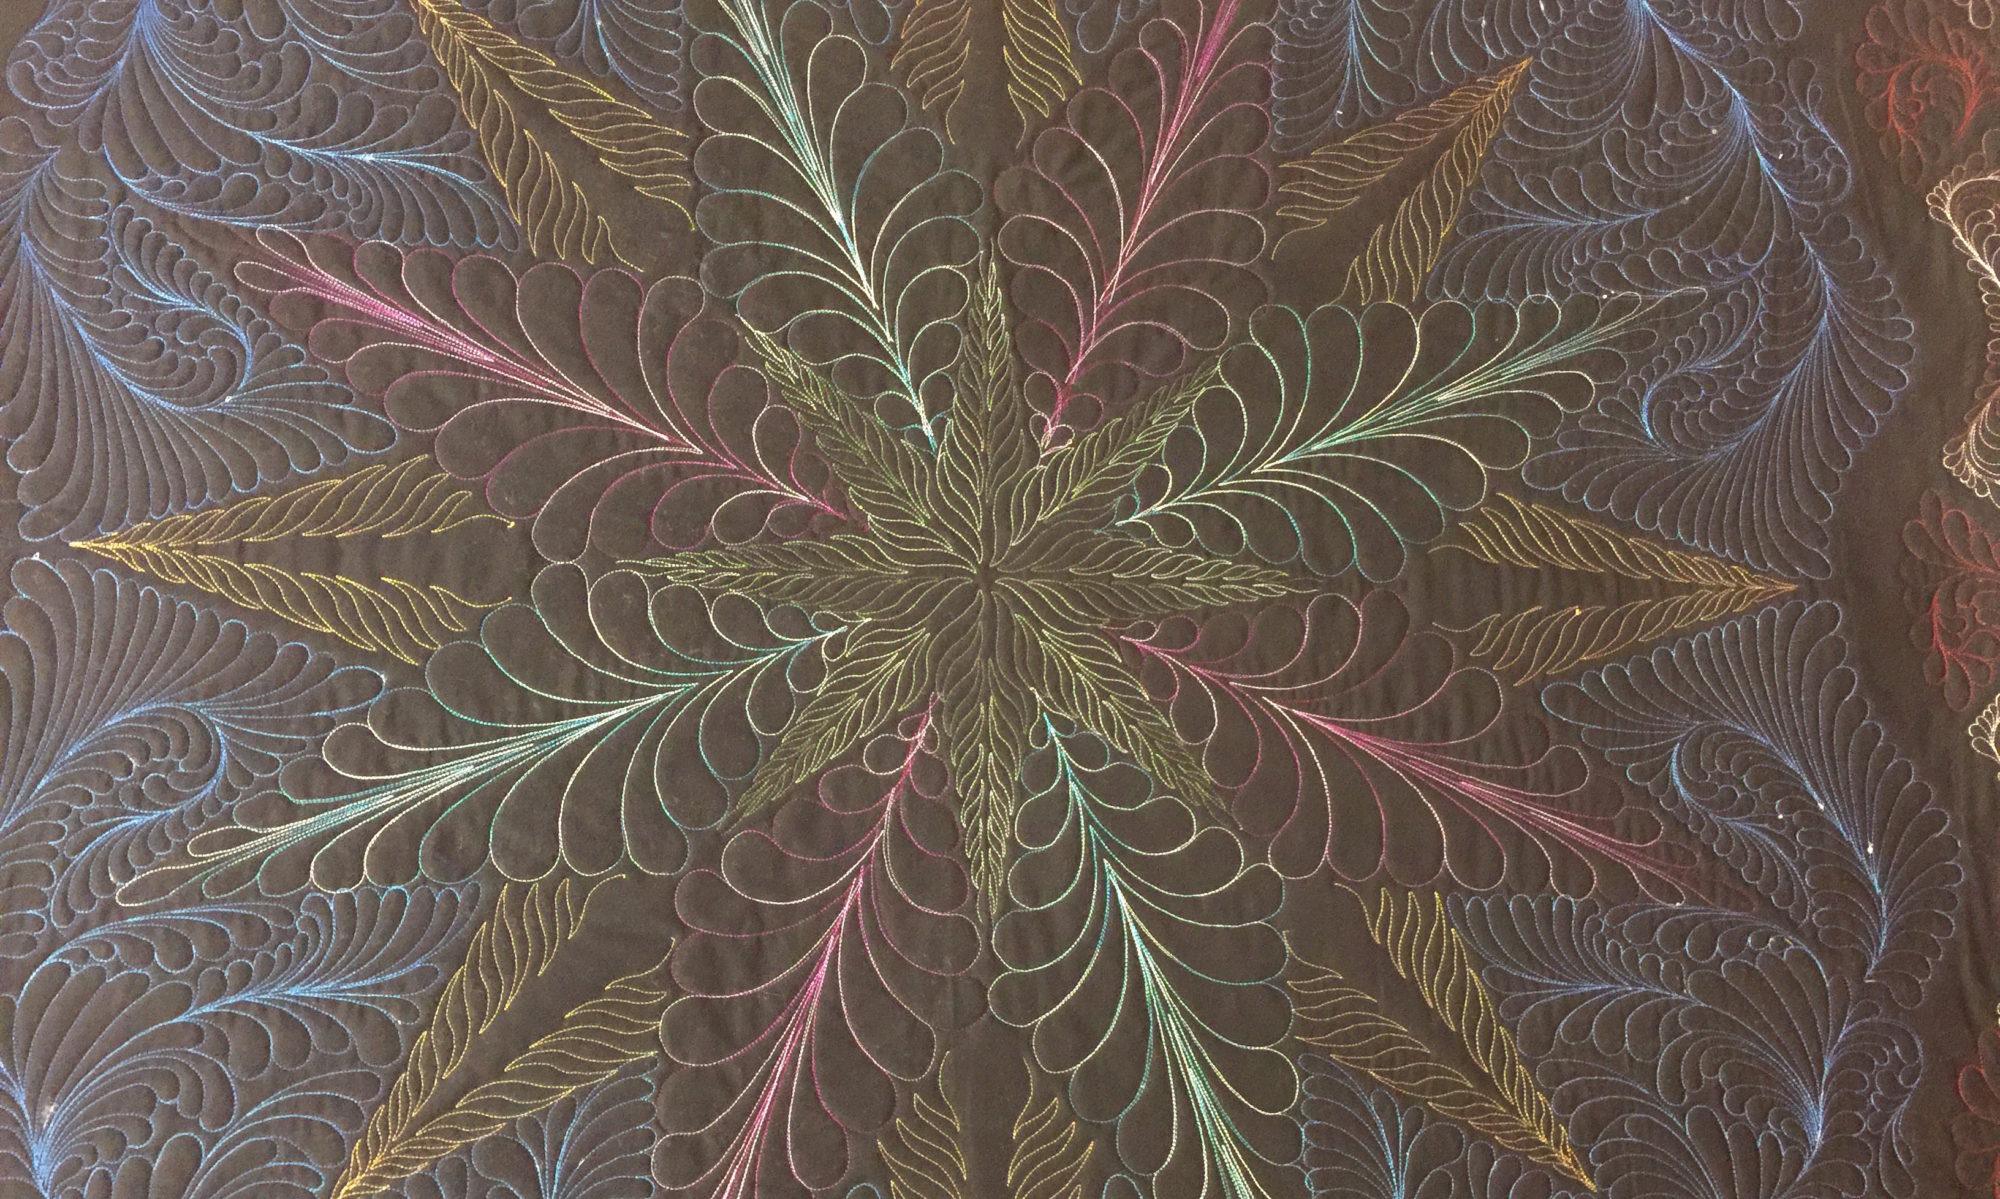
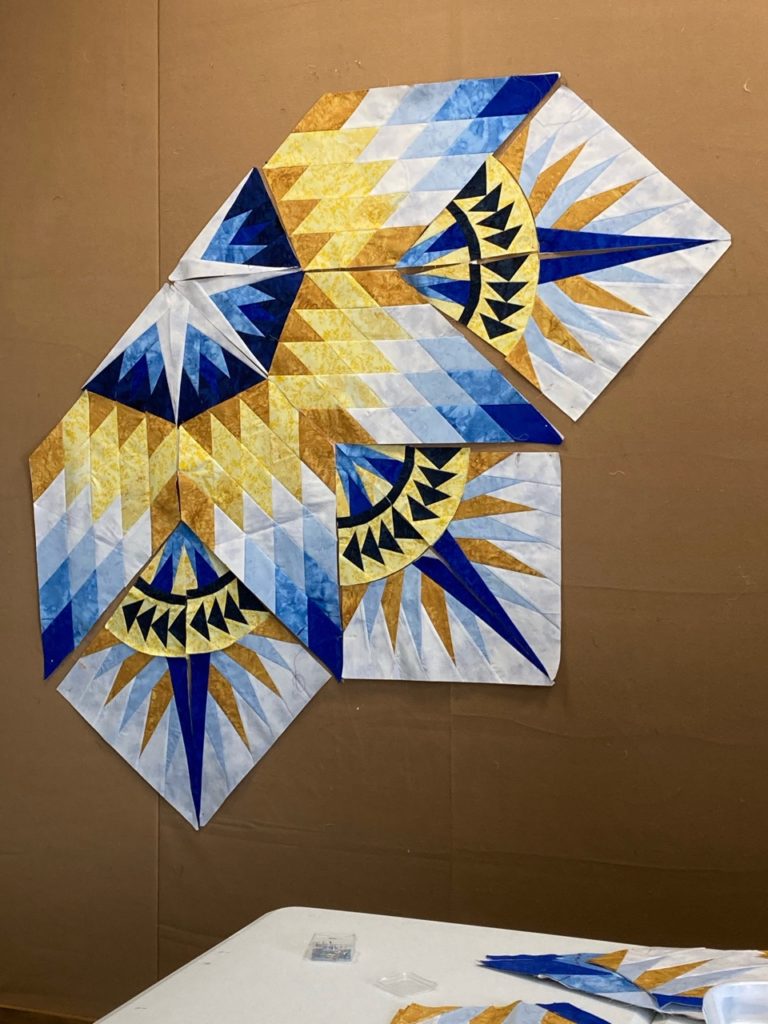
Jean has been hard at work on her second Prairie Star. Yes, you heard that correctly…her Second! Beautiful color way for this one! And she is doing a terrific job of working through it too! I can’t tell if I’m more excited for this one, or if she is, but it’s amazing!
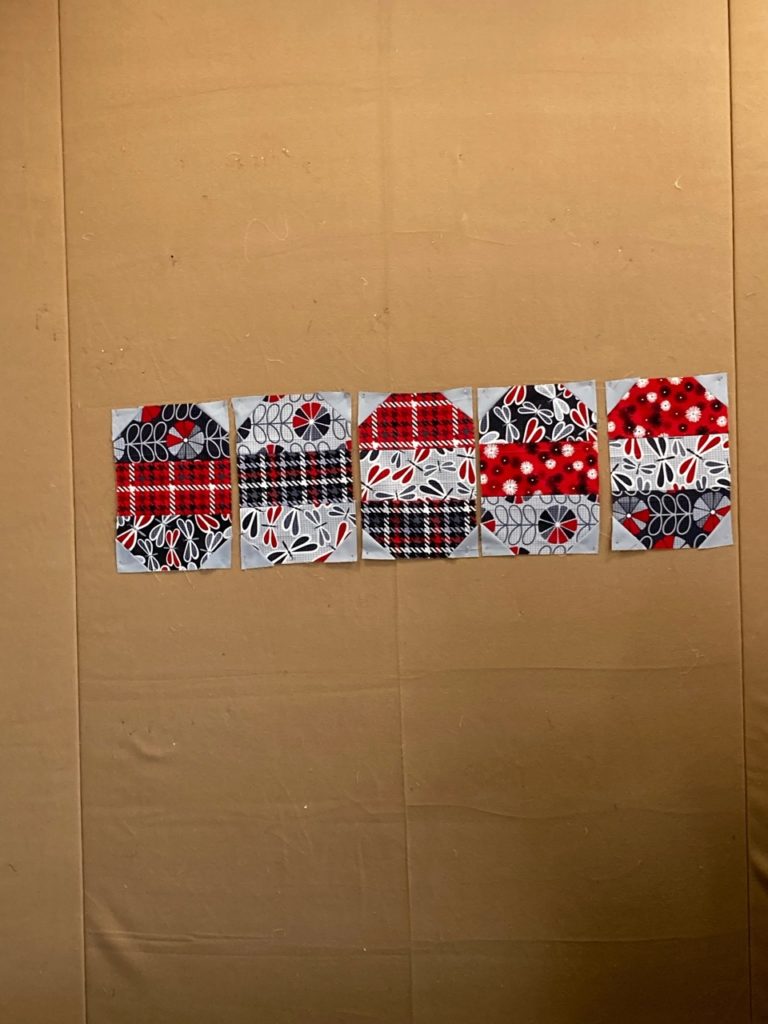
Vicki finished her Rainbow of Jewels—Mirage Quilt by Laurie and now it’s off to the long arm quilter. She’s started another one called Dragonfly Lanterns. It’s a cutie that’s just beginning to take shape. Terrific project!
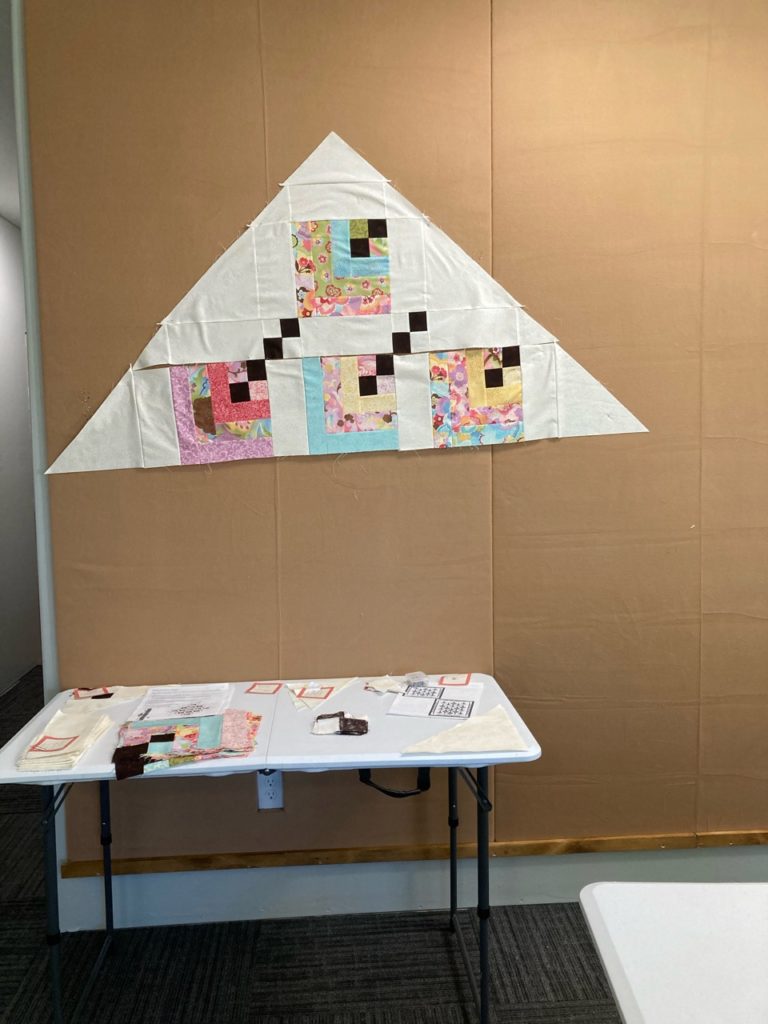
Here are the first few blocks for Vickie’s Dragonfly Lanterns. A really great pattern/kit for a young little fella.
Jean also wanted to get some help on squaring up the blocks she made for this quilt, called Watercolor Garden. It’s a simple little block made for a quick quilt for her granddaughter. Another winner.
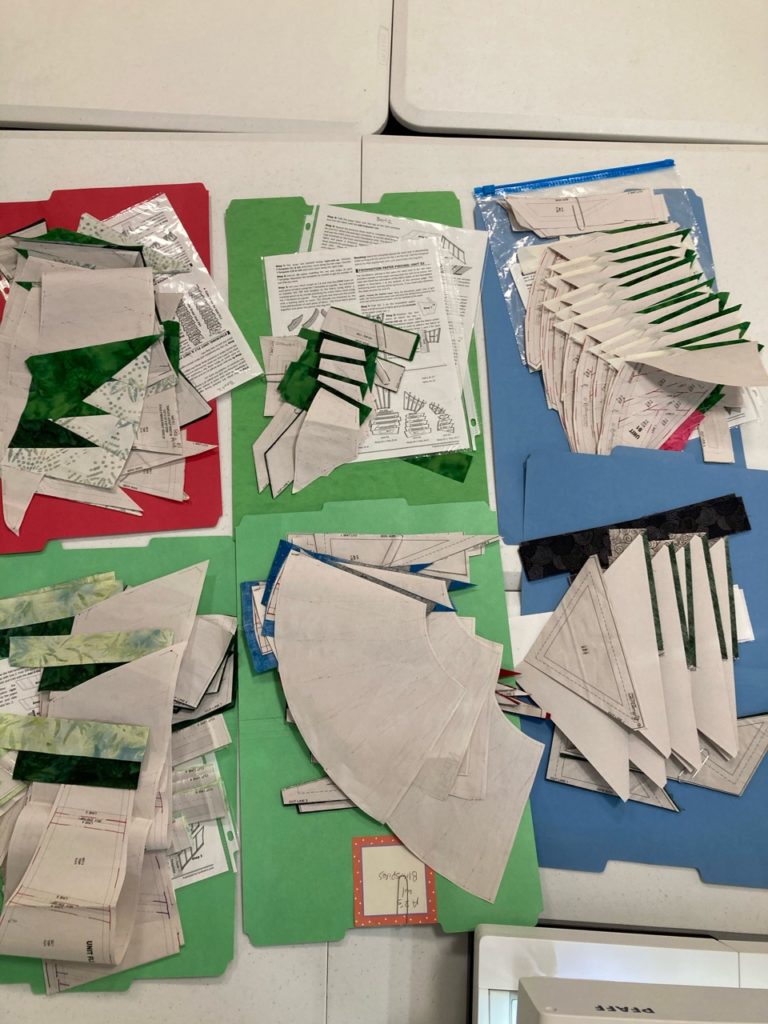
And for me, I’ve got the stacked folders happening today. That, plus some quilting on my domestic machine to finish off some Impatiens placemats. With a lot of repetition for this quilting, I like to mix in a little regular piecing to break up the process. One layer of folders, then a petal, another layer of folders, than a petal, and so on until all the way through the folders.
These are my folders, laid out for a quick view. Three different patterns between the six folders. I really enjoy working this way…helps to make quite a bit of progress every time I’m able to sit down to sew.Here’s the setup for the first petal of an Impatiens placemat. 2 placemats down and only 4 more to go!
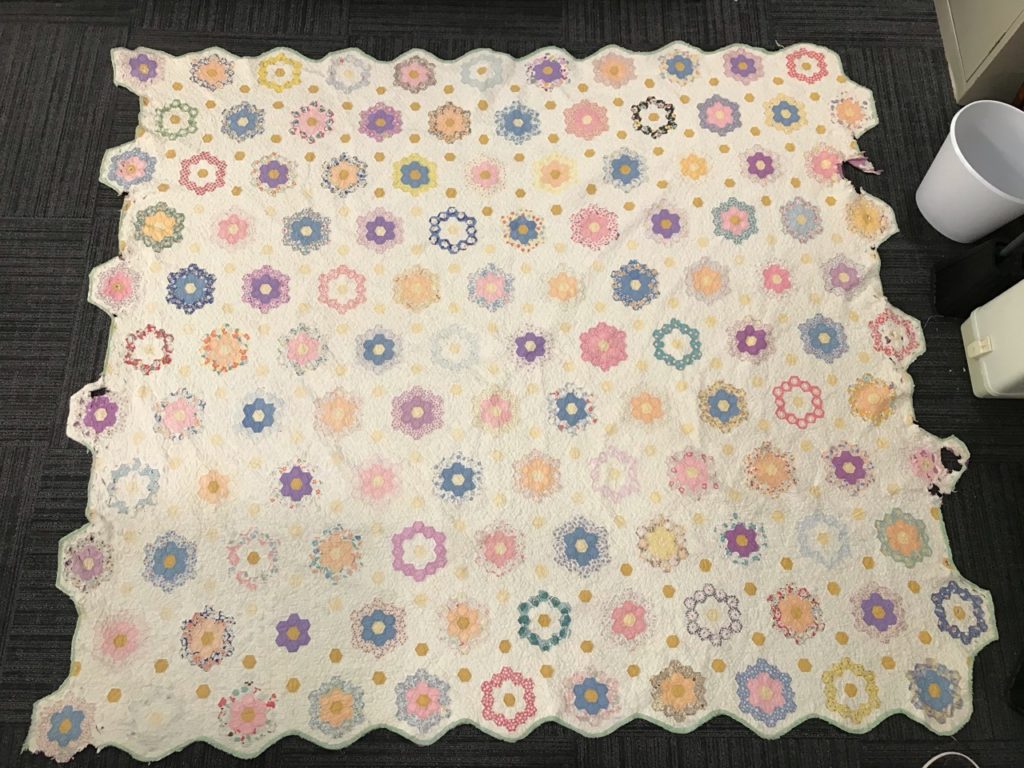
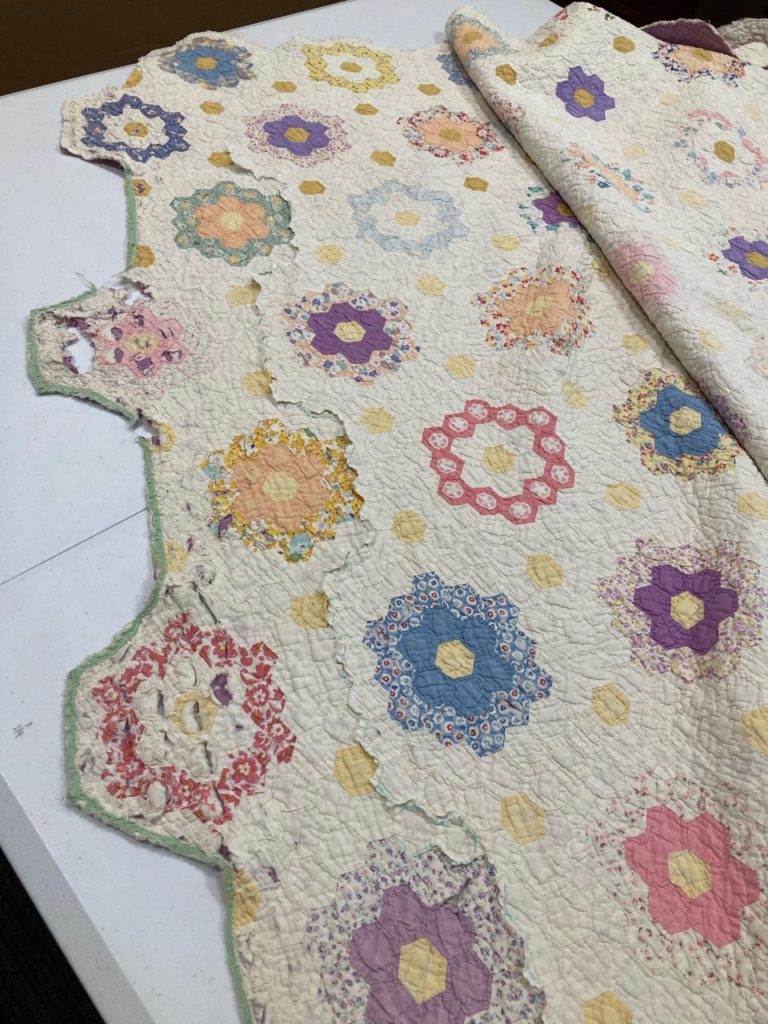
Then for seatwork this evening, I’m working on this vintage quilt that needs a bit of repair.
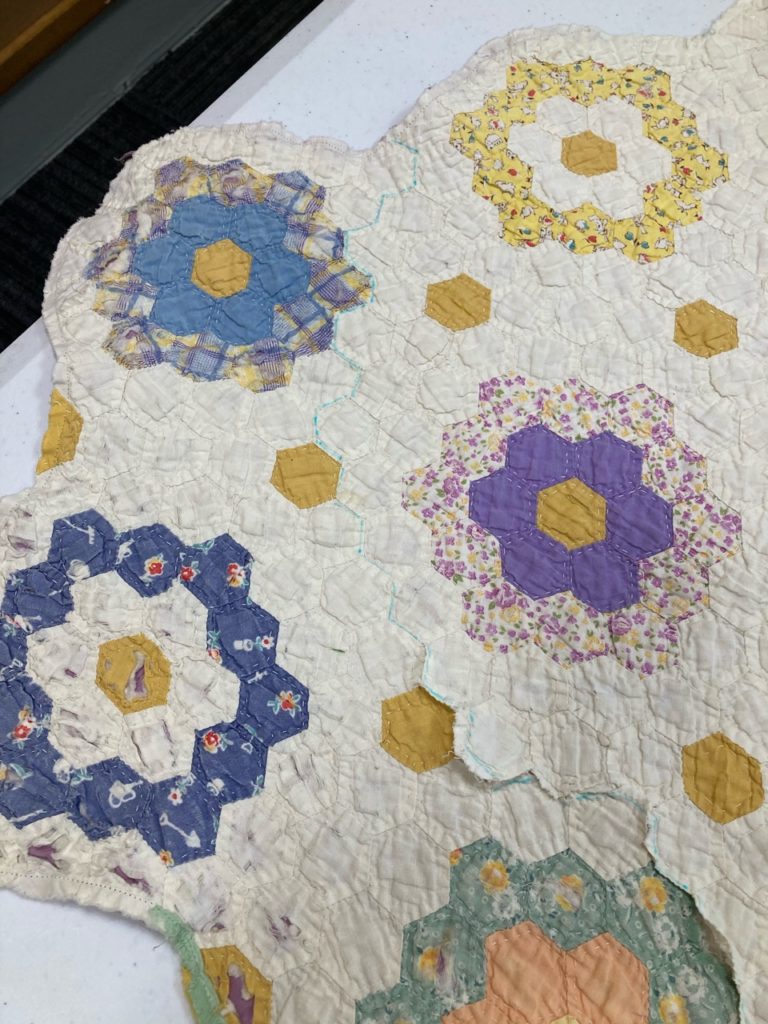
Remember this? I blogged about this and what work would need to be done.I’ve got a nice start on removing the first damaged side. Using a water soluble pen, I marked the path needed to remove the damaged section. It’s a bit slow going but will be well worth the effort to bring this darling quilt back to whole.Not much to finish on this side. I always love digging into a vintage quilt…there is so much to learn from each piece. This one is entirely hand pieced AND hand quilted. Interestingly, the quilting thread, which is cotton, is significantly stronger and more heavy than both the fabric and the piecing thread. Several of the hexie flowers are fussy cut as well. Definitely enjoying this one.
Lots of good things happened today. It really was a good day…Oh Happy Day!
Not only has Mission UFO launched…it has landed with a beautiful finish!
Last week Mission UFO was begun. We meet on Tuesdays and Thursdays at my home classroom/studio and anyone can come. The exciting thing is that in just a few together we are seeing some excellent finishes being made. For more information, contact me for details and you too can join in the fun!
Jean and her Prairie Star. What a great moment! Some happy tears were shed for this lovely success.
Jean has been working on this project for a couple of years, and it is a wonderful finish for her. I’ve been with her every step of the way and must say, it’s been a fun adventure. She has already made nice progress on a second quilt of this same pattern in a different color way. We’re both excited to see how her next one comes together.
Mission UFO at its finest! It’s such a rewarding experience when projects that have been put aside are brought out to reach their conclusion. The sense of accomplishment is such a nice reward.
Here is Cindy’s progress on her Hanging Gardens project. She’s completed all her blocks and is now laying them out row by row and sewing them together. This a trickier build since it’s constructed on point. She’s doing a terrific job and it won’t be long before the top is completed.
I’m so excited for both ladies!
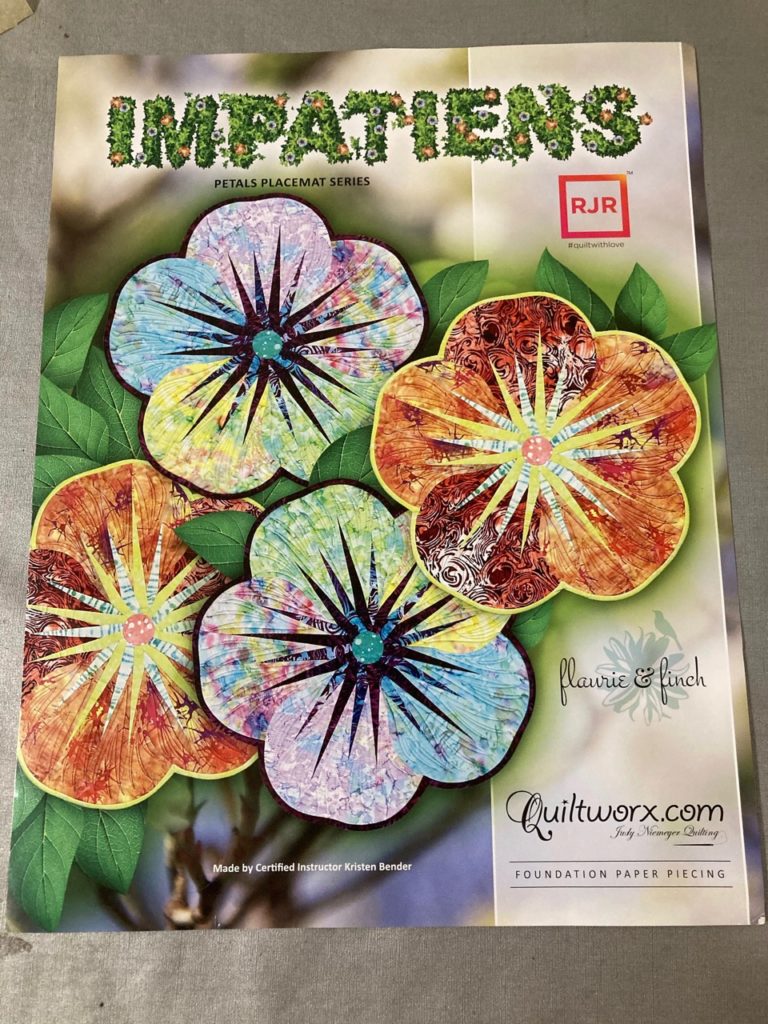
Here is the cover photo of the Impatiens pattern.
For me, one of the piecing finishes I’ve marked off my UFO list is the Impatiens placemats by Quiltworx. This is such a sweet pattern, and the color ways you can use are endless! This five-petal flower can be made with just lights and darks of the same color as I’ve done with mine shown below. They can be made with a different color in each petal with centers all the same. You can even mix up the colors within the petals to be two of one color and three petals of another then group them to resemble a pansy, which is one of my favorite flowers. The combinations are endless. And they make fabulous gifts.
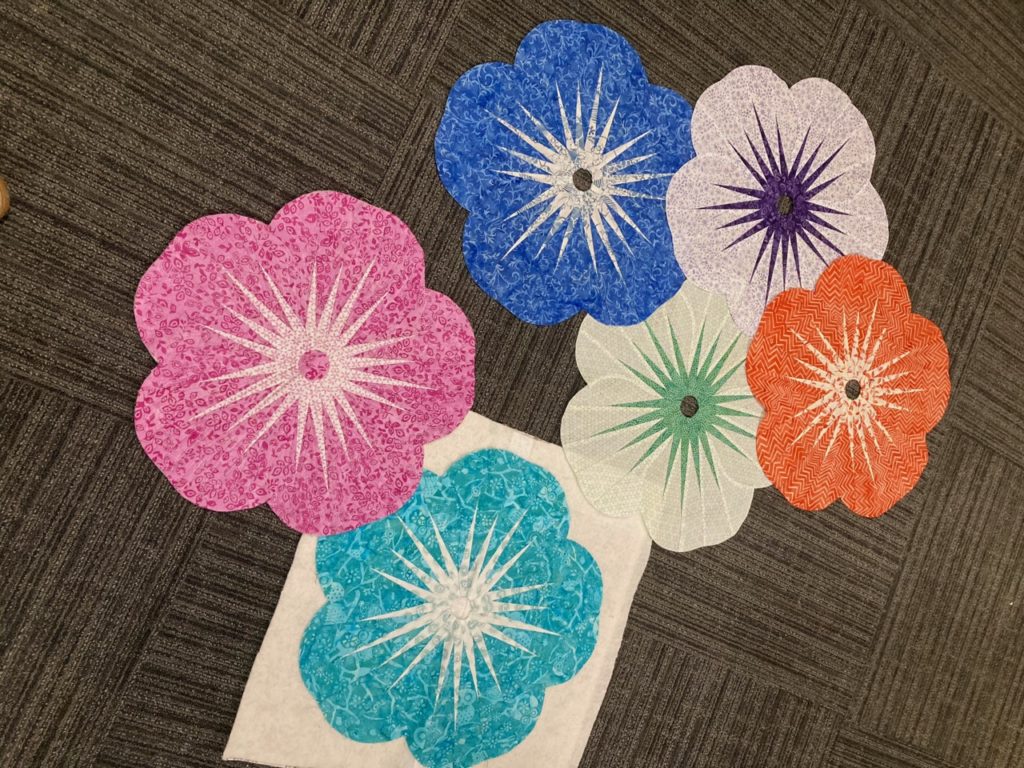
Here are my lovely flowers. The pink one is waiting for her binding, and the little teal lady is prepped to quilt. The other four will follow their friends shortly.
The Impatiens pattern comes with enough sewing papers to make a set of 4 placemats. To make larger sets of placemats, you simply need to buy more sewing papers. Additional sets of papers are called “Replacement Papers” and come with everything you need to make more items…minus the instructions. No need to buy another set of instructions when you have them included in the first pattern you buy. I think that is a brilliant thing to do, and I always encourage my students to think of this option when they are considering making multiples of the same pattern.
I’ve had some quilters express concerns about the curved seams required in this project. To which I tell them Judy has designed these little gems to go together as easily as a hot knife goes through butter…it truly is amazingly simple. To have a student master this curved seam in one try is a huge reason that I am committed to this company and the way these patterns are designed and written. Truly the best in the industry, in MY humble opinion.
Quilting is always a consideration on every project and this is one that can be done easily on your own machine at home. Quiltworx includes a template for quilting these in each pattern packet. It is a suggestion and certainly not required at all, but it’s a great place to start if you want to try your hand at doing it yourself.
There are many different means to attain the same goal, so let me tell you about different options.
One method is to layer several sheets of newsprint type paper under the quilting template. Then, take the tread out of your needle and sew on the quilting lines, resulting in needle punched dotted lines on all the layers beneath the pattern. You can use a pouncing chalk to dust those lines onto each petal or use each paper as a single sewing template. A white chalk on dark fabric is not bad, but then there are the lighter colored petals. I choose not to use a colored chalk on lighter fabrics because it can be problematic when trying to remove the colored chalk.
You could also sew over the punched lines. That isn’t as easy for me to see where I’m going as I sew. These are both good options…just not for me. I need a solid line.
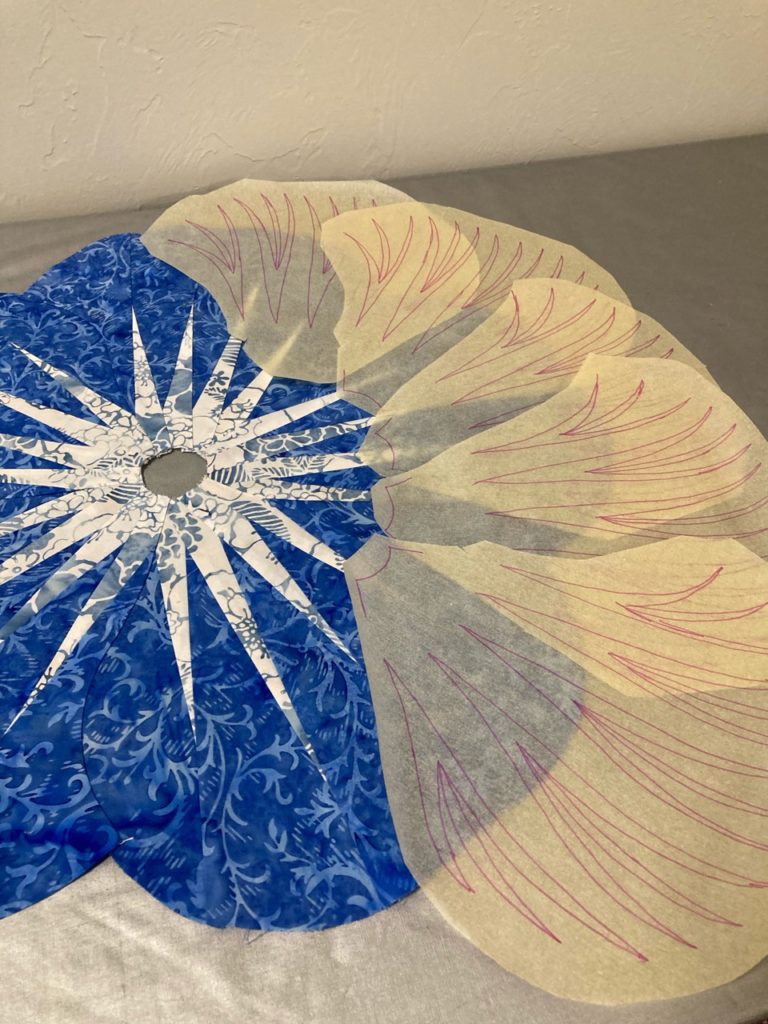
Since there is only one template for quilting but 20 petals to quilt, (5 petals x 4 placemats), I need to either mark each petal separately or make 20 copies of the template. The template is larger than what will fit on my home copy machine, so I’ll need to go another route.
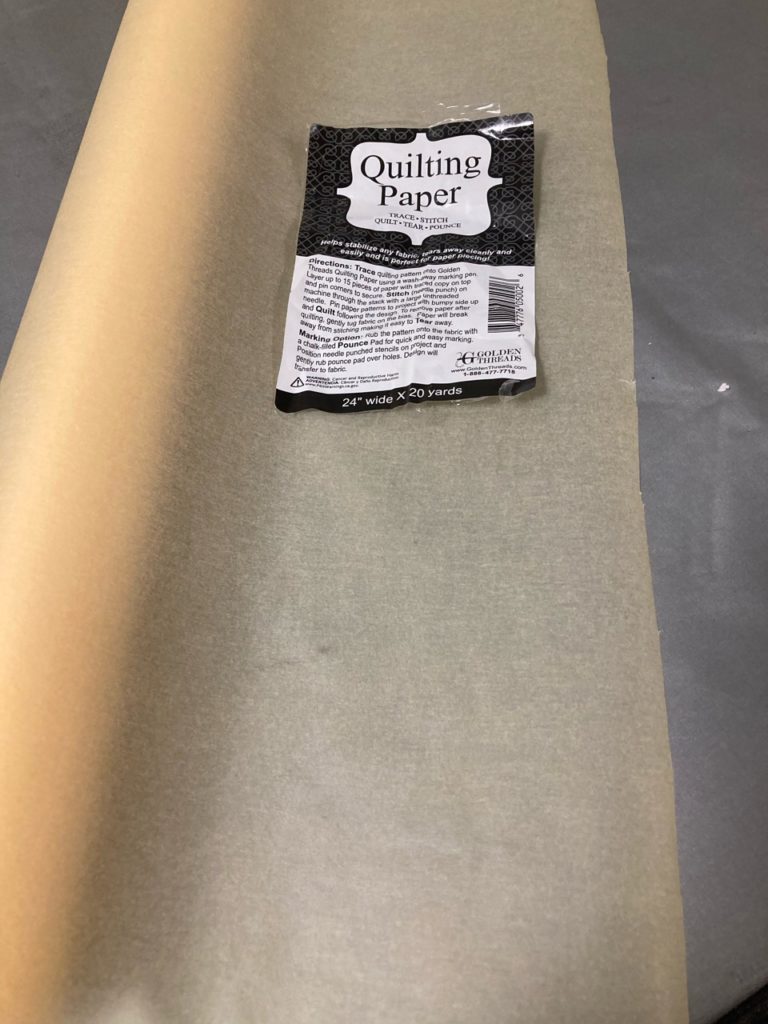
Ta-da! Enter Golden Threads Quilting Paper. Now, I must give credit where it is due, and my student Cheryl is the one who told me about this product and the method she used. I had Clubb’s order me a roll of this paper, and set out to give it a try.
I have, and frequently use the newsprint paper made for the copy machine. It’s a great product. But for this application, I need to be able to see the exact placement of the paper for where I need to quilt. You can easily see through this paper to know where your quilting will be. It’s a thin yet sturdy tissue that does not shred when painters tape is applied to keep it in place. You can use regular tissue paper to do this, just know that it is greatly fragile and any writing utensil you use can, and does pierce the tissue. Also…ink from pens and felt markers penetrate regular tissue. But NOT so with this Quilting Paper. Definitely worth the price, and it’s not that expensive at that.
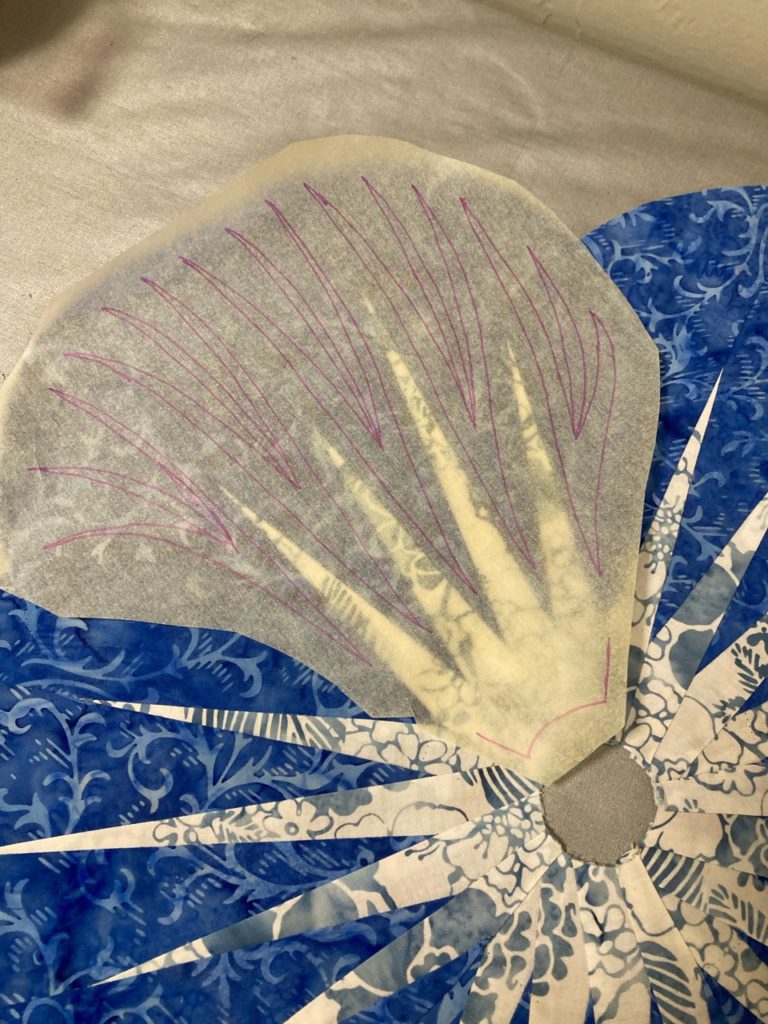
Using the blue flower as an example, I’ve got the 5 templates ready for quilting. Just need to make the “quilt sandwich” for it. Here is the quilting paper laid over the first petal. You can easily see the fabric under the tissue.
I used the bottom curve as a rough registration mark to know how to place each template. This paper also makes it easy to see where the quilting lines will fall so that I won’t put the curved stitching inside the center spikes where I plan to add straight line stitching after the curves are put in and paper removed. This is going to be fun!!
Easy Peasy! Can’t wait to show you all the finished placemats.
Such wonderful things happened this weekend! I’m so pleased with the progress of my students over the past two days.
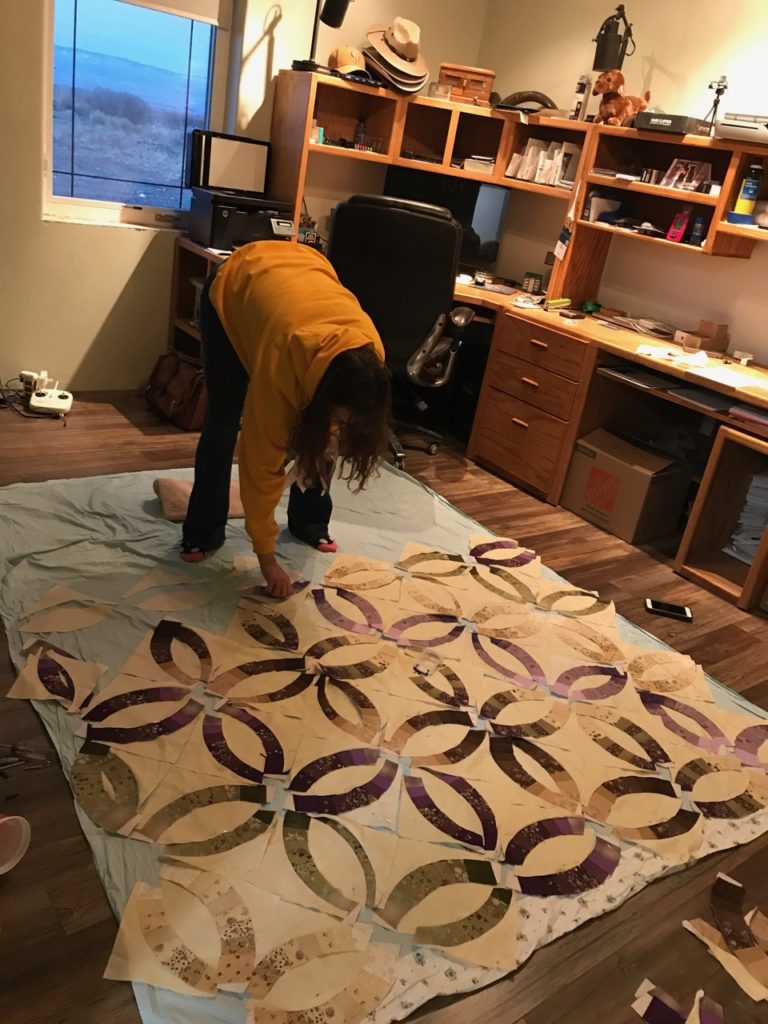
Saturday our Wedding Ring Class met with the goal of laying out their finished piecing and seeing for the first time what their quilts will look like. We had such a great time! Over the course of the last 6 months we’ve been meeting, using the Quiltworx Wedding Ring pattern and its variations as a Block of the Month. There have only been a couple months we weren’t able to meet, but that happens even without a pandemic going on. They’ve all made wonderful progress and each step of the way there were oooh’s and aaaah’s as we shared our progress each time we met.
And we all learned something…including me! Some things I learned because I was asked a question I didn’t know the answer to, and others because I needed a creative solution to help them obtain a goal or to make it easier to continue their work.
The latest solution was what to do about a design wall! In the pictures, you’ll notice their units (or block pieces) are being laid out on sheets. It’s a curiosity, but a solution that I suggested and they agreed to with enthusiasm. Neither of these lovely ladies have design walls at home. My goal was to find a way for them to layout their units without: 1) having to take copious pictures with their phones; 2) disassemble what they laid out; 3) transport everything back home; 4) reassemble it all and lay it out only in small portions either because of space or foot traffic concerns, and then hope they were getting everything together correctly They jumped at the idea! So, after handing them each a flat sheet, we got busy.
Here is Shirley laying out her units. After each row across there was a happy dance of excitement and a “Boom-chicka-boom-boom” coming from her as she saw things coming togetherAnd here is Jean working on a table doing the same thing. From her came “mmmm-mmmm-mm-mm-mm”. For Jean, we worked out a number chart for her to follow as she laid out her units. It worked like a charm!! Another teaching aide that will go into my files for the next time I teach this class.
As they laid the units out, each one was pinned to the sheet. And at the end of class, each sheet was gently rolled up and carried to the car with the confident knowledge that each time they went to work on their project they could just go right to work without the time spent on trying to find their place in the process.
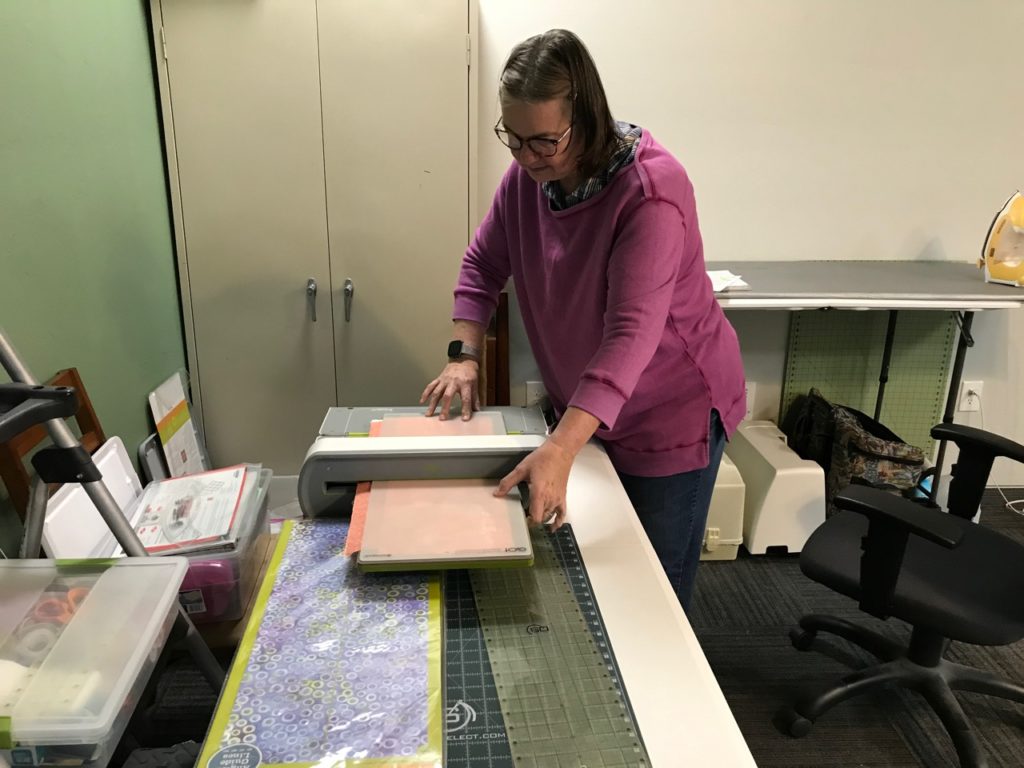
Dottie was also with us and she brought her AccuQuilt Cutter to make quick time of cutting the 2 ½” strips for her project. I’ve never seen one of these in action, and I must say, it was so cool to see how they work.
I’m thinking this may need to be an investment for some time in the future. They sure are slick little machines that make quick work on lots of repetitive cutting
It was an awesome day full of great friends, fun and lauging, and tremendous progress!
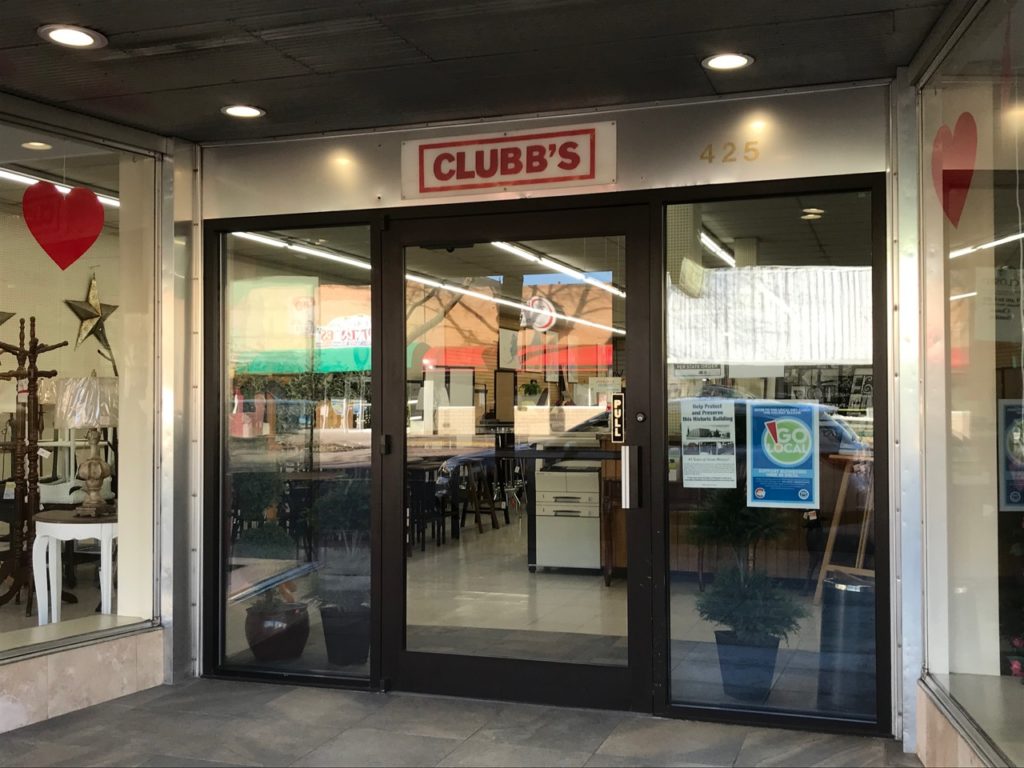
Sunday was much the same for the ladies that joined me at Clubb’s in Delta for our Judy Clubb. The Judy Clubb is an open sew kind of class where anyone working on a Judy Niemeyer pattern is welcome to come and sew for the day, and I’m available for as much or as little help as is needed
The entrance to our classroom. Our class area is the furniture store. And the fabric store is right next door, always open for us during class and ready for anything we need. It’s a terrific arrangement!
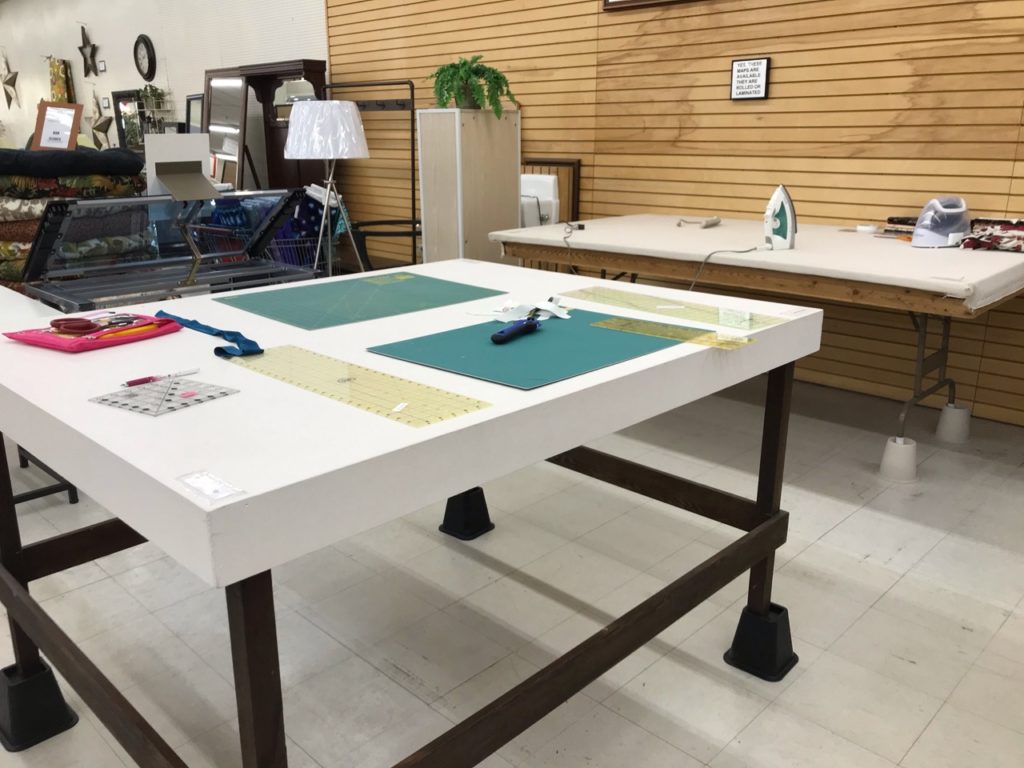
We have a wonderful work area at Clubb’s where a terrific cutting table and ironing area are provided. Lots of beautiful lighting and abundant room is provided for us to work our magic.
These stations are sooo nice! Plenty of room for multiple people to work at the same time.
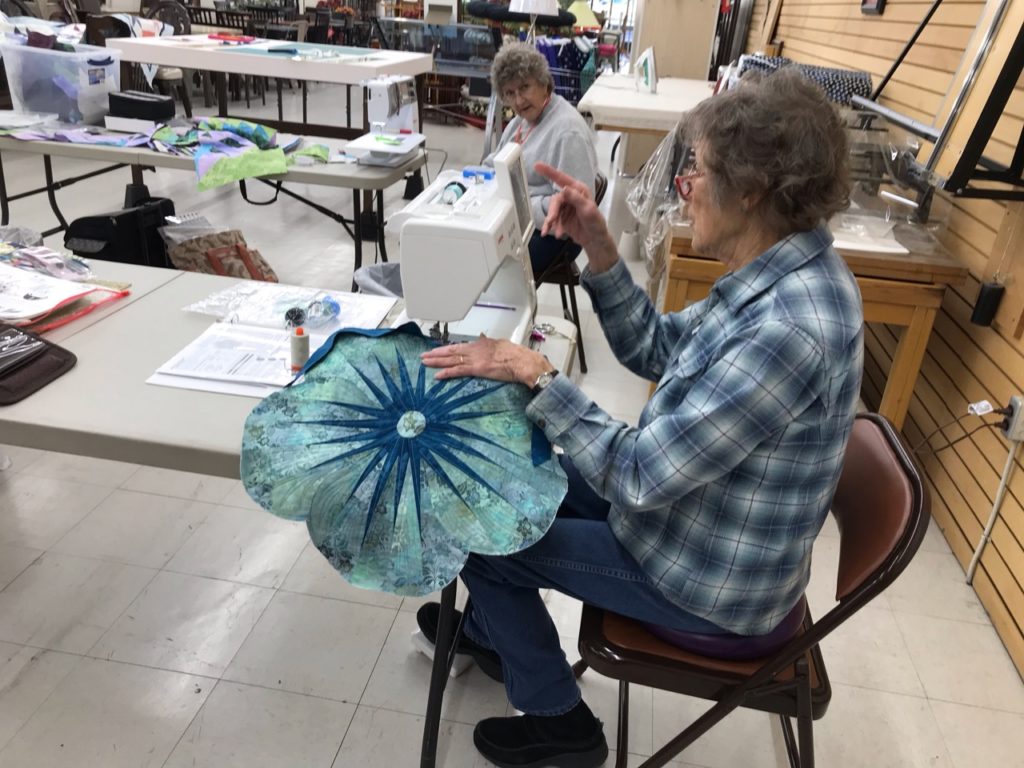
Take a look at what was worked on!
Cheryl is working on putting the binding on her Impatiens placemats. Her color choices are simply beautiful! And one of the best helps I could give her was to show her the UTube videos by Judy Niemeyer on that very subject. It’s amazing that we have the ability to carry an iPad, secure an internet connection and tune into a free, on-line video and then help the student to utilize the same resource at home. When Cheryl had a question, we worked through it together finding a few additional helps for her to use at home. She’s doing a marvelous job!
I love Cheryl’s color choice on this project and she is so precise in her stitching. What a lovely project she will have when all finished.
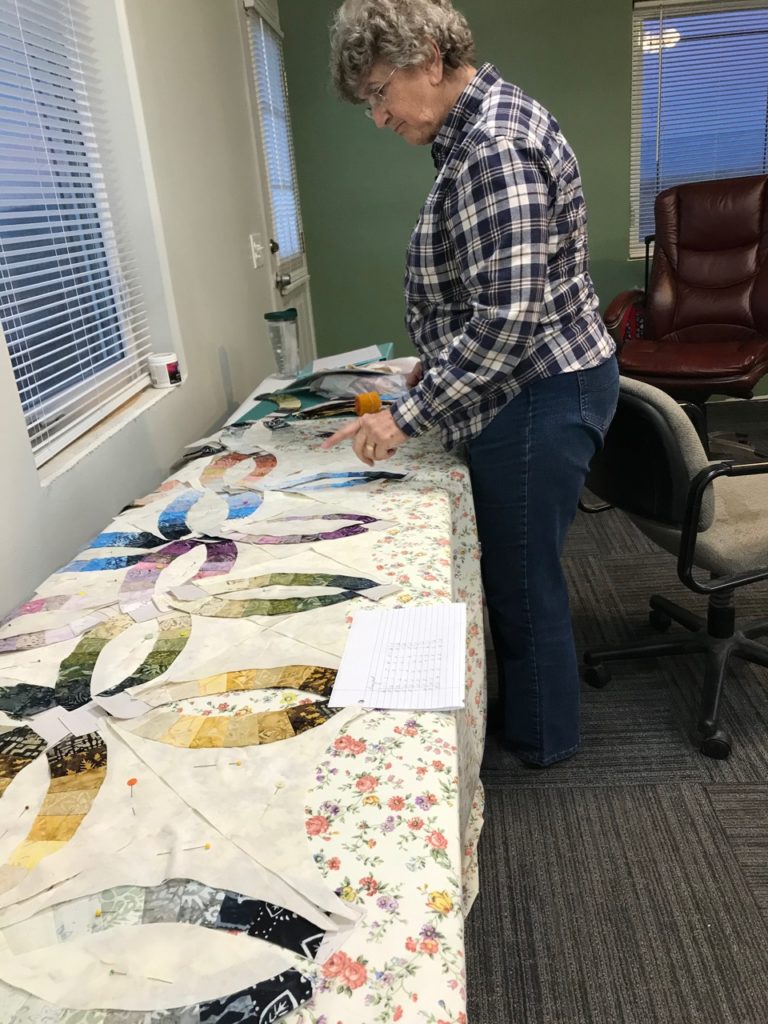
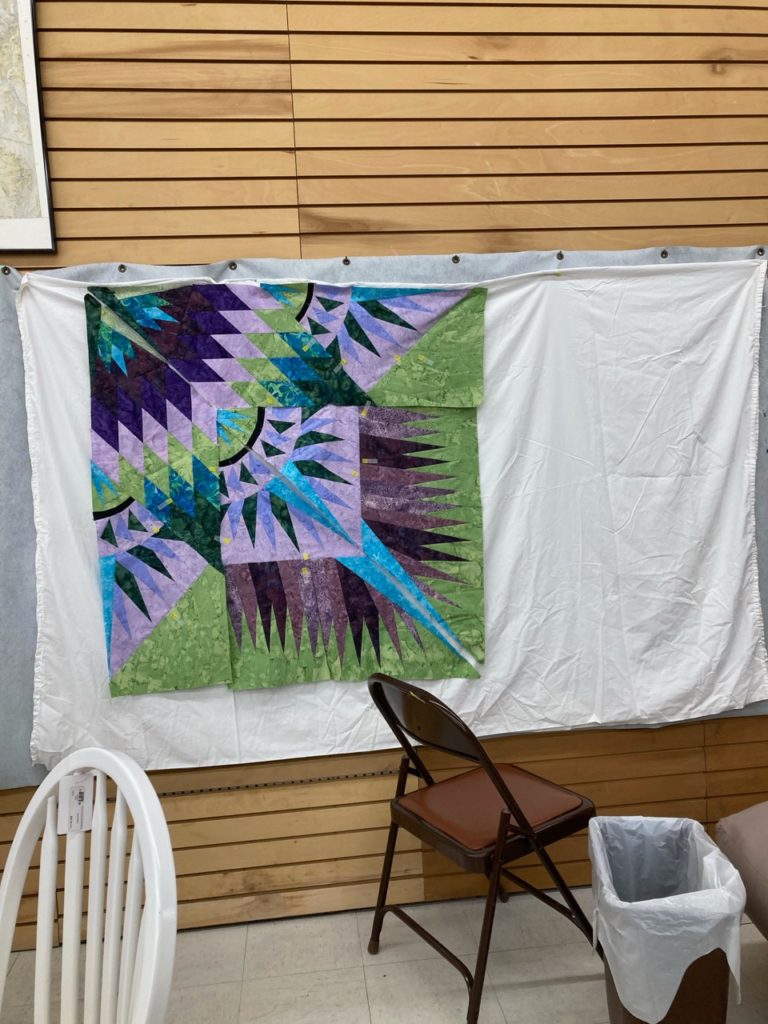
And here is Jean, using a sheet as her backdrop on the design wall to pin her Prairie Star to. Her goal for the day was to get one quarter of the quilt on the wall and assembled and marked with notes on how to complete assembly for the rest of her quilt when she’s back home.
The quarter section of Jean’s quilt is nearly put together. She’s added some little yellow notes for her to follow when she gets home so she can get this project all finished up. How exciting!Jeans pulling a few more papers off the back of a unit before assembling the next section. Making great headway.
All in all, it was a very productive, and rewarding weekend. I think one of the things I truly love about this work that I do and the quilters that start out as students and then become friends, is that I get to help them reach their goals.
People, non-quilting people, frequently remark to me about how this is nice and all that, but what’s so special about a quilt…. it’s just a blanket after all. And my knee-jerk reaction is that they just don’t get it. And they don’t. But what I say to them is that quilting is a tool. It’s a tool, or a means to reach a huge plethora of outcomes. Quilting is a creative outlet, which is a crucial aspect of our mental and emotional health. Quilting is a skill-building tool that enhances our cognitive and deductive reasoning utilizing color theory, math, planning and organizational skills to just start the list. And one of the very most important things quilting does is to both create and revive memories for those making the quilts as well as those receiving the quilts. Quilting as an art and a skillset is something that has a huge ripple effect on all those around us quilters. And no…these are not just blankets. They are works of love.
And I….me…I get to help these lovely people create and fulfill their goals.