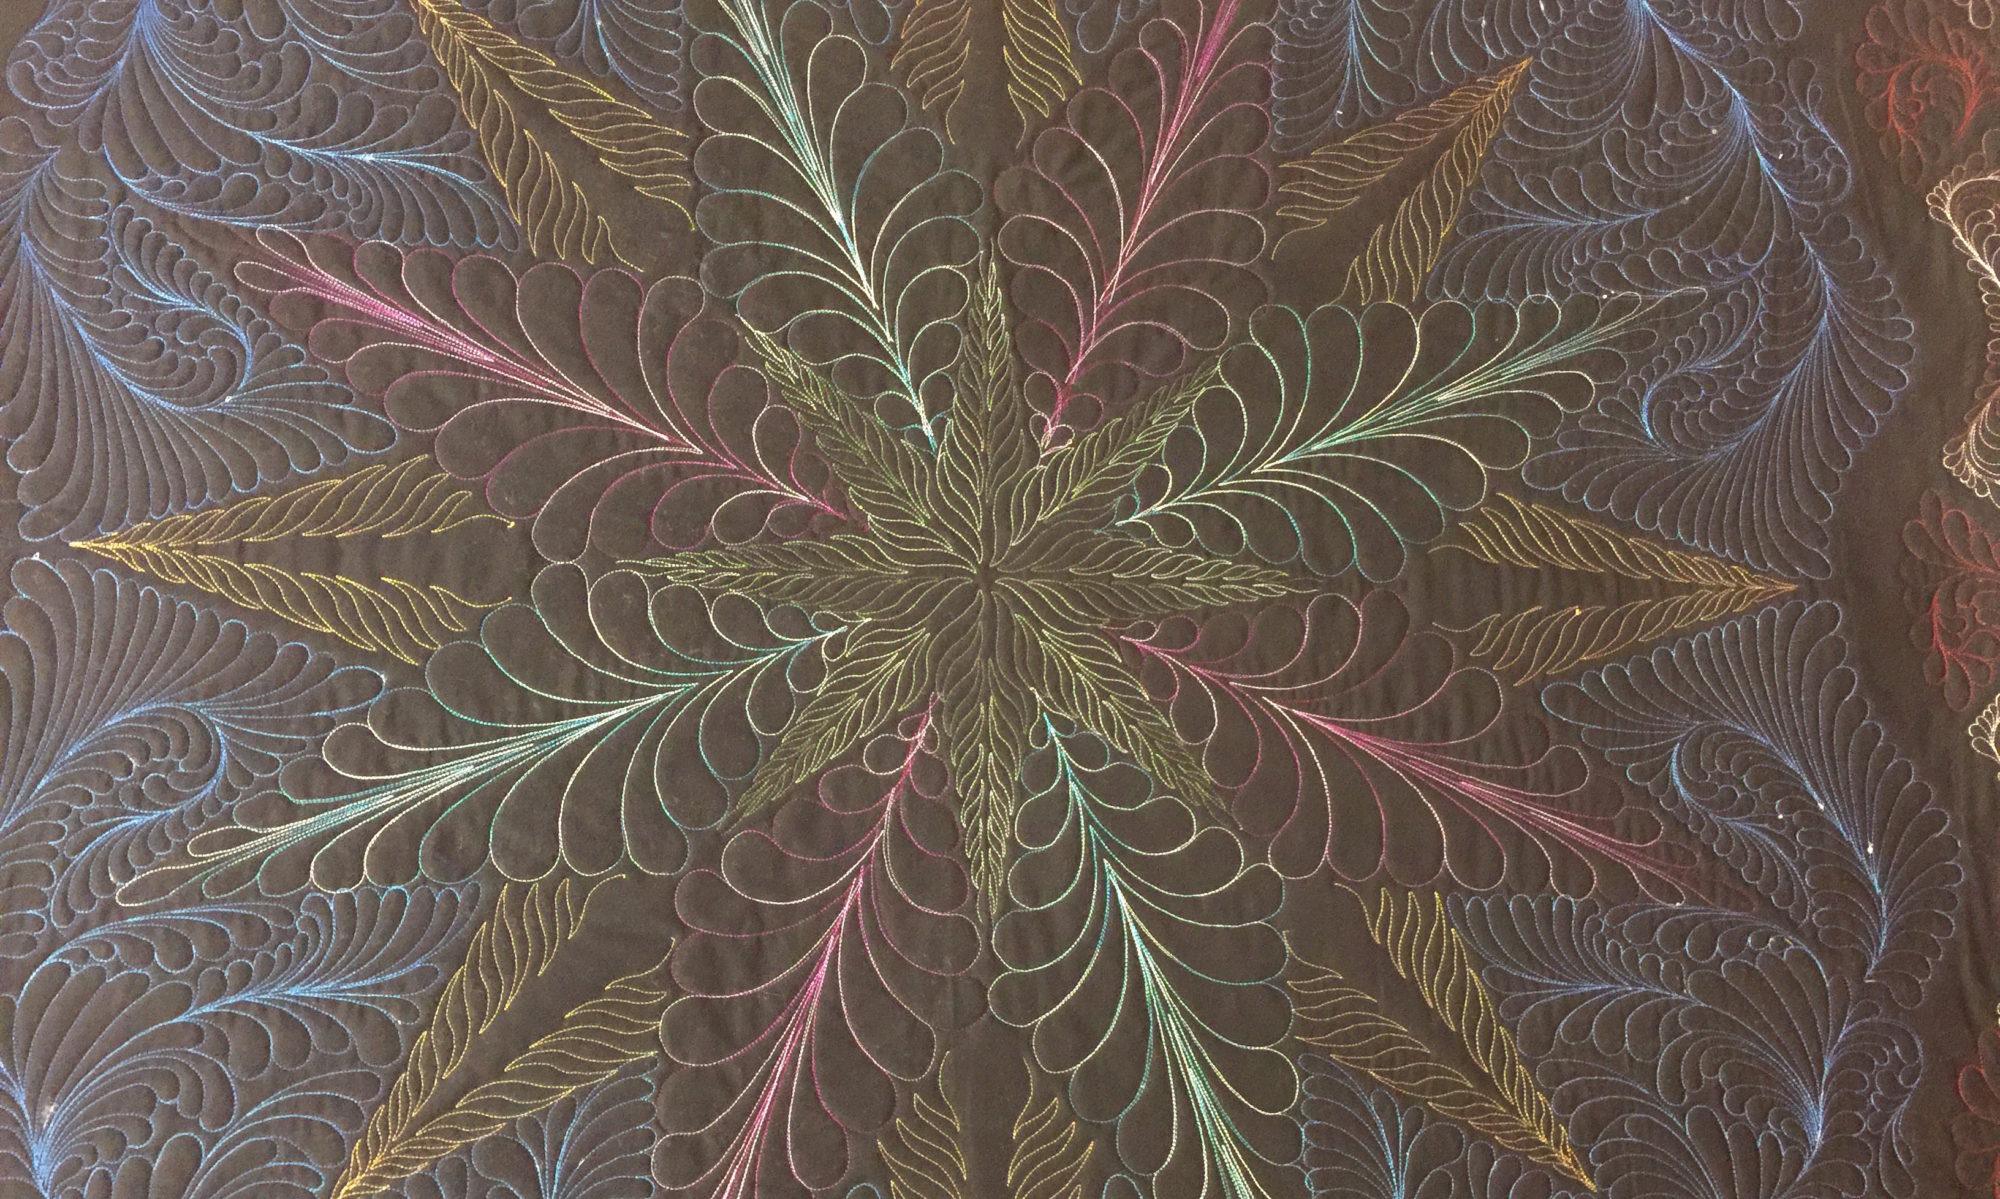
My husband says this quilt looks like it came from a deck of Hoyle playing cards. You know, the ones with the beautiful designs on the back. I had no idea it would look like that when I designed this quilt. But let me tell you it’s story. It’s something I am quite proud of. I’m kinda tooting my own horn, but honestly…I still marvel at the fact that I made this amazing piece. Well, I made this version of it. Let’s get to the story…
I have a customer that has been sending her tops to me for quilting for about the last 4 years or so. Mostly, she does hand embroidery on baby quilt tops, and then has me add a border or two and then quilt them up for her. She does amazing work, and is lighting fast at it too. I think the world of her, so when she asked me if I would consider creating something for her daughter as a wedding present I was both honored and intrigued.
Her idea was to bring me a huge selection of hand embroidered items from 5 generations of women in her family…and also to include something from herself and her daughter. I was like a moth drawn to a flame. She talked to me about this venture a full year in advance of the wedding and that’s when I began the mental process of designing the top and also learning what I envisioned for the quilting. You see, I have primarily been a computerized long arm quilter, and I knew I wanted to do more free motion quilting on this particular piece.
Enter into my life, the Angela Walters Free Motion Challenge! If you haven’t heard of Angela Walters, look her up on uTube, or FaceBook or just Google her. She is an amazing quilter and has been making free challenges available to anyone who is interested in learning about her approach to free motion quilting. All of the free motion quilting in this piece was inspired by what I learned through her. I am continually impressed and amazed by what she does and how she encourages others to reach for their own personal vision. Follow this link to her challenge and see what it’s all about! You will be so glad that you did! http://www.quiltingismytherapy.com/2018/02/07/free-motion-challenge-quilting-along/
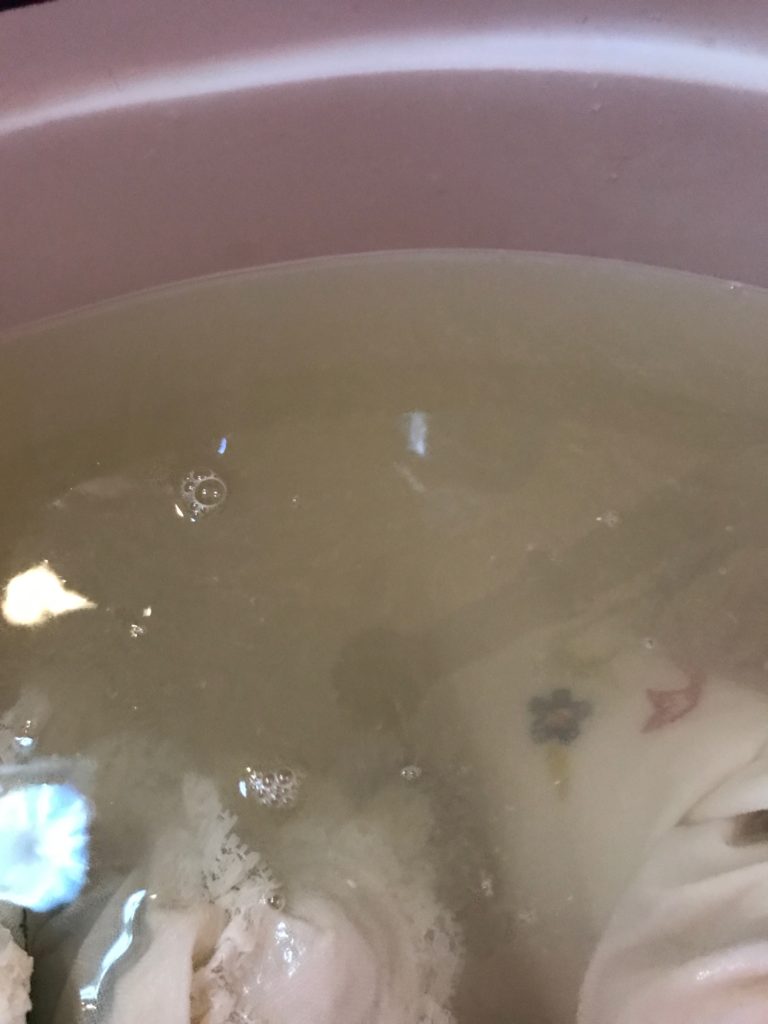
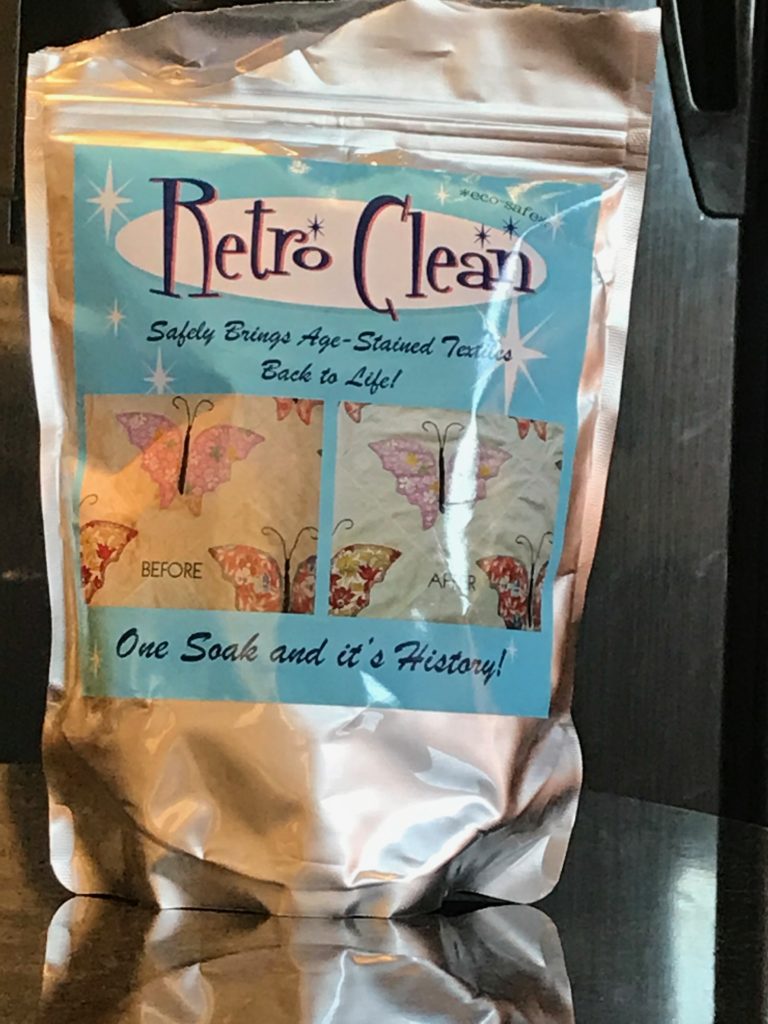
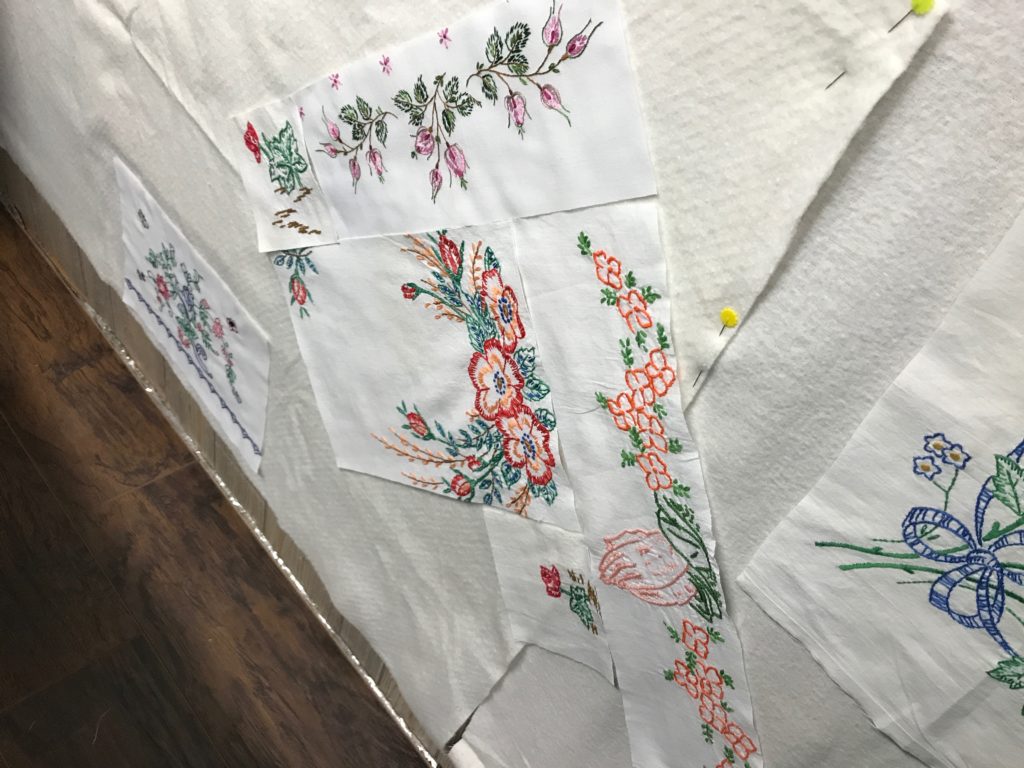
Several months before the wedding, I took possession of said bundle of heirloom pieces of embroidery. To the tune of at least 15 pounds of linens!! There were dresser scarves, pillow cases, head and arm chair protecters, and more and more sets of pillow cases. The first thing I did was to sort through the stack and separate the yellowed items from those that weren’t discolored. They had obviously come laundered and smelling quite fresh, but I use a product made specifically to take the yellowing out of vintage linens. Once the sorting was done, the yellowed ones took a dunk and rested for about 12 hours. Out they came and most looked just the same as those not dunked.
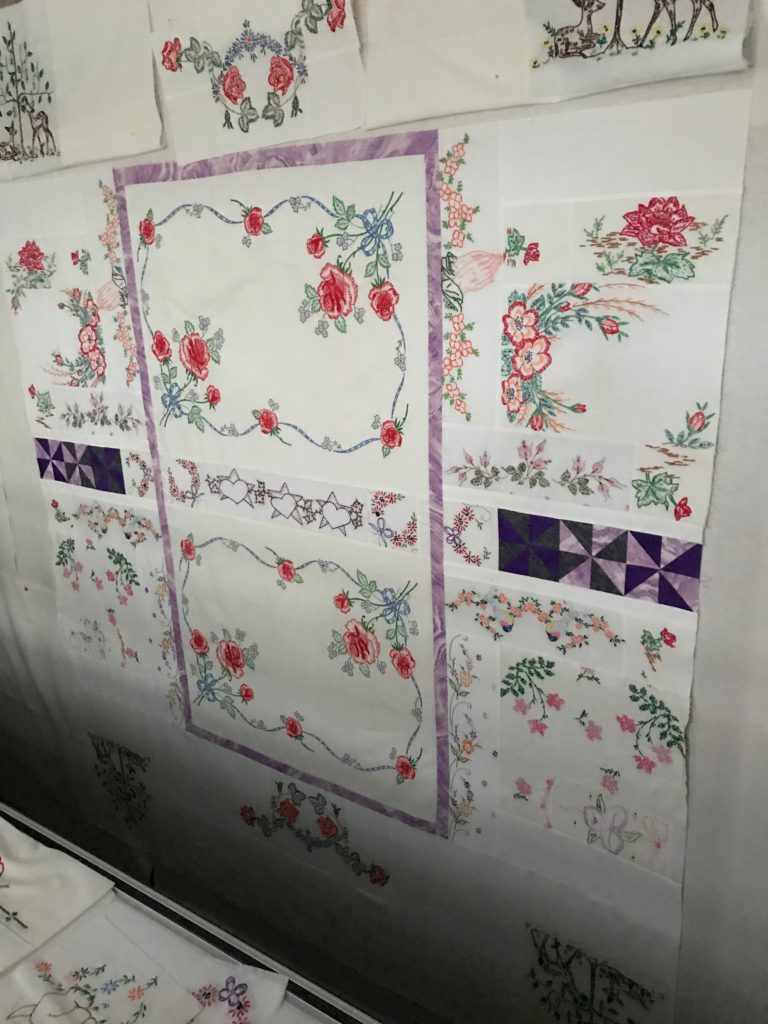
Then, more sorting according to motif content, and groupings of pairs or single items. From there, I began to arrange complete linens (uncut) on my design wall to begin the process for creating. Auditioning groupings, shapes meshing with other shapes. When I began to see a form taking shape…out came my rotary cutter and a set of templates that I use for lots of purposes. The templates are part of a system used to create T-Shirt quilts and originate from the “Too Cool T-Shirt Quilt” book by Andrea T. Funk.
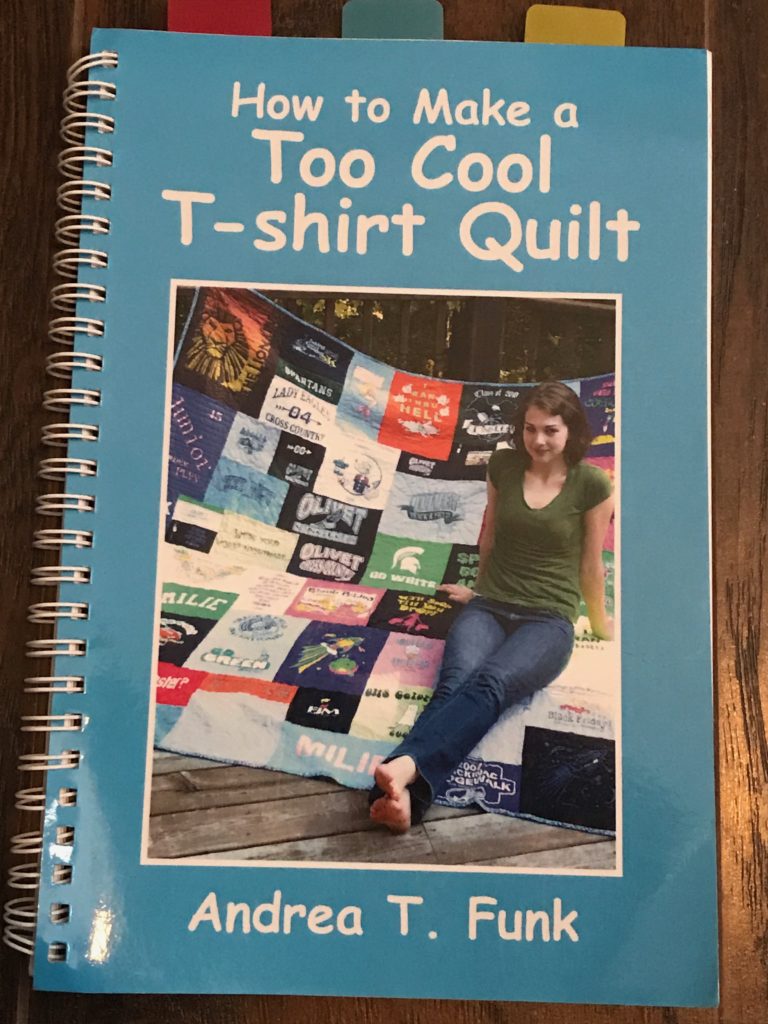
My dad made my set of templates according to the diagram/instructions in the book and I have to say, they are genius. There is absolutely no math involved in puzzling a project together when using these templates. If you are at all interested in using something like this but want to know more about the templates, and/or the system, leave a comment below and I’ll do what I can to help you out.


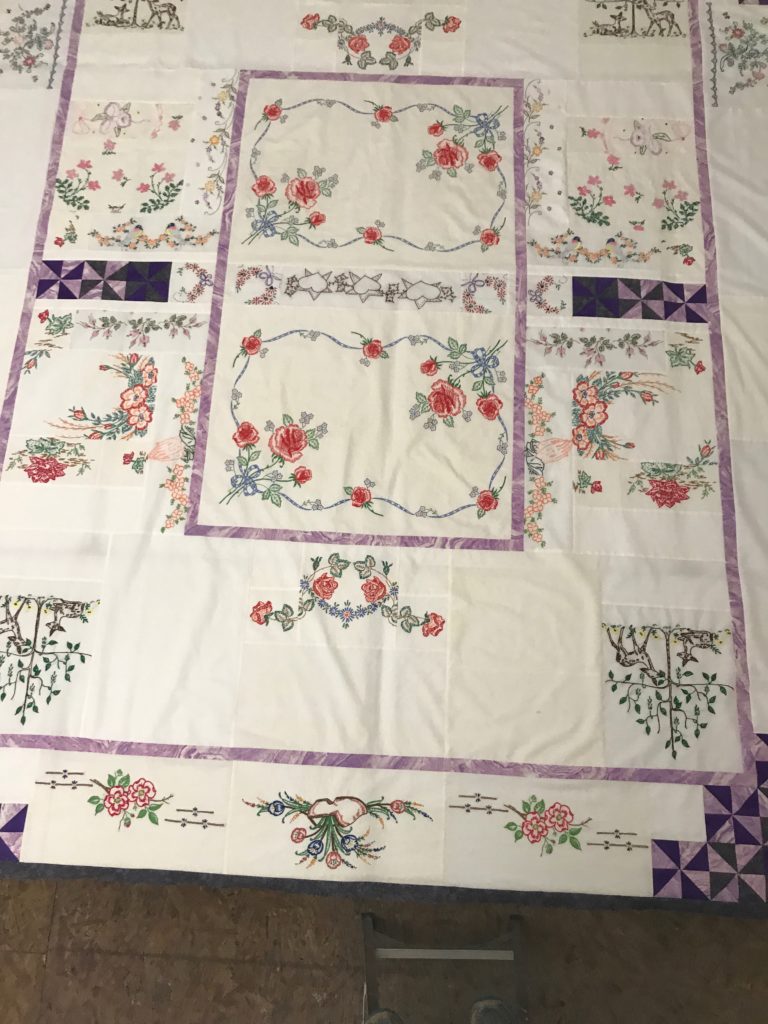
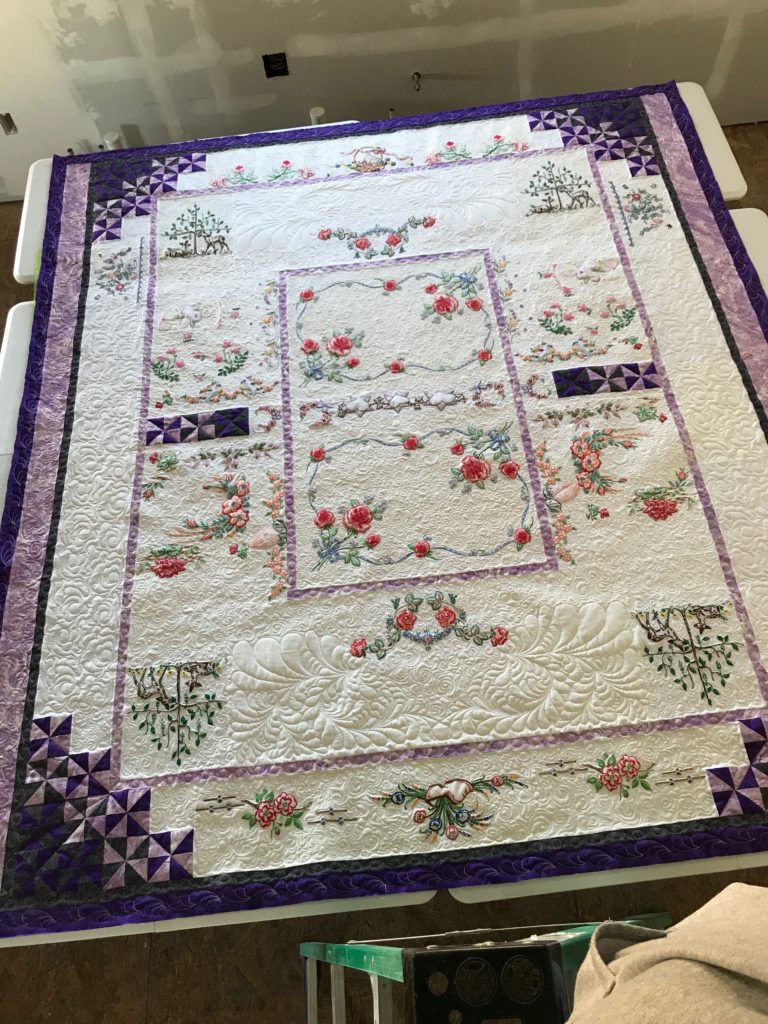
Here is the completed top! It was such a long process, but I learned so much about putting a piece like this together. I learned about my own creativity and skill as well. I have finally arrived! I know that sounds funny…but I feel this project brought together my technical skills of construction and the vision I had for the final outcome in a way that I only hoped could happen. Years of experience AND the correct tools for the job plus vision, planning and taking the first step to begin the project all culminated in this outcome. I am pleased beyond measure with my work!
This project was completed in November of 2018. It’s been a while, percolating in the back of my mind about sharing it with all of you here. I’ve been wanting to write about it and use it to showcase my thought process for creating something new out of something old. It’s a good representation of how I see life in general as well as how I envision two people joining their lives together. The old joining with the new; the art and gift of loving hands making things to use everyday; the stitching together of generations (both literally and figuratively) to make a new whole. It’s a beautiful representation of what marriage and family are to me.
As my husband and I celebrate our 33rd wedding anniversary today, and we look to the future to celebrate our sons upcoming marriage, I thought it would be a perfect time to bring this beauty out for a viewing. I hope you’ve enjoyed this as much as I have. Tomorrow will bring more pictures about the quilting on this project.
Until then….may your bobbins never be empty!
That’s Beautiful! I remember you telling me about this project at our retreat and to see the end result is awesome. I would have been frozen at the point of actually cutting them. I also have some yellowed linens that my Mom gave me and I’m going to have to try out the soak that you mentioned. Thank you for sharing and very well written. Happy Anniversary!!
Yay!!! Pam! You are my very first blog site comment! You rock girlfriend!! Thank you so much for your comment, and your following, and your encouragement. I can’t tell you how dear you are to me. I feel like I can accomplish anything with such awesome support. Thank you too for the anniversary wishes. My handsome prince is the apple of my eye, even more so after all these years. Let me know how the Retro Clean works for you. Just follow the instructions…it’s a wiz!