Or, you could say, it’s a matter of pressing, aka ironing. In today’s everyday world, ironing is a skill primarily reserved for shirts and wrinkled pants and what not. But in the quilting world, using an iron is a necessity for every project we undertake. And believe it or not…ironing and pressing are not the same sport. Hey…it’s liberal arm movements, repeated many times for each engagement. That could be a sport, right?? And those of us who can use both arms are considered ambidextrous too, right? It is in my book, so I’m going with that.
Anyway, considering the topic at hand, I was pressing the last thing to pass under my needle and I happened to take a closer look at my little side table that I use for that purpose. Well, that led to another thing and then another until the whole focus of my morning yesterday involved a task I didn’t expect to be doing. Come on along and I’ll show you what I was up to.
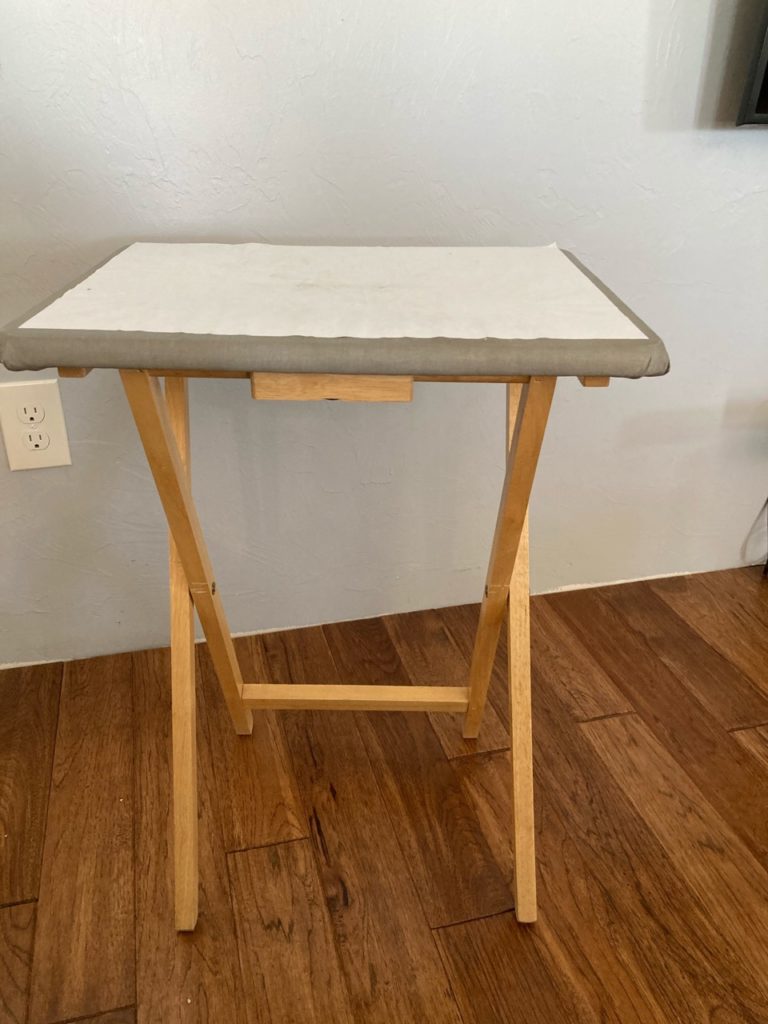
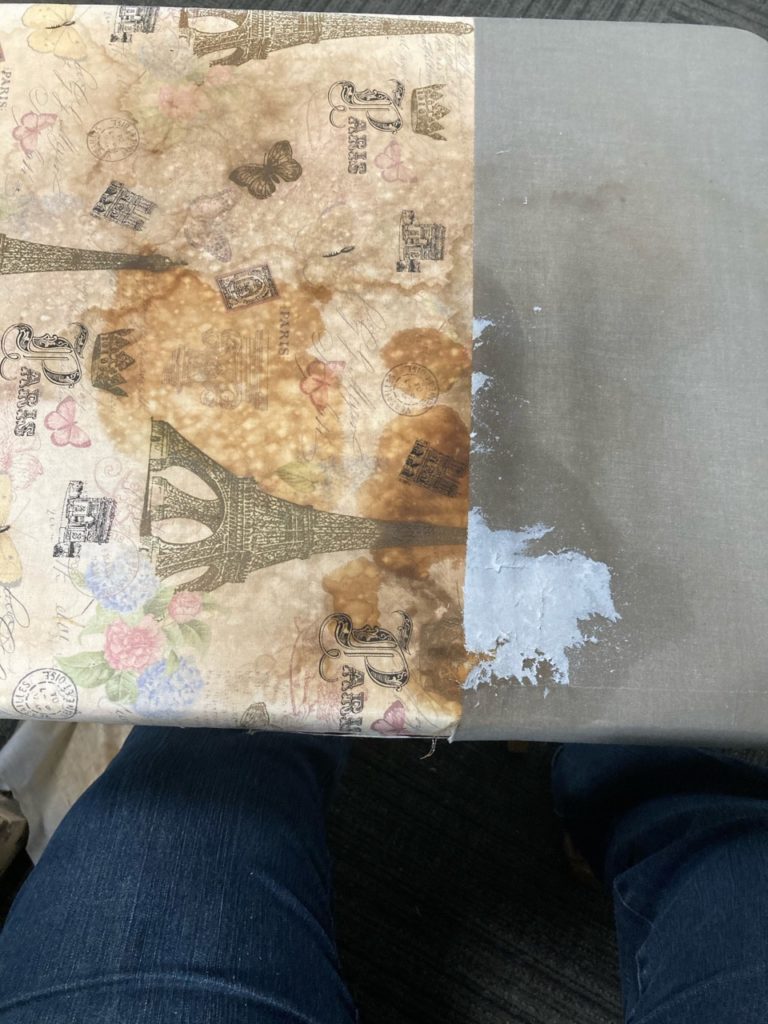
Here it is…just a modest little TV tray.
This is a wooden TV tray that I recovered several years back to serve as a little side table when I sew. Mostly for ironing, but it’s a perfect size and height for several tasks. It’s had a couple different layers of fabric over the course of time, but I decided to try some freezer paper on the top to see if it would help to preserve the fabric underneath a little longer before needing another layer.
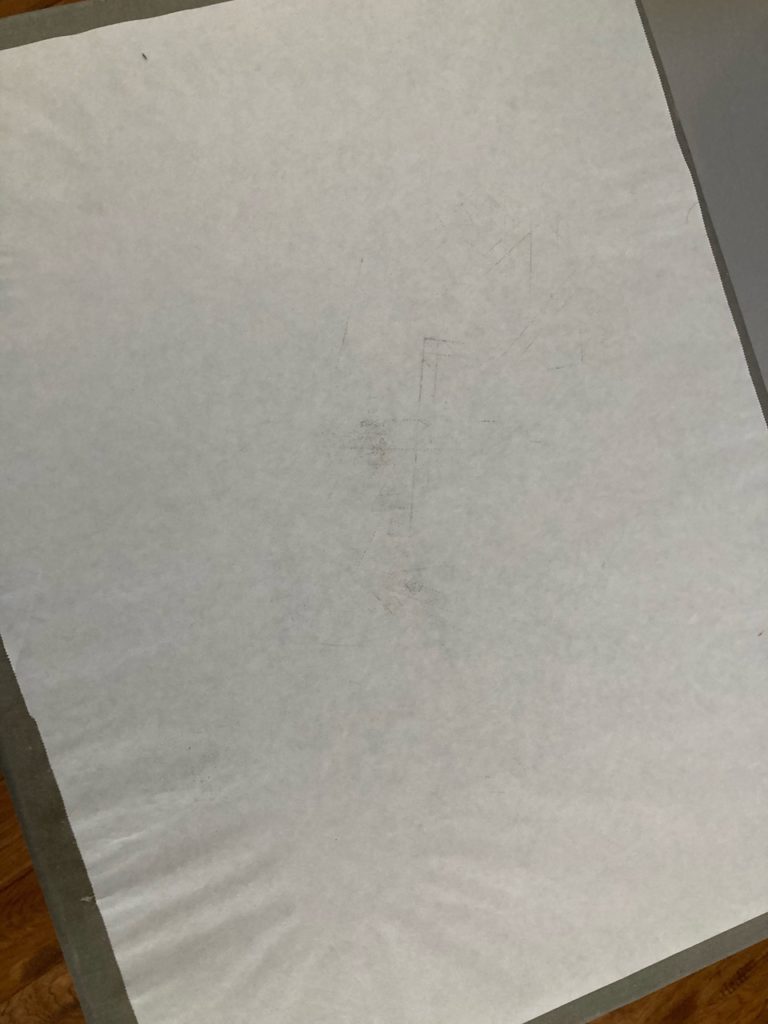
You can also see along the left side of the paper, the discolored fabric underneath.
You can see here the freezer paper is showing some marks on it. A bit of ink that transferred from a home printed piece of newsprint for paper piecing…a bit of scorch mark from high heat…a bit of paper shrinkage from being steamed during pressing.
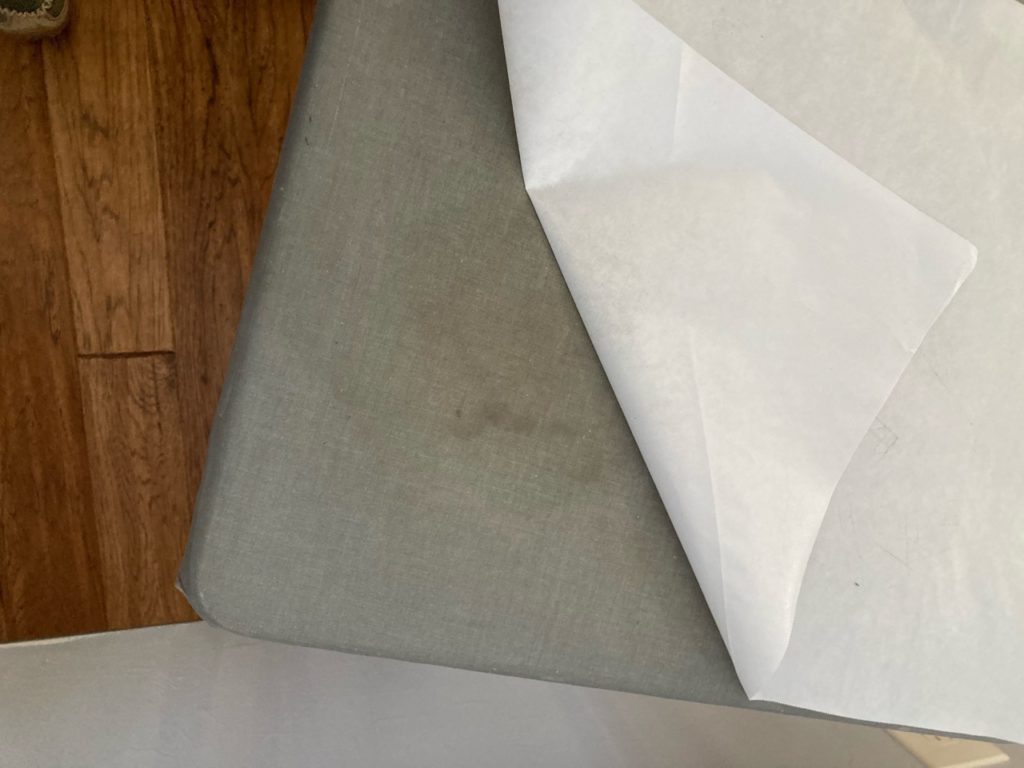
Up came the paper to this point, but just one more pull on the paper revealed the degraded fabric underneath.
I decided it needed to be replaced, so out came the gigantic roll of freezer paper that only comes in one size and will last two lifetimes. I cut a piece to replace the old, and proceeded to remove the marred sheet from my little pressing table. Unfortunately, the paper also brought up a spot of the top layer of fabric. Hmmmm…time to investigate.
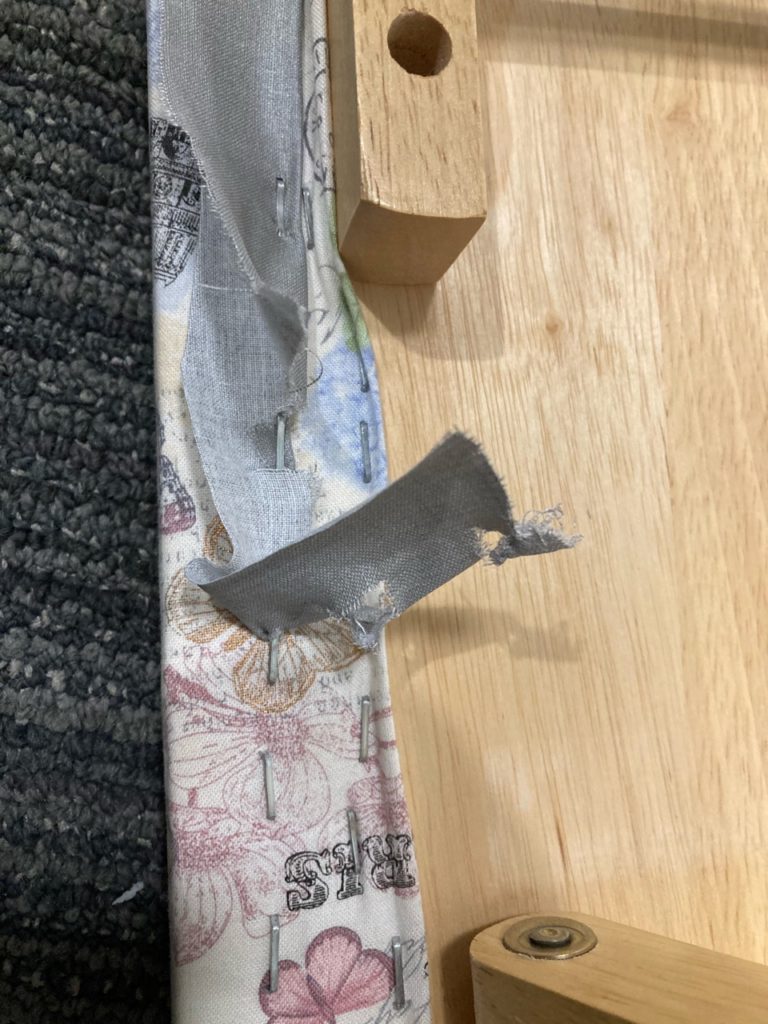
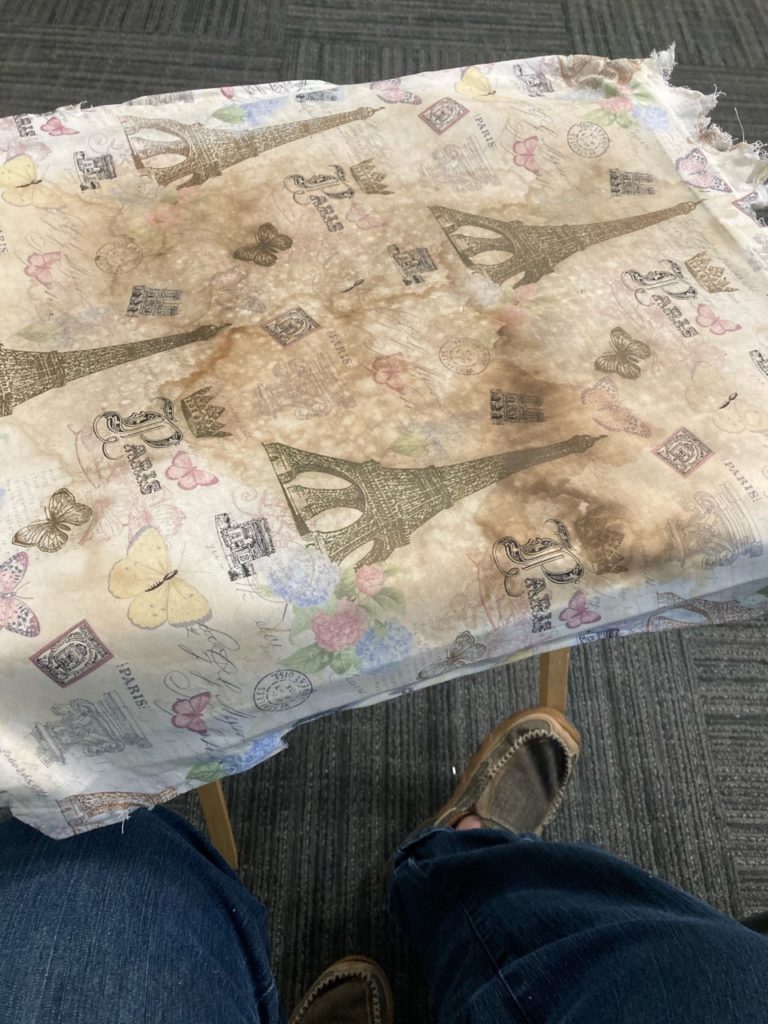
I found the top fabric had begun to basically rot. Rot?!?! Nah…..that couldn’t be…rot comes from moisture and other unsavory conditions. But it was damaged none the less, and had to come off. Then I saw the layer underneath. Yuk!!
More tugging and pulling of the top fabric revealed the next layer down. Not very pretty at all. I really loved the initial layer of fabric. But it showed scorch very quickly, which led to the second layer…the practical silver ironing fabric came into service. What’s surprising is the ironing fabric is quite thin compared to regular cotton. But it outlasts regular cotton for heat reaction.
So, after some ripping and tugging and pulling on both layers with not much success, out came my tools and I began the process of stripping down the old and replacing it with the new.
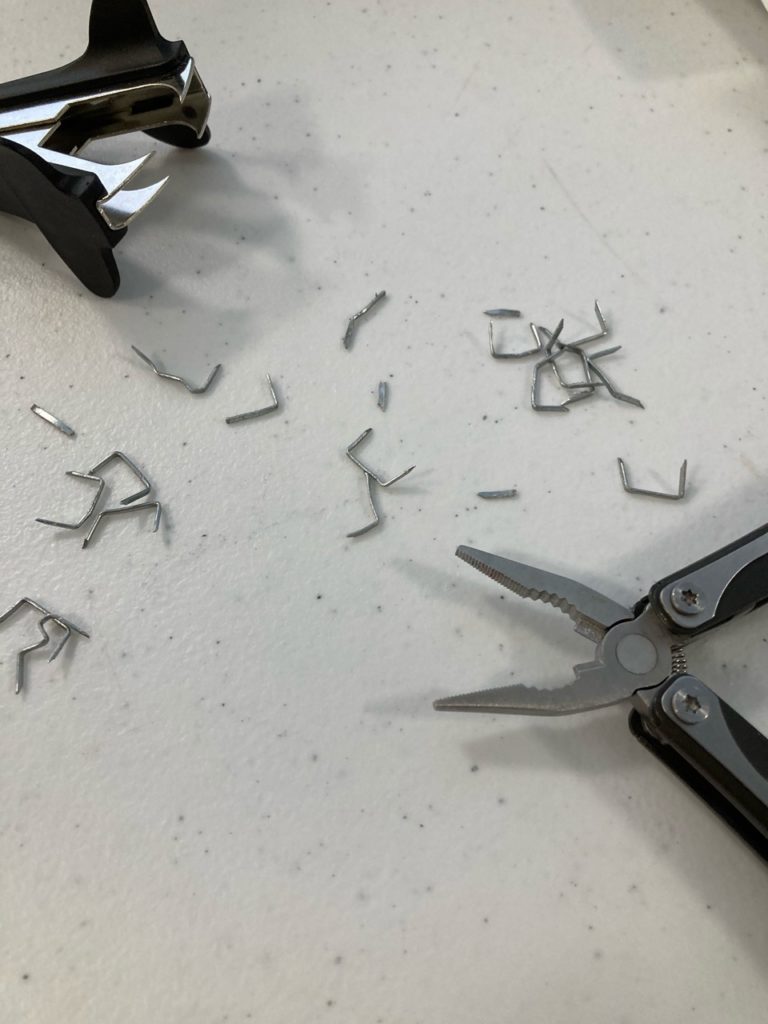
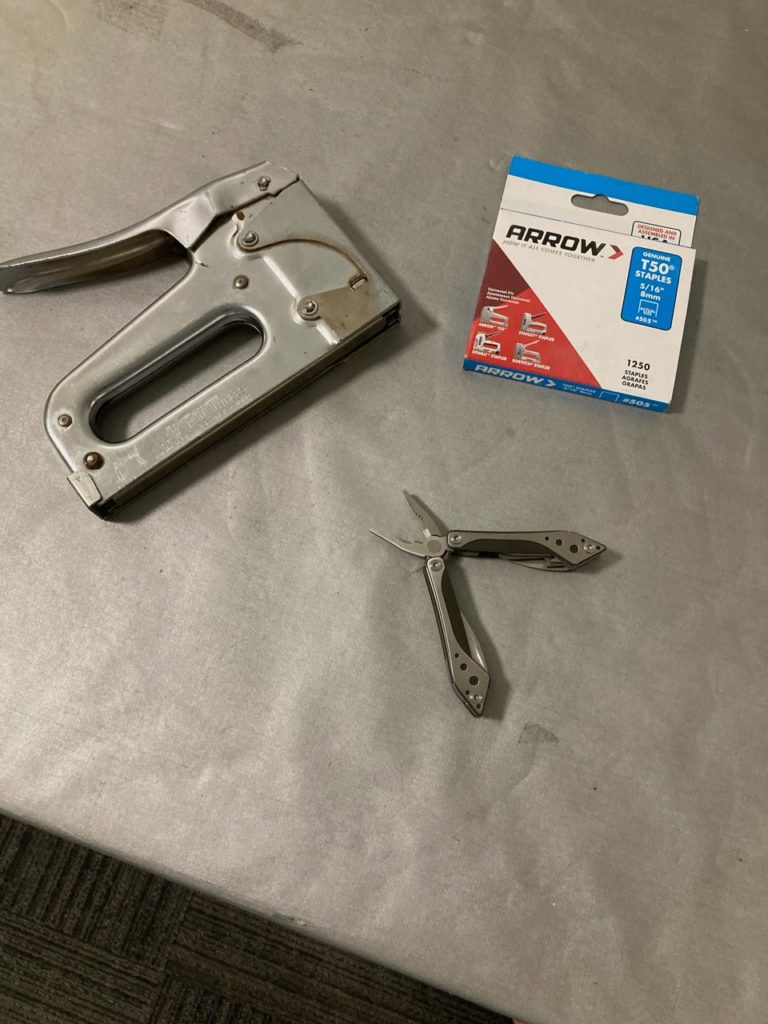
Brute force just didn’t work. I need some tools!Here are my basic tools for this step of the job. Nothing fancy. The staple puller helped in some places to get the staple separated from the fabric a bit. And my personal little Leatherman. Just the right size for my hands. No…I don’t need pink tools. But I do need them to fit comfortably in my hands. These two worked pretty hard for the morning.
The steps aren’t complicated, but they do take some effort.
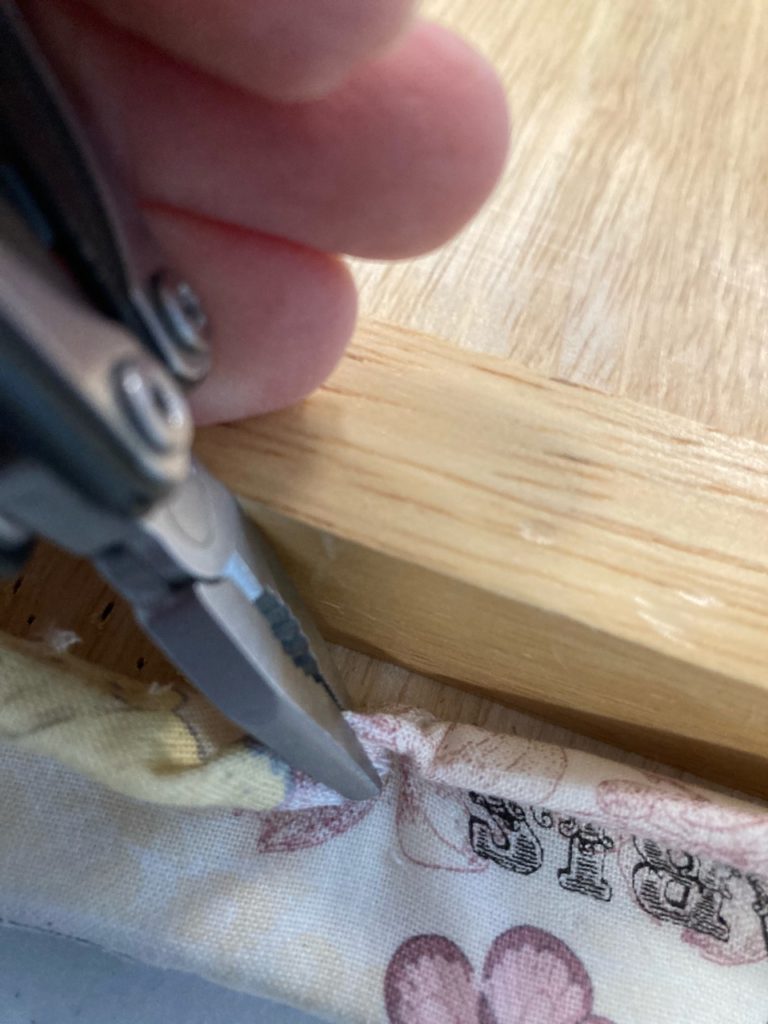
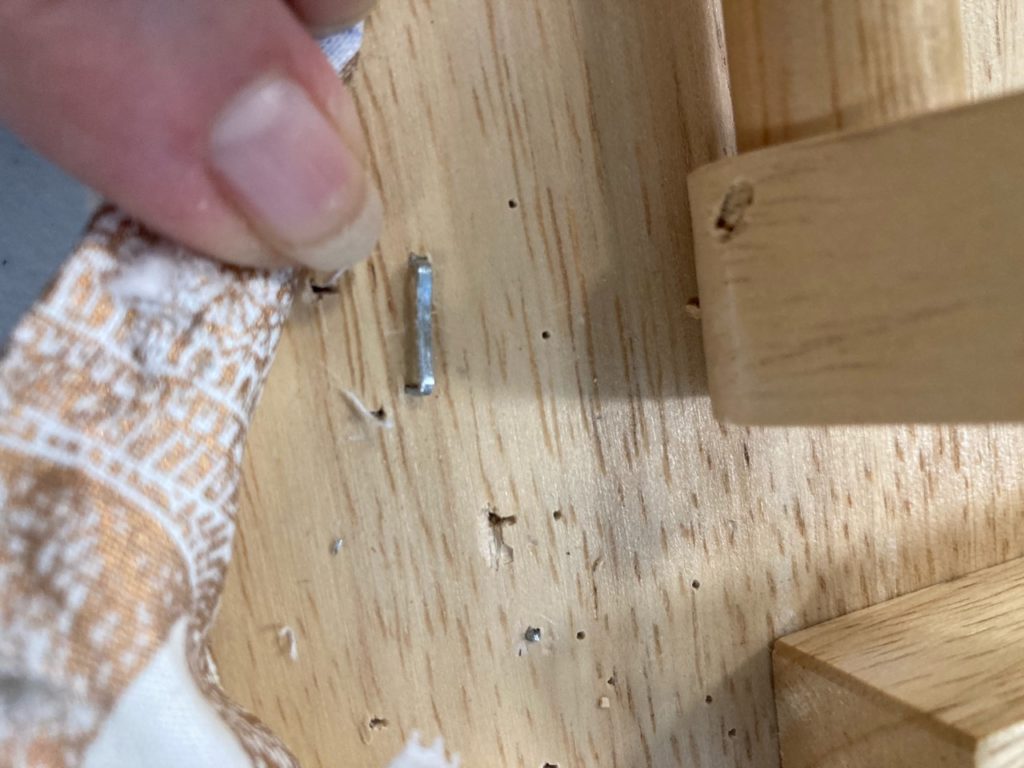
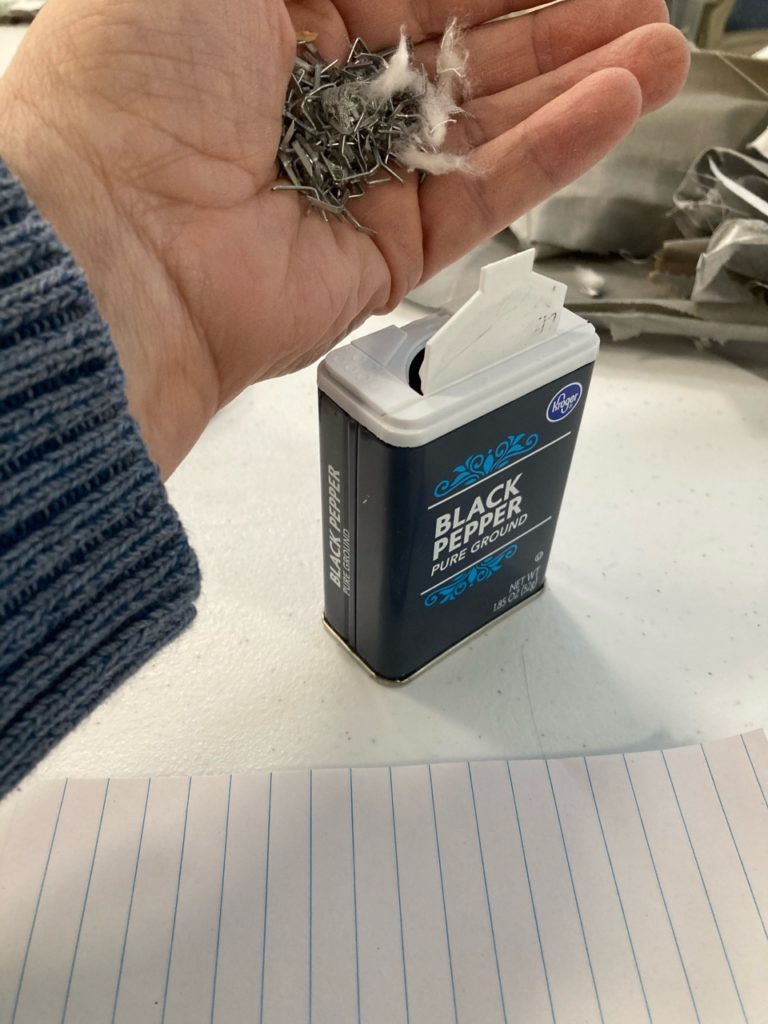
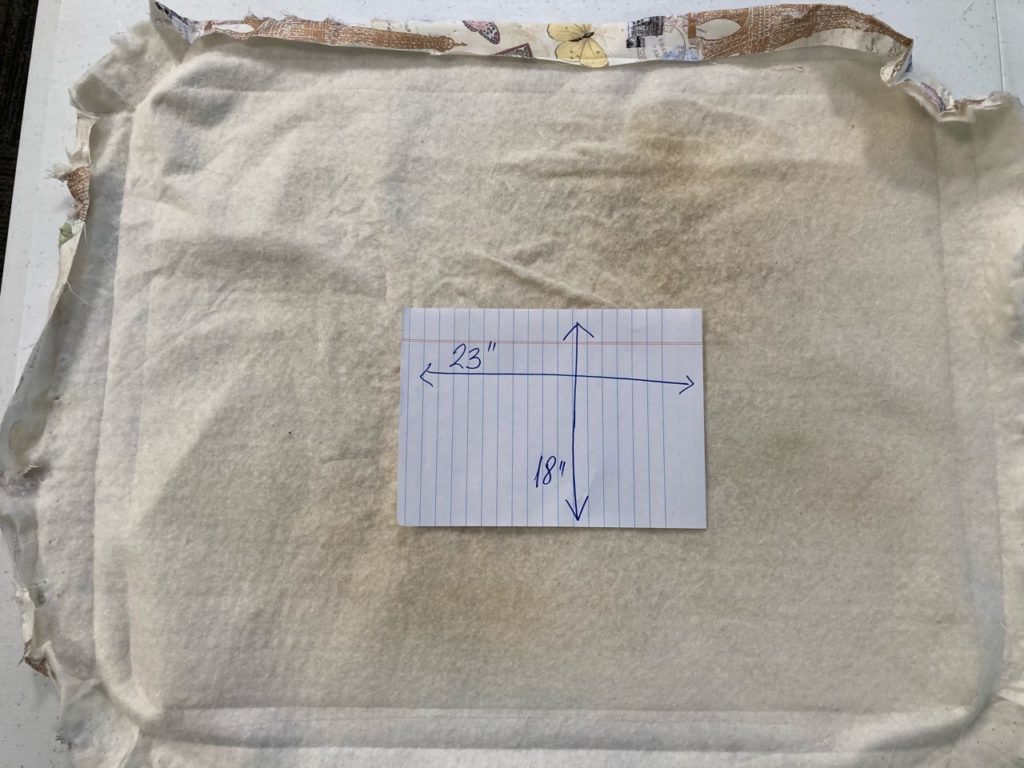
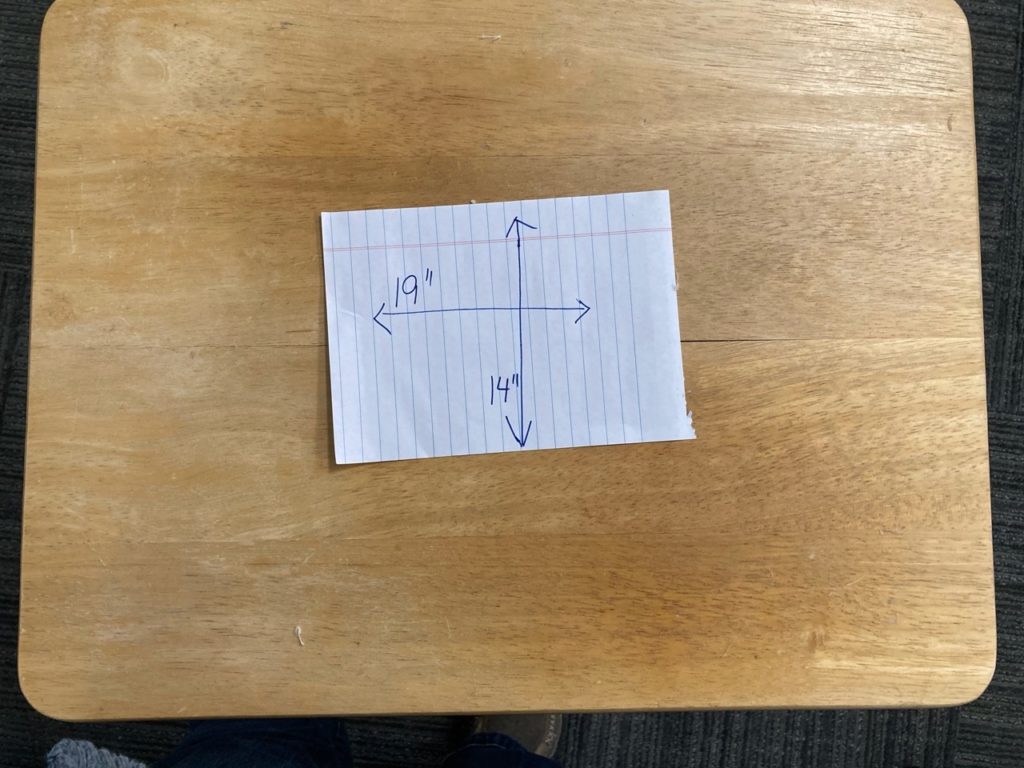
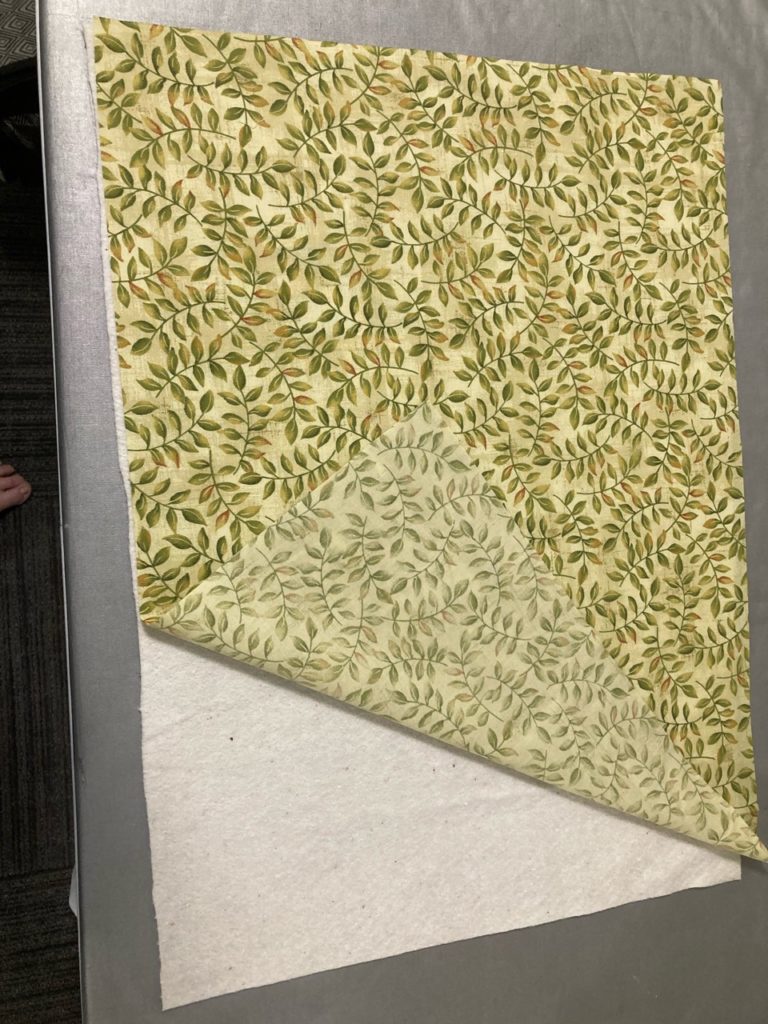
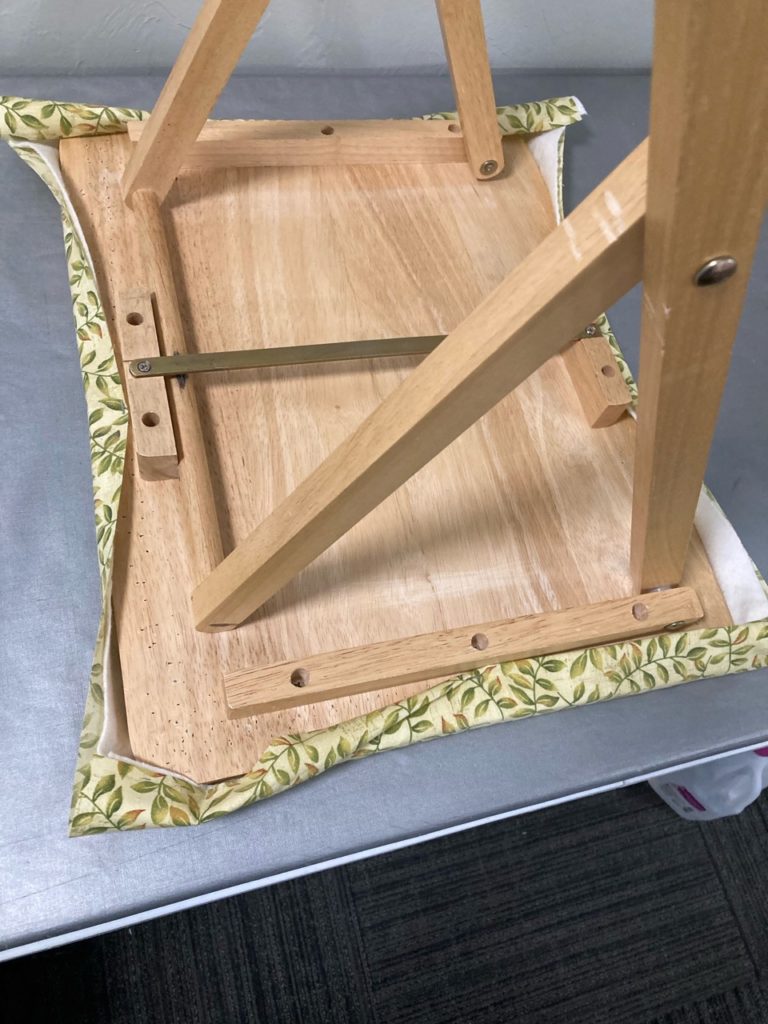
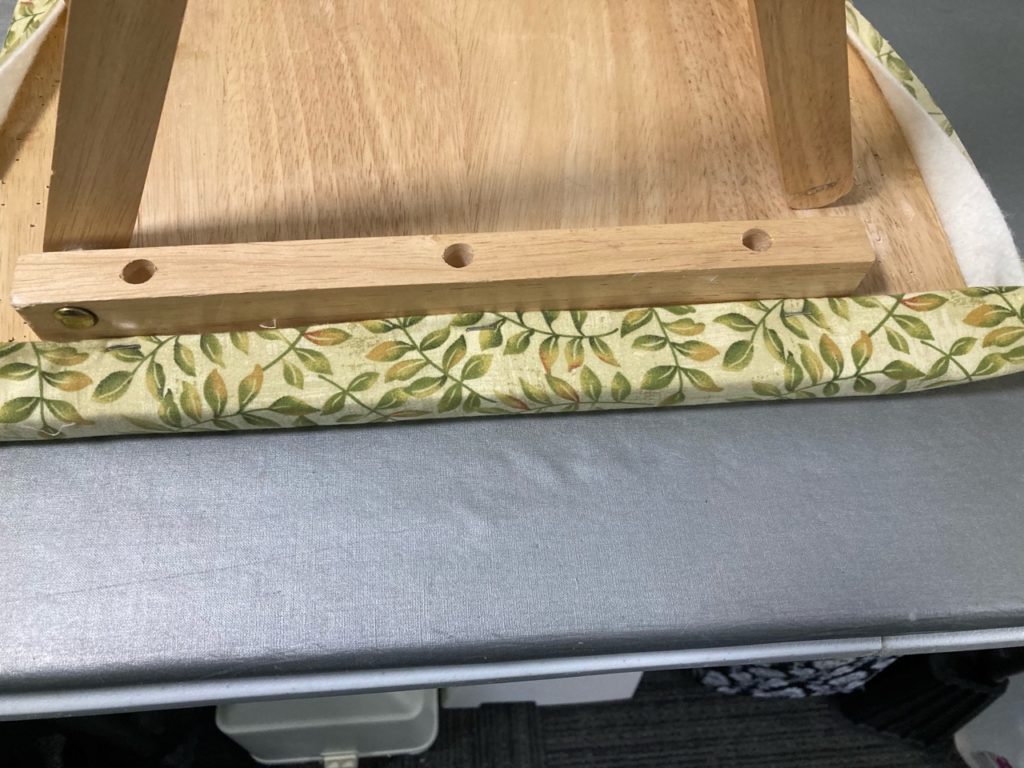
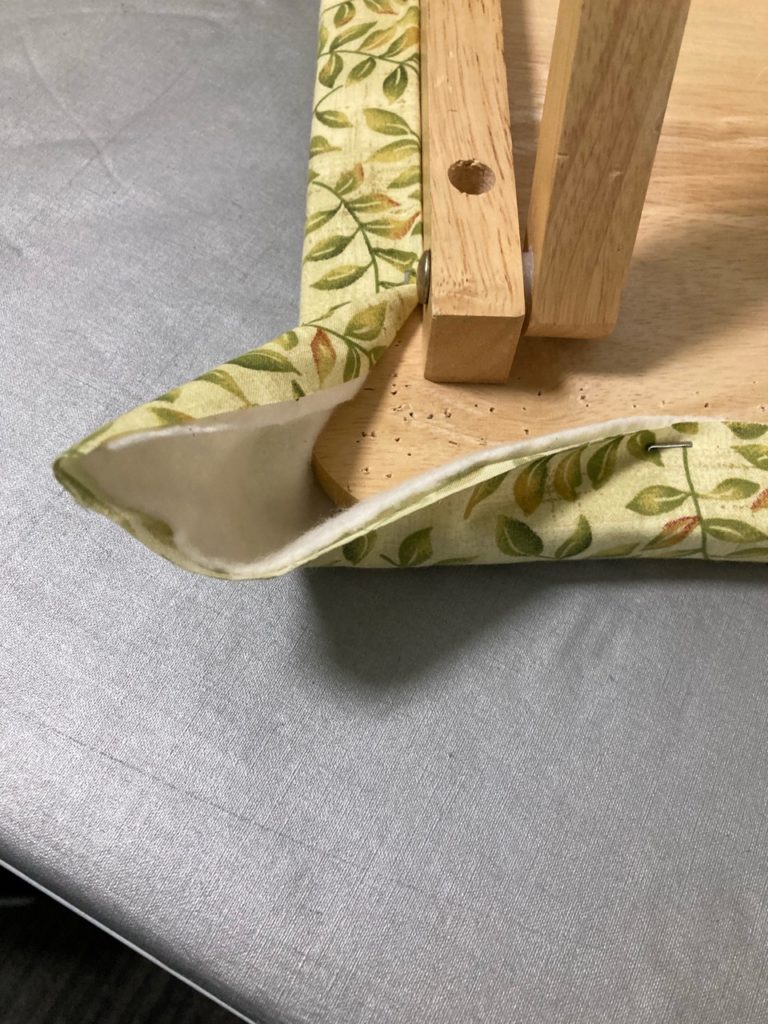
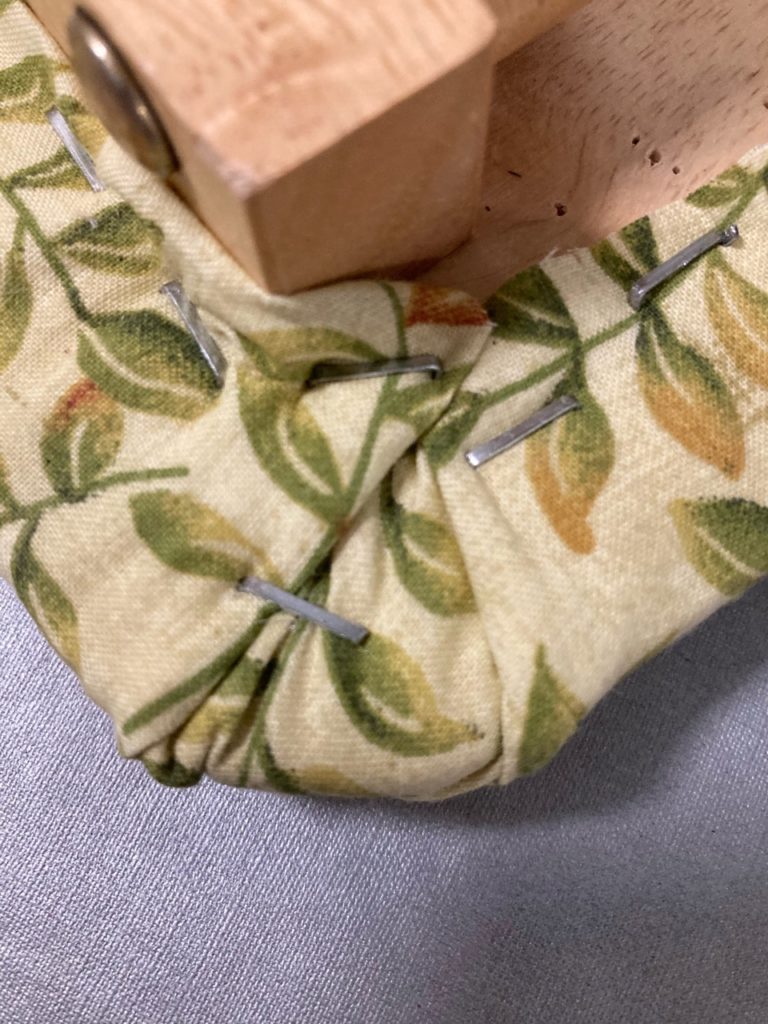
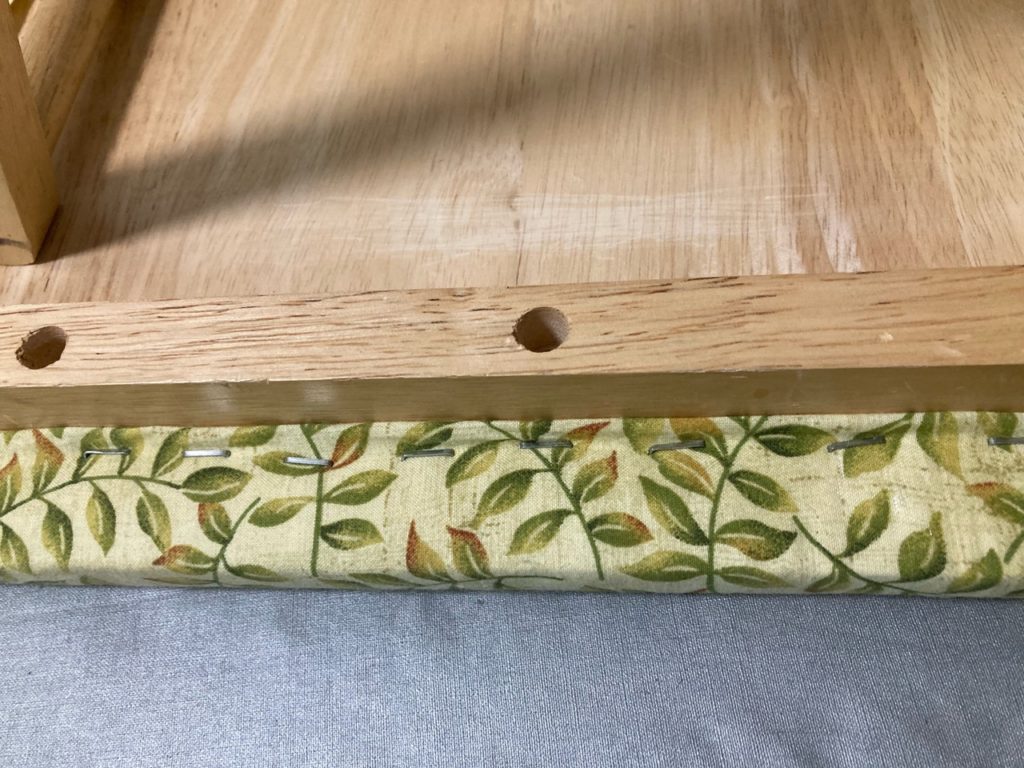
Sometimes, the staple pullers just couldn’t get close enough to the staple due to the frame of the table. So, I just grabbed the edge of the fabric and gave it a good pull. That loosened the staple nicely.Sometimes, the fabric just came right out and left the staple behind. These got a good tug. And sometimes they broke off. But I was able to grab hold to the broken portion and pull it out with the pliers from my Leatherman.You can see a broken piece here in one of the staple holes below and to the right of the staple I’m pointing to. It’s good to get these out too so there are no pointy surprises as you work.Off with the old! The rewards of my hard work. Trash bin for the fabric and into my little “sharps” container for the staples.Yep…it’s a recycled spice can. They don’t make official “Quilter’s Sharps Containers”. And if they did, it would probably cost much more than I’d pay. Just like baby furniture seems to be twice the price as regular because it has the word “baby” in it. So I’m frugal. Besides, every penny saved is a penny used to buy more fabric!But before this heap of ick went into the trash, I got the measurements for it’s replacement.And just to make sure I was doing it right, I measured the top of the table. Now I know the fabric to cover the table top and wrap around the edges needs to be about 4″ larger than the top surface.Here are the layers that will replace the old covering. A piece of 100% cotton batting and regular cotton, both cut to 23″ x 18″ .You’re going to need a staple gun like this for the next step. I’ve made sure to show the size staples used in this project too. Too long and the staples can poke out the top, and too short they won’t be able to hold the fabric very well. lol…ask me how I know. 😉Now comes the fun part. Turn the table over and center it on the fabric, making sure there is equal amount of material to pull over each edge. Start by placing one stable in the center of all four sides.Next, go around each side again and put a couple more staples in spaced equally. Make sure to gently pull on the fabric to make sure it is taut, but not distorting the other sides.Corners are next. Trim off excess fabric to keep from accumulating too much mass for the staples to pass through and get a good bite for holding in place. There’s no magic to the method of making a tidy corner. I just approach it like the wrapping of a present…it’s easy peasy.Here’s my first corner. It’s tidy enough and doesn’t need to be any better than this.. And just so you know…each corner is a bit different from the last. That’s ok with me. I just need it to be done well. Finished is better than perfect.When the corners are all done, then I go back and fill in staples all along the edge of the material. Again, making sure the fabric is taut and secure.
Ta-Da!! Here’s the finished ironing board. I’ll still be adding a sheet of freezer paper to protect the new surface. But for now, I’m enjoying the fruits of my labor.
Thanks for coming along on this mornings bunny trail!
Until next time, may your bobbin never be empty!
2 Replies to “It’s a Pressing Matter”
Go for it Girlfriend! You’ll be so happy you did. 🙂


Go for it Girlfriend! You’ll be so happy you did. 🙂
Nice! Need to recover mine too!