Lots of Good Things Going On

Wow!  It seems like forever since I’ve been at my laptop and sharing my world with you, but it’s only been since Tuesday.  Settle in for a cozy read and see what’s been happening around here.

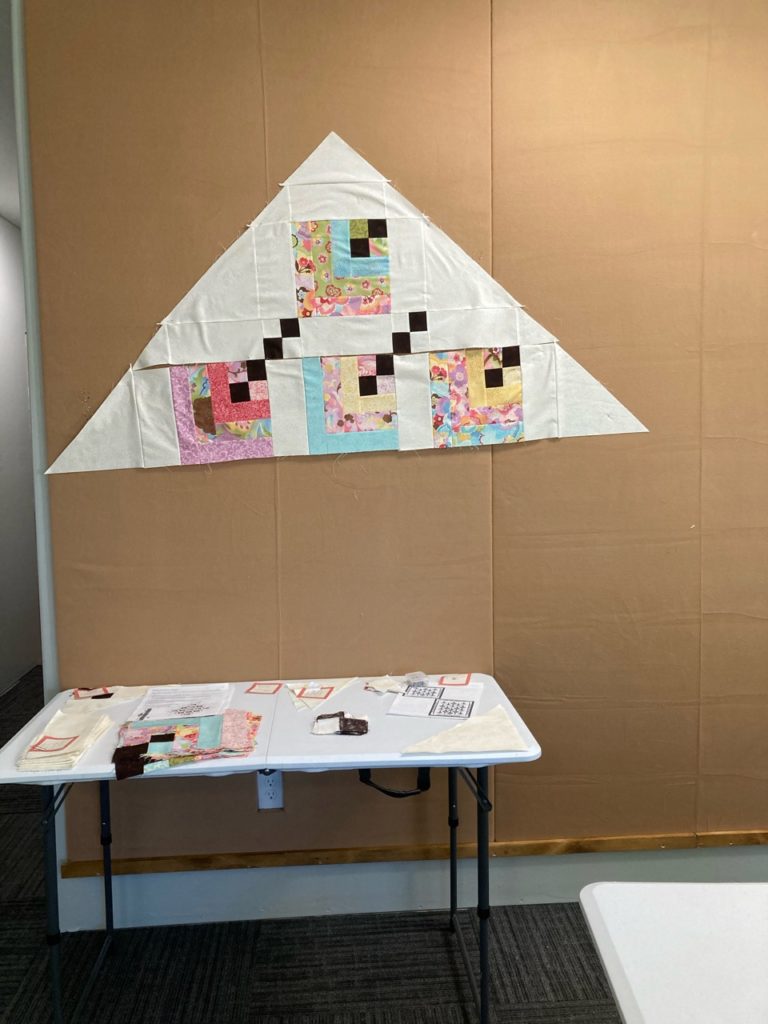
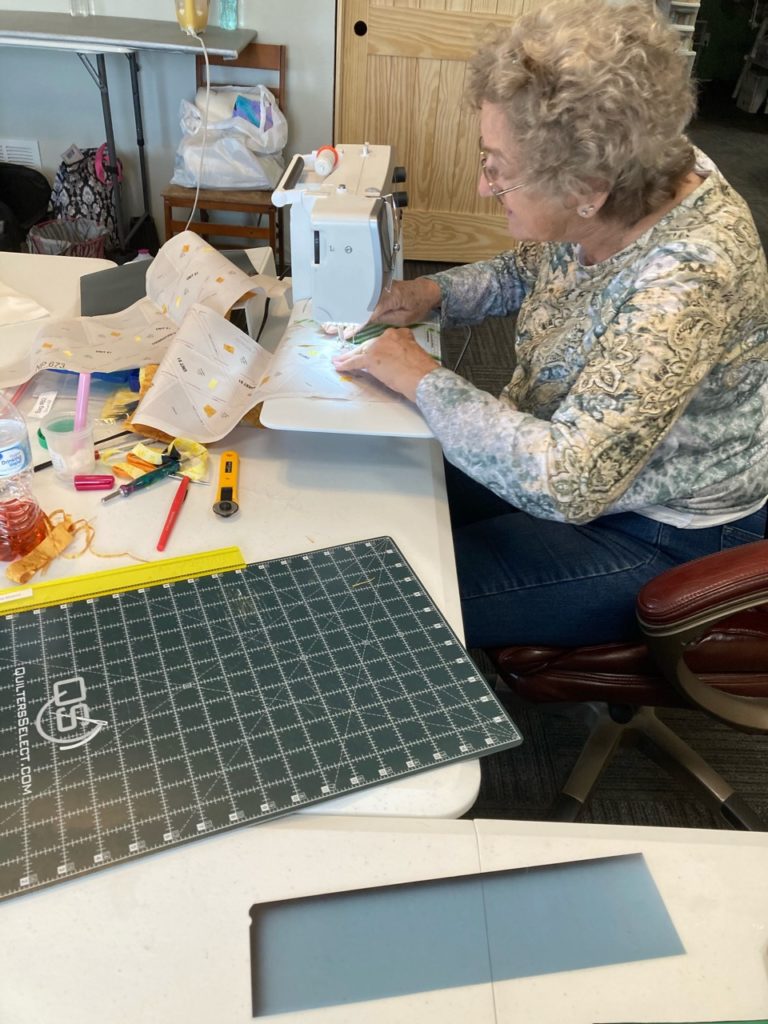
Wednesday was a great day because I got to spend the day with my good friend Susie.  We hadn’t been able to spend a girls’ day of visiting and sewing since before Thanksgiving.  It’s good for the soul when a little time is spent nurturing a friendship and motivating your creativity.   We giggled and squealed and summed up our lives for each other.  Susie worked on a great project, the Carpenter’s Star by Jennie Doan of Missouri Star Quilt Company.  And I worked more on my Moda Bake Shop Ganache pattern.

Here is Susie’s Carpenter Star. The blocks have been laid out and she’s putting the rows together. It’s looking marvelous!

We even had another good friend stop by for a little while. Maggie leads a quilting group at her church and I’ve helped her several times over the past 6 years that they’ve been active.  As part of my certification process for Quiltworx, I’m encouraged to do some pro bono work and I love doing things for Maggie and her ladies to help them learn new techniques to incorporate into their mission of giving.

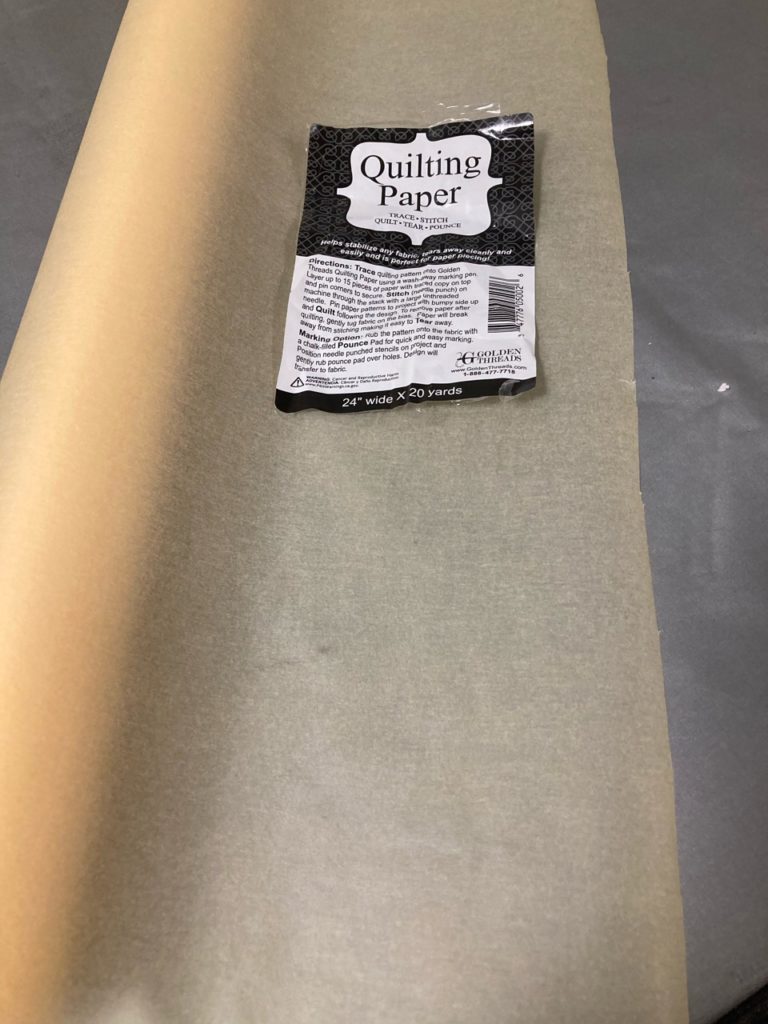
We’ll be meeting in March for a day class on Fractured Paint box.  It’s a terrific introduction to Judy Niemeyer’s method of paper piecing…one I love teaching and seeing the light of accomplishment sparkle in the eyes of those giving this pattern a try.

This is my Fractured Paint Box quilt that I will use to teach Maggies’ group in March. I love this pattern! Jelly Roll friendly and the perfect size for a throw on the sofa to cuddle in during TV time.

It was a great day!

Mission UFO landed again on Thursday and we had another new table arrangement for 4!  Cindy, Jean, Susie and I all spent the day working on our various projects.  Susie again was at her Carpenter’s Star.

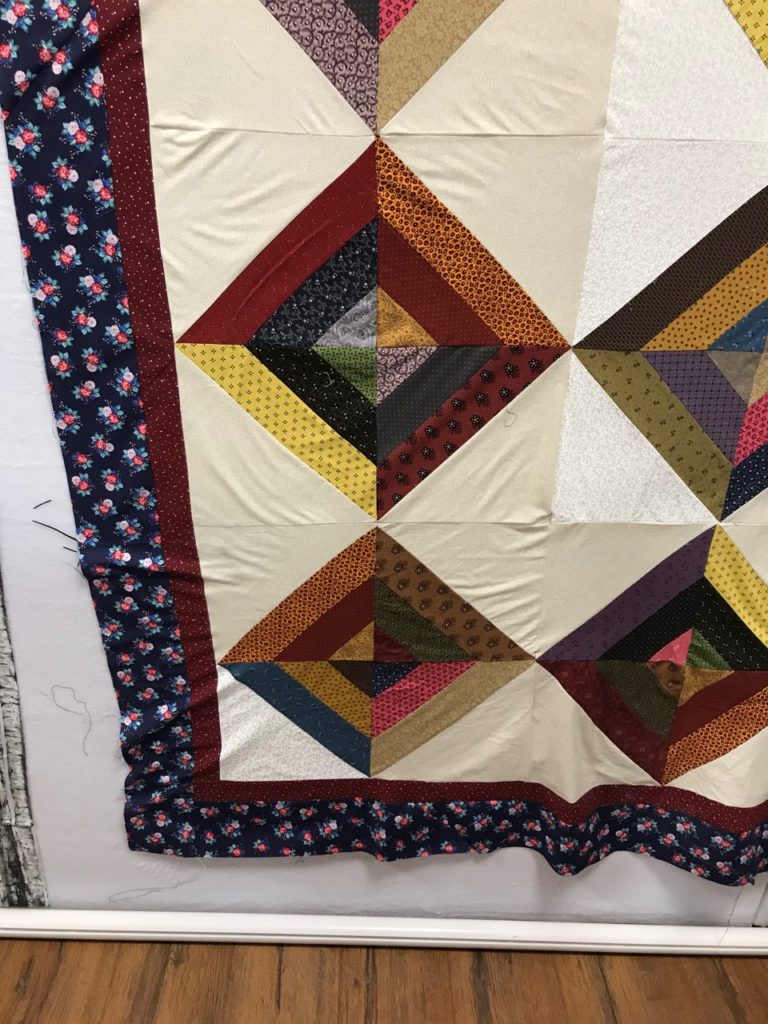
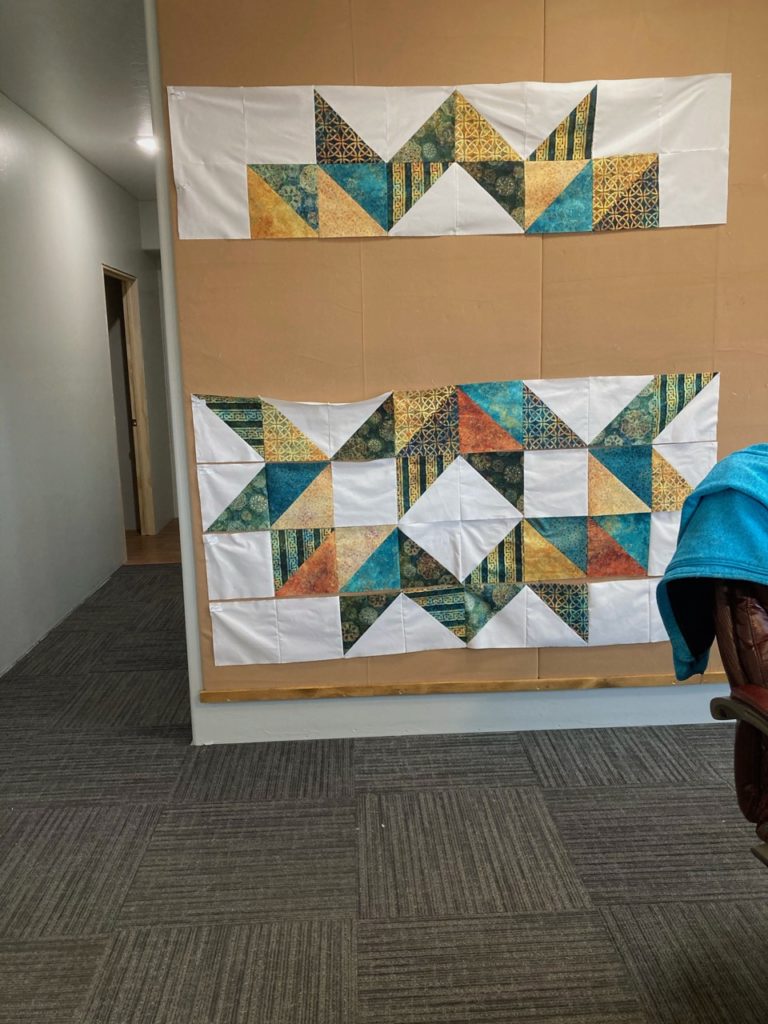
Cindy nearly finished up the body of her Hanging Garden, only two more rows to add. Then the borders!

Once those last two rows are attached, switching the layout to be square to the world will be so much easier to visualize. But it’s coming along nicely.

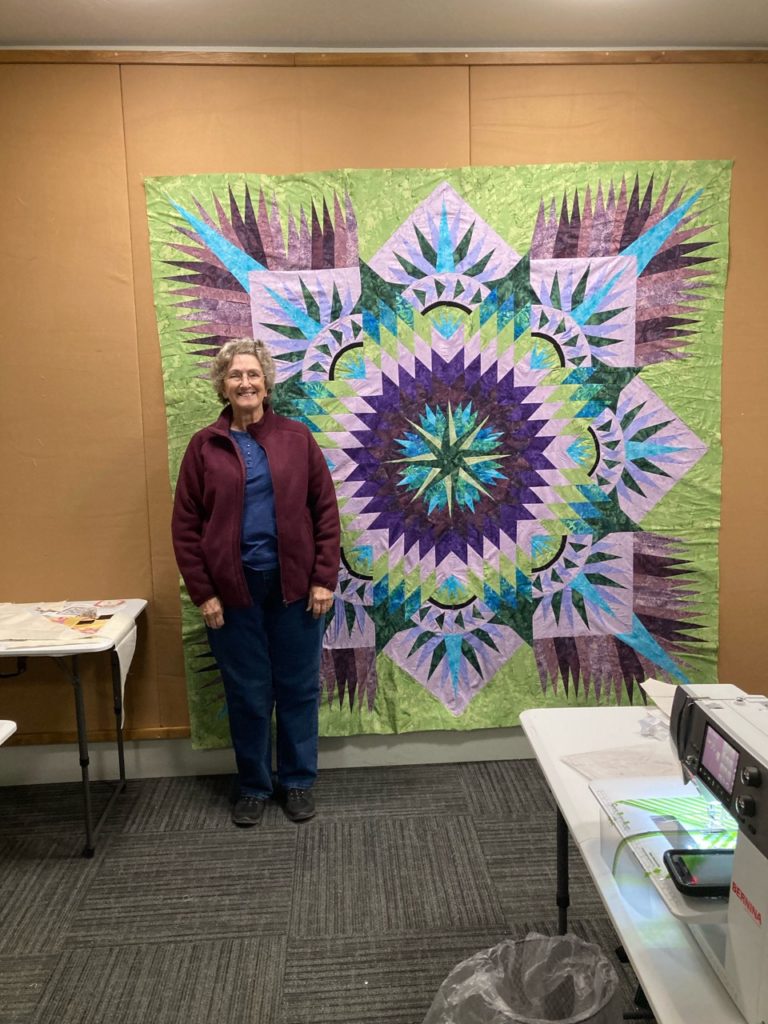
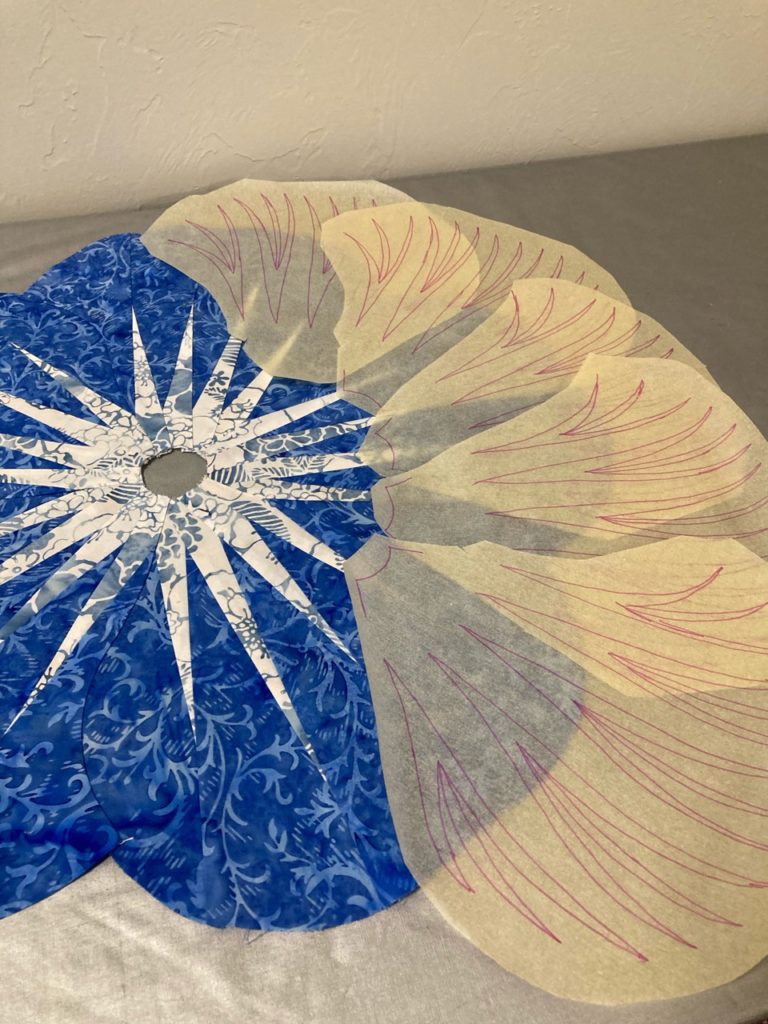
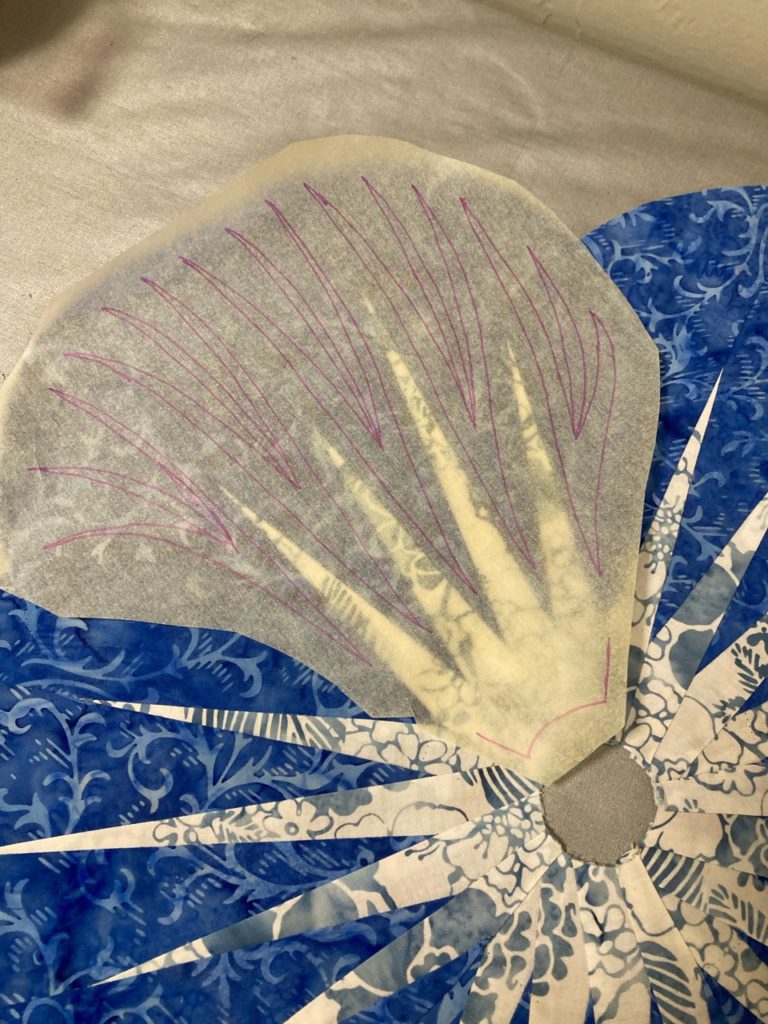
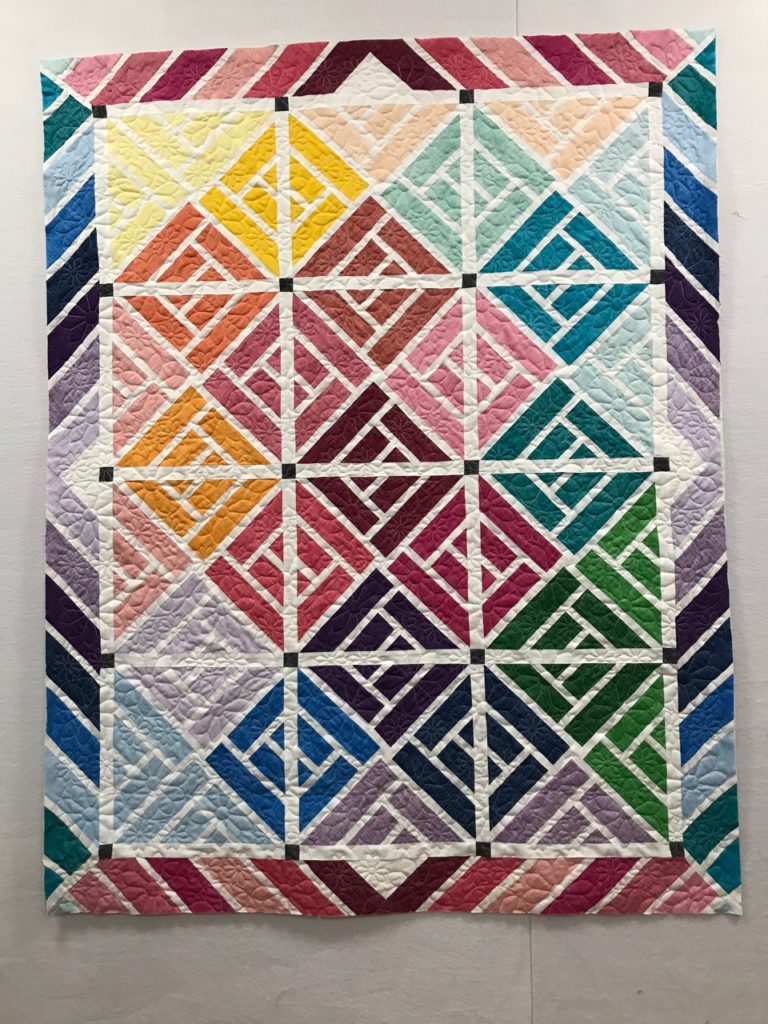
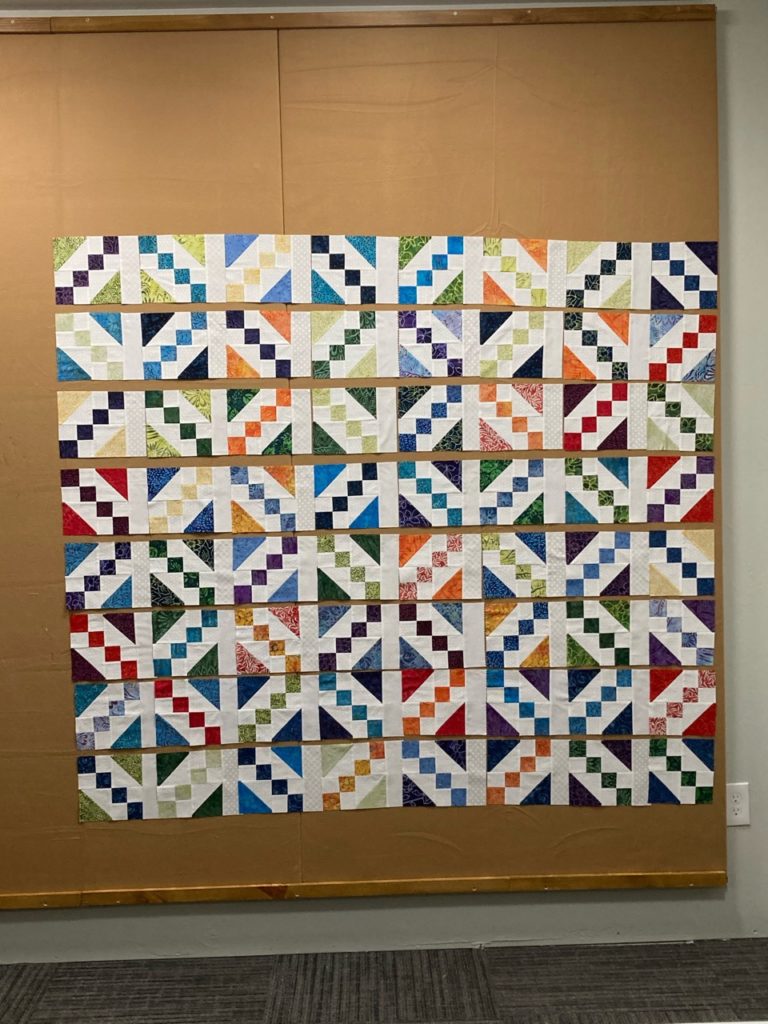
Jean was hard at work on her second Prairie Star in a blue and yellow colorway.

Jean’s working on the lone star diamond points that are in her Prairie Star. The blues and yellows to golds are stunning in this color way she’s selected.

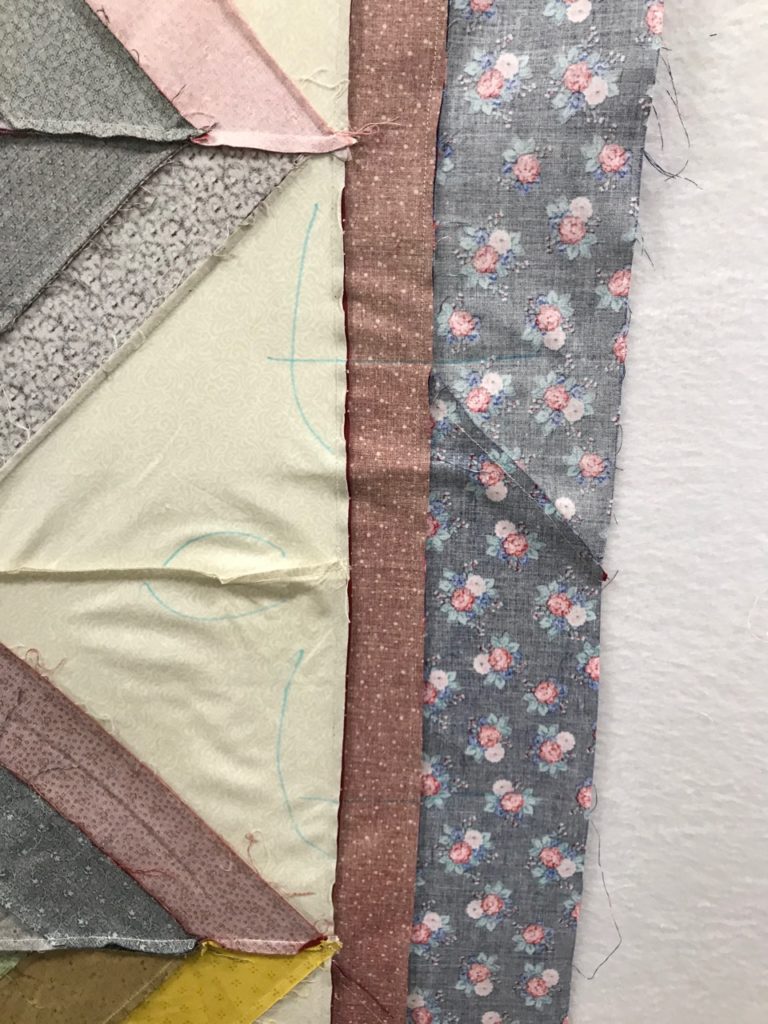
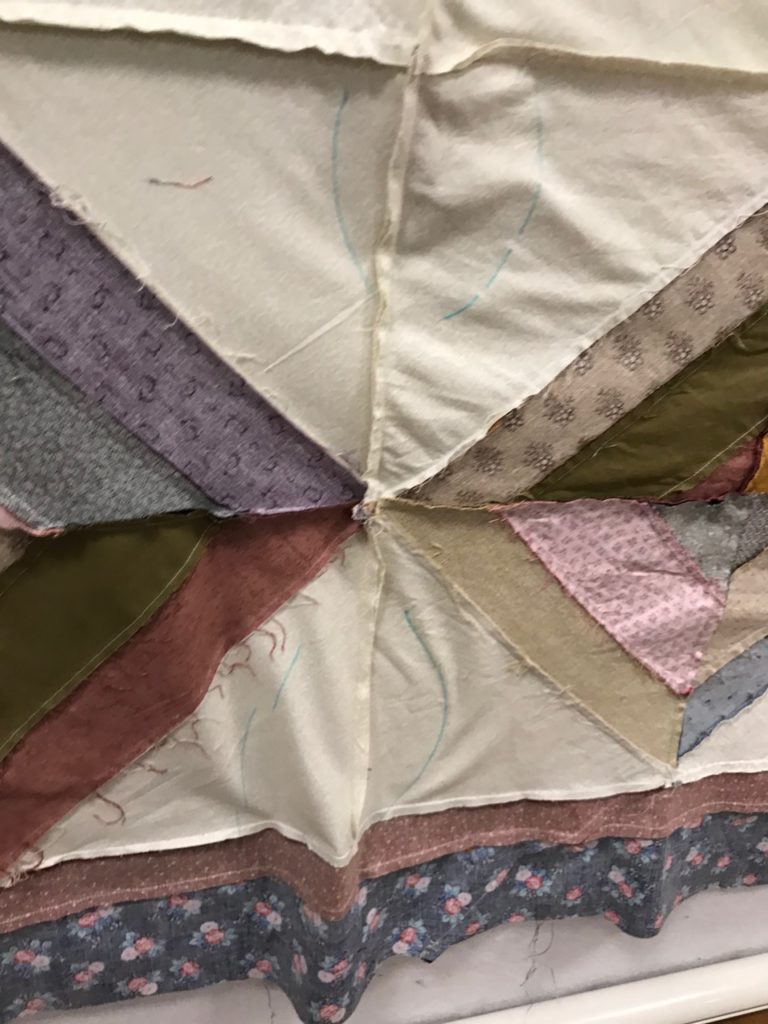
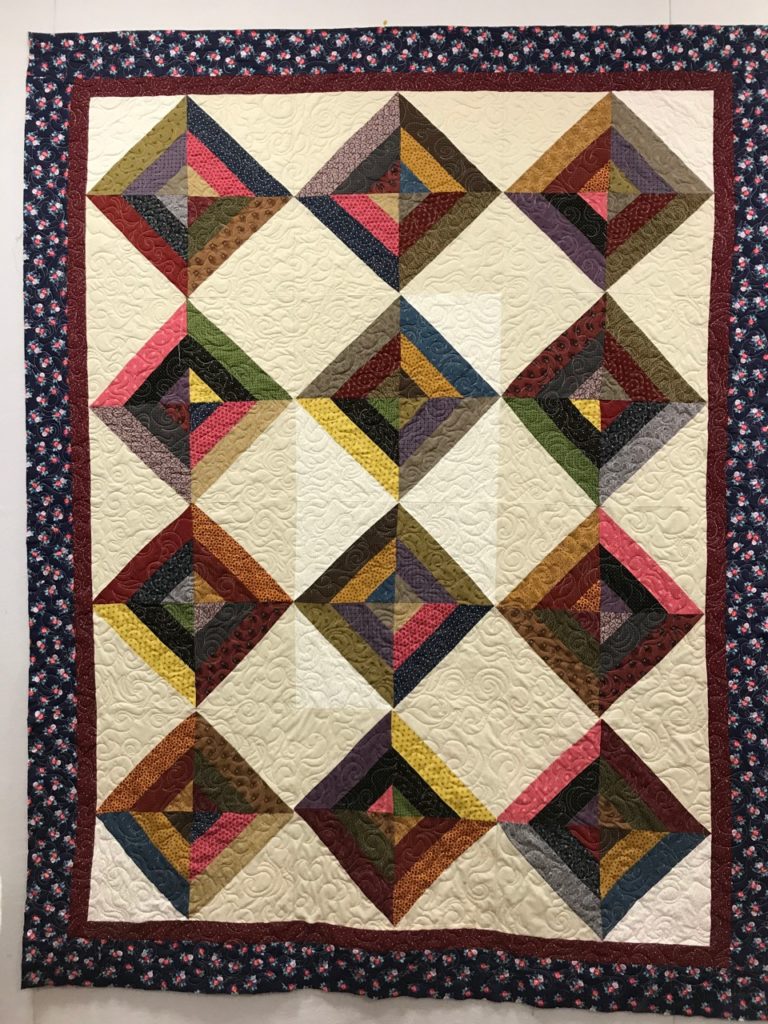
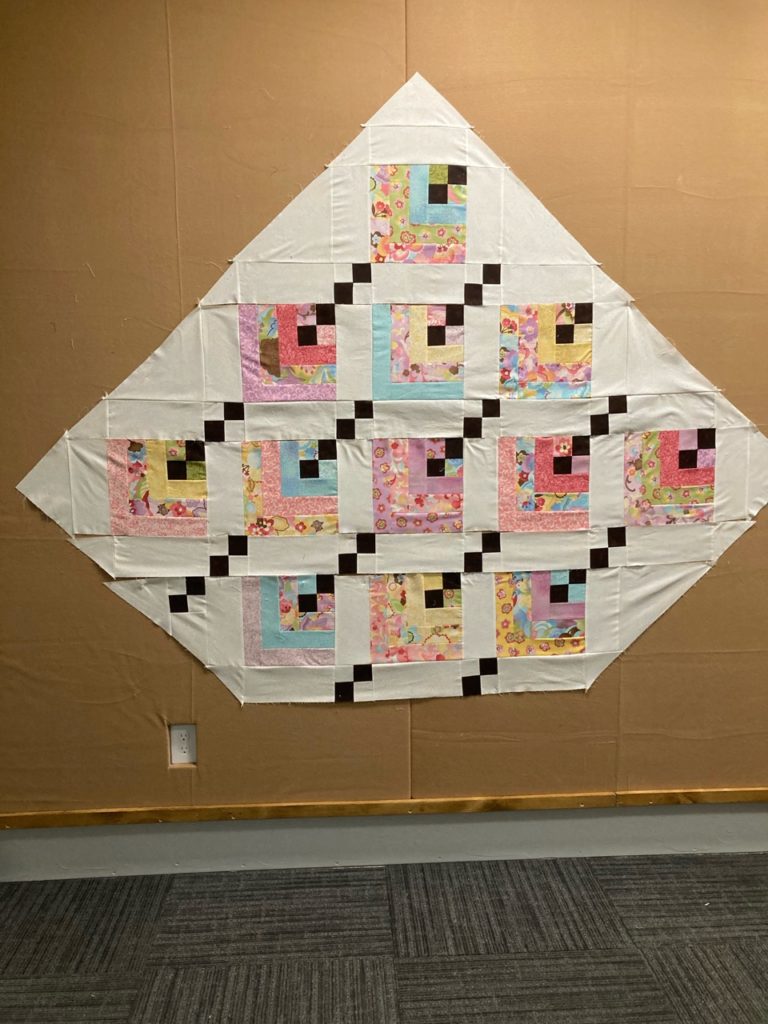
And I was putting the rows together on my Ganache.

Here are the rows all connected. Next comes the horizontal sashing. It’s coming along too!

So much laughing, visiting, sewing and sharing happened on Thursday.  It was a great way to spend the day while working towards our respective goals of finishing up projects on our UFO list.

Friday was good too!  Kids coming home for the weekend means lots of activity, lots of fun and good food too.  Our son Grant and his friend Tyler came home to help us move furniture.  We missed out sweet daughter-in-law Maddie, who couldn’t come this trip, but we visited with her several times and kept her in the moment as best we could.  Getting older isn’t for the faint of heart.  And while Gary and I aren’t all that old, we just don’t move the way a 20-something can.  Go figure!

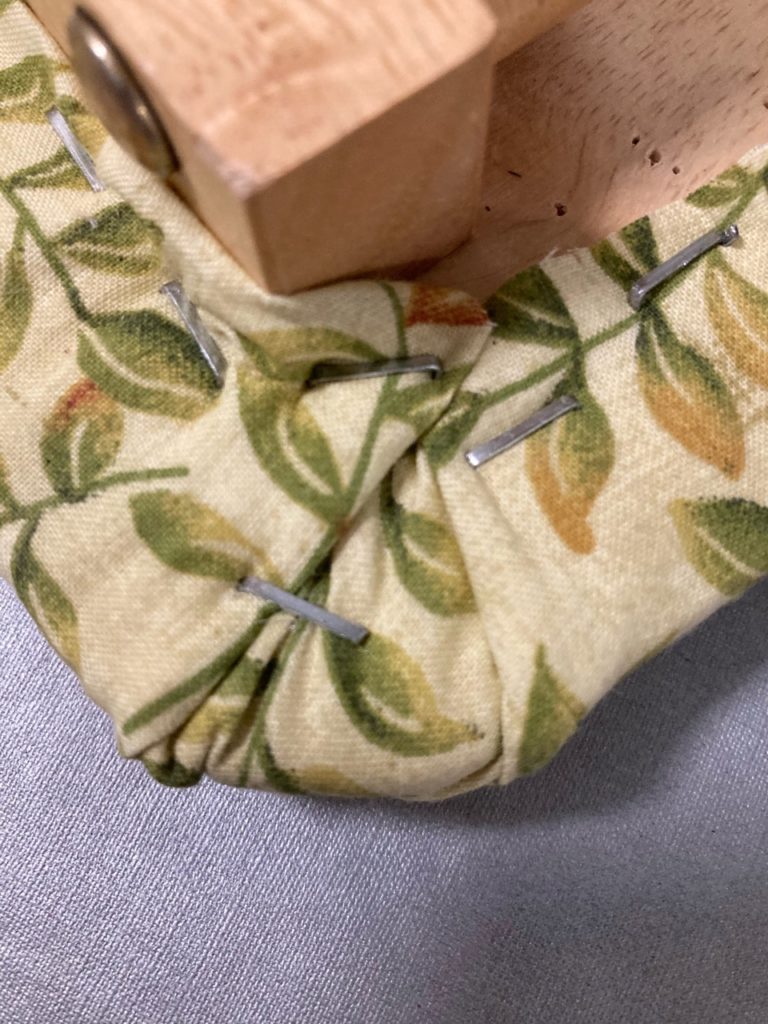
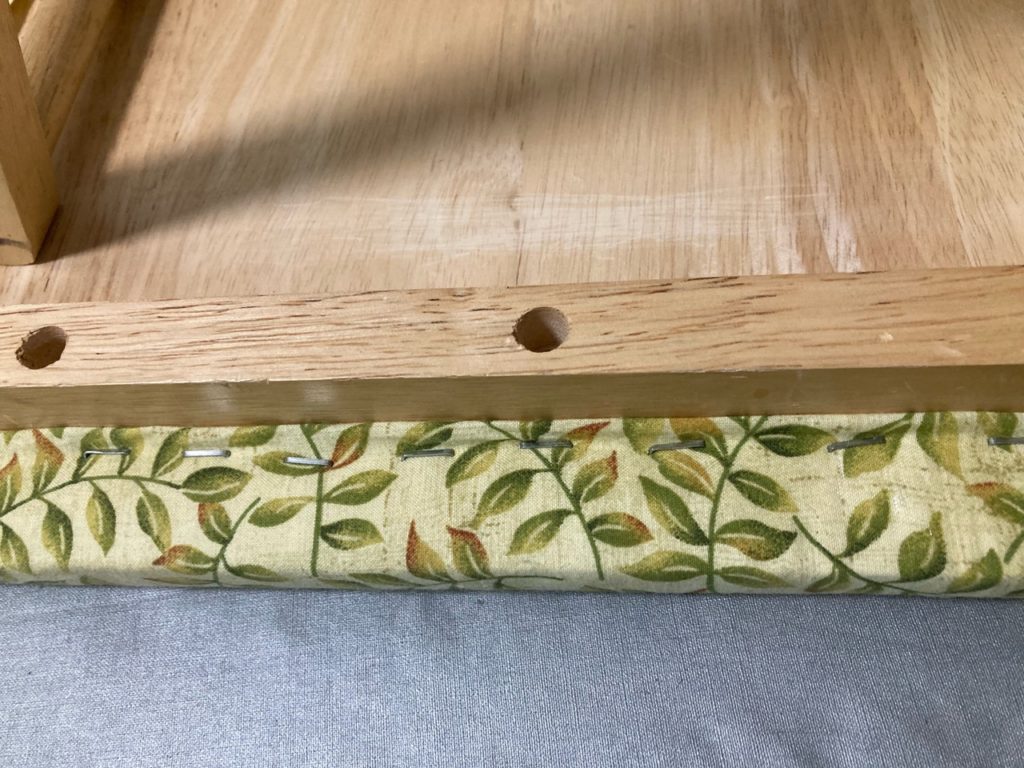
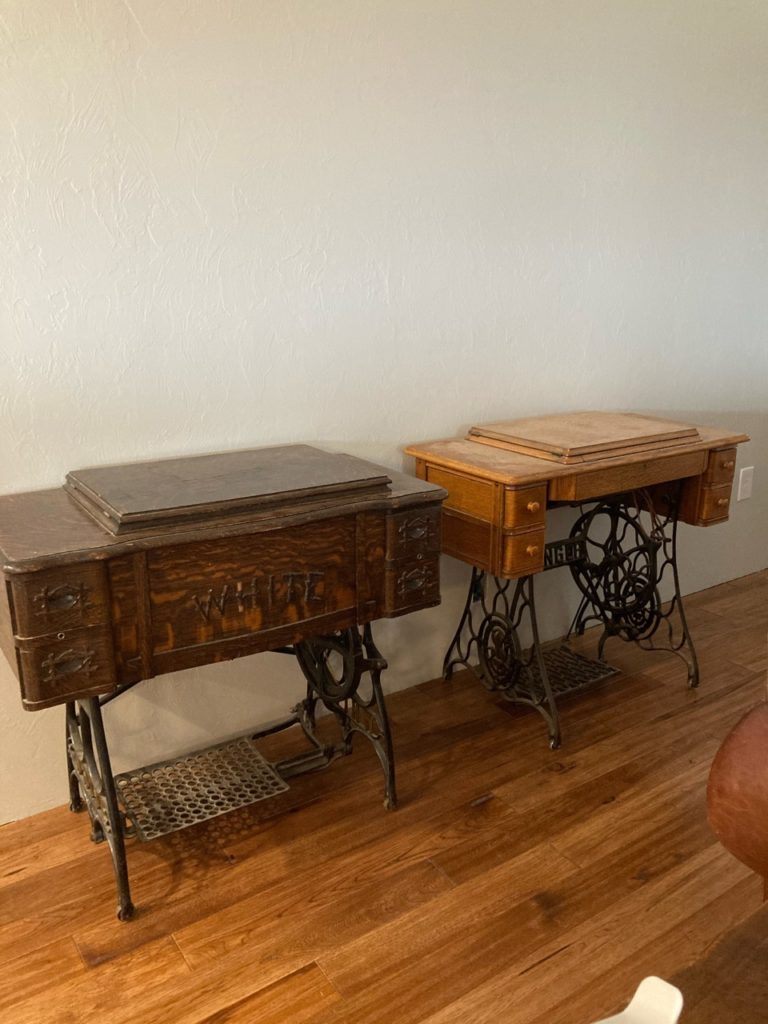
These ladies came home from the storage place, and it was so cute to see them side by side.  After a little bit of sprucing up, they will each find their way to a special place to be admired and honored.  

The darker cabinet on the left holds a beautiful White machine that I bought from a friend 20 years ago when her family was moving and didn’t have room to take this along with them. And the lovely on the right is a Singer Redeye that I bought from an estate sale a couple years back. She’s been in storage for quite a while before we brought her home so will need a bit of a spa treatment. But her decals are beautiful! Looking forward to seeing her in all her glory soon.

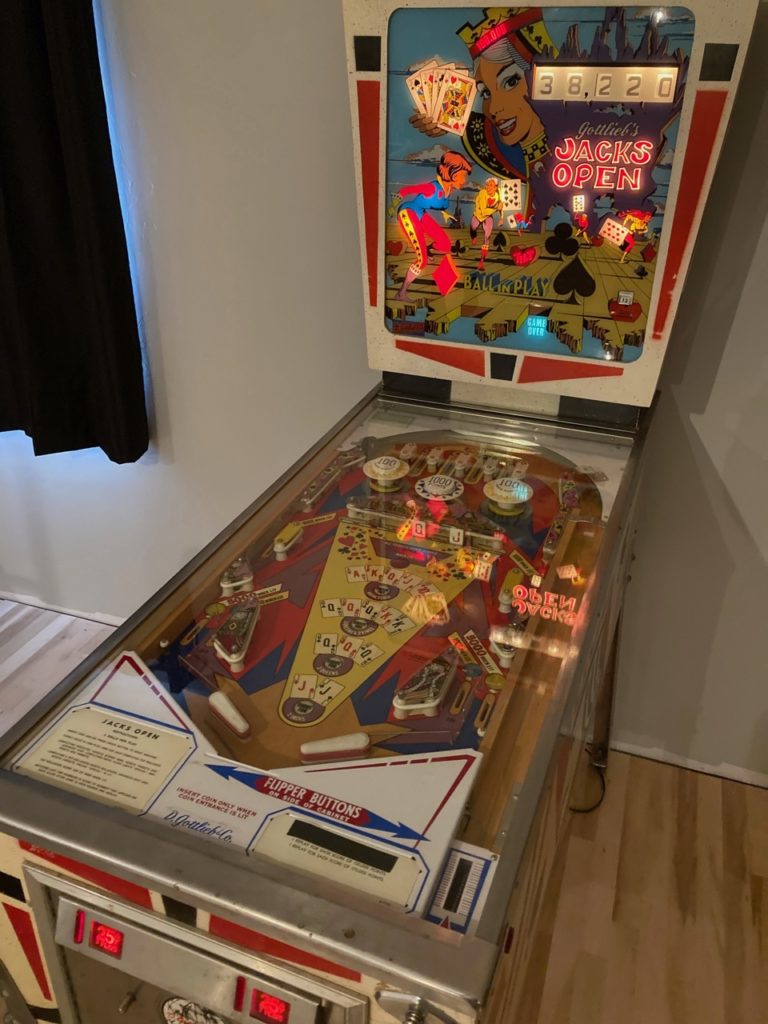
And this family heirloom made its way to the game room.  It put a smile on my face to be sewing and hear the guys playing the pinball machine, laughing and carrying on for a few fun hours as the kids tried to best the dad whose skills were a little dusty but still spot on to win several matches.

Gary’s dad bought this pinball machine when he was high school. They spent many, many hours playing on this machine. It’s a wonderful thing to share this same kind of fun with our kids.

Saturday was more of the same.  But Sunday was a day we enjoyed together just keeping company and swapping stories.  

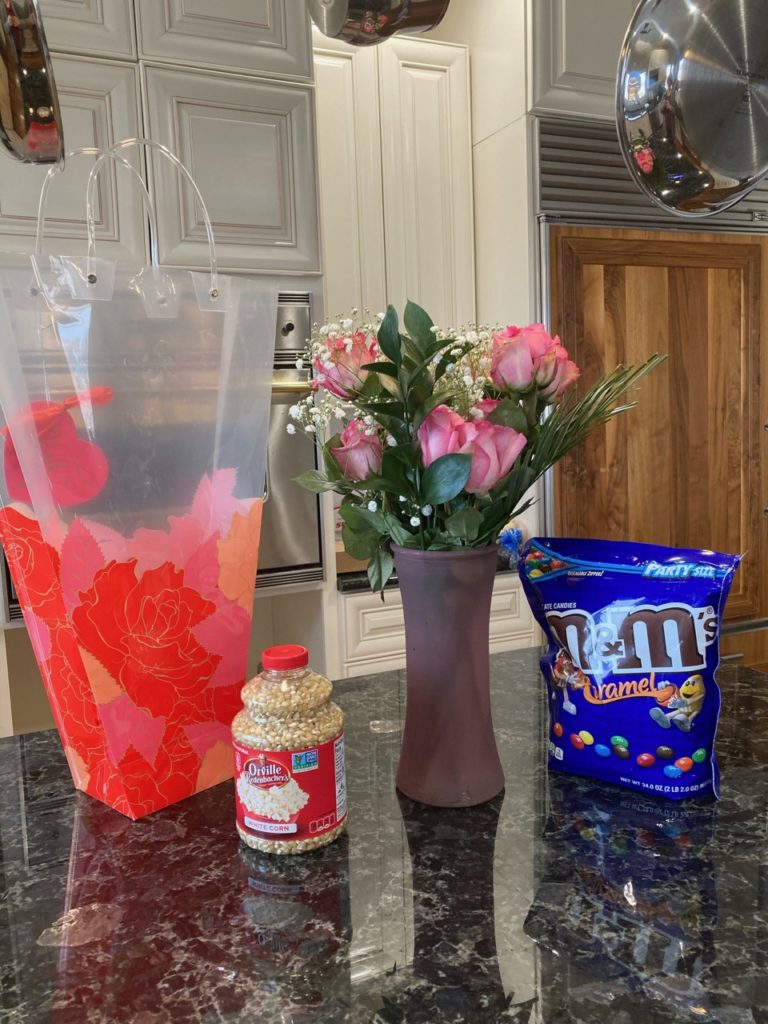
And my Sweetheart of nearly 35 years surprised me with these!  Flowers for my heart, and fixings for a movie night…popcorn for me, and M & M’s for Gary.   

The first flowers for me in our new home. They are so pretty, and who can go wrong with popcorn! It’s better than chocolate to me, lol!

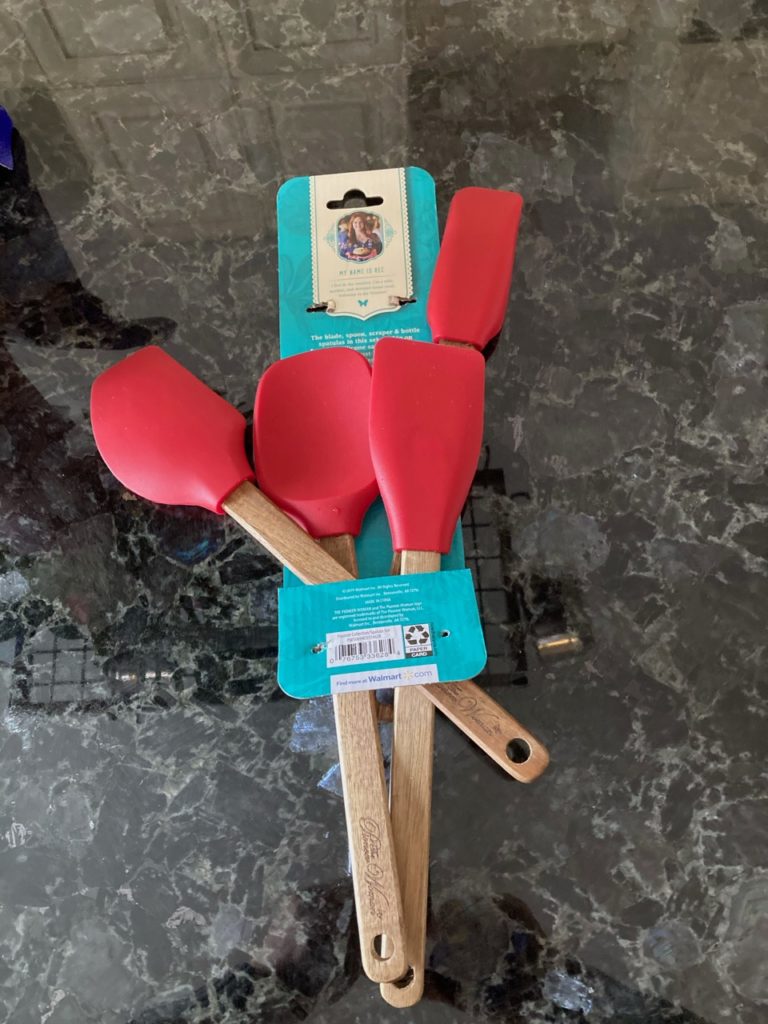
And the sure way to a girl’s heart, after flowers of course is a new set of kitchen spatulas!  !  They are!  I had snapped the handle of my favorite spatula while whipping of something on Saturday, and these lovelies came home with my flowers.  And presented much the same way.  Like a bouquet of flowers, lol.  He’s such a keeper…looking forward to the next 35 years too!

I’ve been admiring many of the Pioneer Woman’s kitchen gadgets for a while now. So when these came home to live in my kitchen to replace the sadly broken spatula, I just clapped my hands and smiled happily to use them to cook our next meal.

Today, Monday, was a bit melancholy as we said goodbye to the guys when they headed back home, and we began the task of settling back into regular life.  Lots of laundry to catch up on as I clean and stow blankets and sheets used to wrap furniture; a blog to catch up on; a quilt to load on the long arm; figuring out the placement of the furniture brought in; and perhaps a nap…maybe a couple games of pinball too.  

Lots to do before this head hits my pillow!

Until next time, may your bobbin never be empty.

Mission UFO Has Launched

Not only has Mission UFO launched…it has landed with a beautiful finish!

Last week Mission UFO was begun. We meet on Tuesdays and Thursdays at my home classroom/studio and anyone can come. The exciting thing is that in just a few together we are seeing some excellent finishes being made. For more information, contact me for details and you too can join in the fun!

Jean and her Prairie Star.  What a great moment! Some happy tears were shed for this lovely success.

Jean has been working on this project for a couple of years, and it is a wonderful finish for her.  I’ve been with her every step of the way and must say, it’s been a fun adventure.  She has already made nice progress on a second quilt of this same pattern in a different color way.  We’re both excited to see how her next one comes together.  

Mission UFO at its finest! It’s such a rewarding experience when projects that have been put aside are brought out to reach their conclusion. The sense of accomplishment is such a nice reward.

Here is Cindy’s progress on her Hanging Gardens project.  She’s completed all her blocks and is now laying them out row by row and sewing them together.  This a trickier build since it’s constructed on point.  She’s doing a terrific job and it won’t be long before the top is completed. 

I’m so excited for both ladies!

Here is the cover photo of the Impatiens pattern.

For me, one of the piecing finishes I’ve marked off my UFO list is the Impatiens placemats by Quiltworx.  This is such a sweet pattern, and the color ways you can use are endless!  This five-petal flower can be made with just lights and darks of the same color as I’ve done with mine shown below.  They can be made with a different color in each petal with centers all the same.  You can even mix up the colors within the petals to be two of one color and three petals of another then group them to resemble a pansy, which is one of my favorite flowers.  The combinations are endless.  And they make fabulous gifts.

Here are my lovely flowers.  The pink one is waiting for her binding, and the little teal lady is prepped to quilt.  The other four will follow their friends shortly.  

The Impatiens pattern comes with enough sewing papers to make a set of 4 placemats. To make larger sets of placemats, you simply need to buy more sewing papers.  Additional sets of papers are called “Replacement Papers” and come with everything you need to make more items…minus the instructions.  No need to buy another set of instructions when you have them included in the first pattern you buy.  I think that is a brilliant thing to do, and I always encourage my students to think of this option when they are considering making multiples of the same pattern.

I’ve had some quilters express concerns about the curved seams required in this project.  To which I tell them Judy has designed these little gems to go together as easily as a hot knife goes through butter…it truly is amazingly simple.  To have a student master this curved seam in one try is a huge reason that I am committed to this company and the way these patterns are designed and written.  Truly the best in the industry, in MY humble opinion.

Quilting is always a consideration on every project and this is one that can be done easily on your own machine at home.  Quiltworx includes a template for quilting these in each pattern packet.  It is a suggestion and certainly not required at all, but it’s a great place to start if you want to try your hand at doing it yourself.

There are many different means to attain the same goal, so let me tell you about different options. 

One method is to layer several sheets of newsprint type paper under the quilting template.  Then, take the tread out of your needle and sew on the quilting lines, resulting in needle punched dotted lines on all the layers beneath the pattern.  You can use a pouncing chalk to dust those lines onto each petal or use each paper as a single sewing template.  A white chalk on dark fabric is not bad, but then there are the lighter colored petals.  I choose not to use a colored chalk on lighter fabrics because it can be problematic when trying to remove the colored chalk.  

You could also sew over the punched lines. That isn’t as easy for me to see where I’m going as I sew. These are both good options…just not for me.  I need a solid line.  

Since there is only one template for quilting but 20 petals to quilt, (5 petals  x  4 placemats), I need to either mark each petal separately or make 20 copies of the template.  The template is larger than what will fit on my home copy machine, so I’ll need to go another route.

Ta-da! Enter Golden Threads Quilting Paper.  Now, I must give credit where it is due, and my student Cheryl is the one who told me about this product and the method she used.  I had Clubb’s order me a roll of this paper, and set out to give it a try. 

I have, and frequently use the newsprint paper made for the copy machine.  It’s a great product.  But for this application, I need to be able to see the exact placement of the paper for where I need to quilt.  You can easily see through this paper to know where your quilting will be.  It’s a thin yet sturdy tissue that does not shred when painters tape is applied to keep it in place.  You can use regular tissue paper to do this, just know that it is greatly fragile and any writing utensil you use can, and does pierce the tissue.  Also…ink from pens and felt markers penetrate regular tissue.  But NOT so with this Quilting Paper.  Definitely worth the price, and it’s not that expensive at that. 

Using the blue flower as an example, I’ve got the 5 templates ready for quilting.  Just need to make the “quilt sandwich” for it. 
Here is the quilting paper laid over the first petal. You can easily see the fabric under the tissue.

I used the bottom curve as a rough registration mark to know how to place each template.  This paper also makes it easy to see where the quilting lines will fall so that I won’t put the curved stitching inside the center spikes where I plan to add straight line stitching after the curves are put in and paper removed.  This is going to be fun!!

Easy Peasy!  Can’t wait to show you all the finished placemats.

Until next time, may your bobbin never be empty!

What Can You Do…..

…. with a Demon Quilt?

You wouldn’t believe it from the picture here, but this is a quilt from hell, aka The Demon Quilt.

Now that I’ve got your attention, let me begin by giving acknowledgement and thanks to the creator of our topic of blogging discussion.  I have been given permission by the owner of the quilt to use this project as a teaching tool to demonstrate techniques used to correct and mitigate some of the effects of assembly.  

Normally, I do not show pictures of my customer’s quilts, mention them, or bring attention to them out of respect for their privacy.  There are exceptions to everything, and this quilt is one worth excepting.

My goal for this blog post is to point out problem areas in which all quilters find themselves, and then discuss what can be done to correct issues that occur.

Background information starts with the following facts:  This was purchased as a kit.  Kits are not inherently bad, but they can lead to problems unforeseen until you’re in the middle of a project. Cutting errors in the kit led to the need to re-cut fabric that was supplied, and missing fabric required the purchase and sub-cutting of additional fabric.

These are just a few of the issues that can occur.  Other hiccups occur when pattern instructions are poorly or incorrectly written, missing assembly steps and even heavy reliance on pictures occur without written detail.  

The main thing to remember is this…not all mishaps are the piecers fault

The next most important thing to remember is key to both finishing the project being pleased with its outcome…. The key—ALL things can be fixed. 

Let’s get started!

Take another look at the finished project.  Its outer border has a bit of a wave to it, but nothing compared to its beginning.  And the next two pictures will show some of the other problem areas that were greatly calmed.

Just a bit of a wave along the bottom border. Not bad at all.
You can see a number of areas that need attention…excess fabric in the blocks and lots of extra in the border.
You can see a number of areas in this picture…please excuse the long arm frame in the picture.

So now let’s get into the meat of the issue…How do you begin to correct the problem areas?

Long story short…turn the top over and examine the back.  Then, get out a water-soluble pen and start marking.  This must be done first to understand the order of correction.  Every person has their own “shorthand”, so mark things per what makes sense to you.  

The key to looking at the back of the quilt is that you can immediately see the seam allowances and begin to work through the problems areas.
While the horizontal seam looks good, the vertical areas on either side of that seam need to be taken in a bit.
This area shows a bit of excess around the intersection corners. You start along one seam then move on to its counterpart to bring it all flat.
Here you can see the vertical seam needs to be taken in, and the seam along the border edge needs attention between the two straight lines.
This notation shows the direction the adjustment needs to be made and the specific area of concern.
This picture shows the area and amount of fabric to be adjusted.

I marked areas that need to either have too much fabric, or areas that have seam allowances that need to be corrected or closed.  Markings also include length of area to correct.  You only need to adjust the affected area.

When these corrections are determined, you start in the center and work your way out to the edges, one area at a time.  Many times, these corrections have counterbalancing effects and can, but not always, have ripple effects that need further attention.  But without doubt, if the borders don’t already need attention, the adjustments in the body of the quilt can cause adjustments in the border.

For this quilt, once the body was corrected, all the borders were also removed, re-measured, shortened and reattached.  

Then the quilting.  Not all the corrections could be solved by structural sewing.  The remaining excess was slight enough to be absorbed into quilt with a specific technique.  Think of it as using “C’s” … forwards and backwards in execution, and then quilting the encircling areas down.  The C and backward C are shapes that literally capture the fabric, sew it into a permanent place and then sew down what’s captured so the needle/pressure foot cannot push anything forward in its movement.

So, when this question is asked…” Can you quilt it out?”  The answer is always, “No, but I can quilt it in permanently.”  It can be seen as a flip answer, but it’s the absolute truth.  Long arm quilters have certain methods to improve and mitigate certain issues, but bottom line is, there are definite limits to how much can be rectified.  When you can employ more than one front of attack, then your chances of having a good finished project greatly improve.

So, the story concludes with another picture of this non-demon quilt.  I think it turned out well.  And is praiseworthy as well.

Ta-Da!!! It’s finished and has great visual appeal!

Biggest bit of advice here is this:  When someone compliments a quilt that you know was a problem child…You get to say only this…” Thank you”.  And under no circumstance do you go into the litany of its problems.  Don’t diminish their enjoyment and perception of what you’ve worked on.  Let them praise it.  And know the work and efforts of correcting its issues were worth it.

So, don’t be leery of taking out your own problem quilts and giving them another look with a critical eye that looks for ways to fix the unsightly areas.

Until next time, may your bobbin never be empty.

It’s a Pressing Matter

Or, you could say, it’s a matter of pressing, aka ironing.  In today’s everyday world, ironing is a skill primarily reserved for shirts and wrinkled pants and what not.  But in the quilting world, using an iron is a necessity for every project we undertake.  And believe it or not…ironing and pressing are not the same sport.  Hey…it’s liberal arm movements, repeated many times for each engagement.  That could be a sport, right??  And those of us who can use both arms are considered ambidextrous too, right?  It is in my book, so I’m going with that.

Anyway, considering the topic at hand, I was pressing the last thing to pass under my needle and I happened to take a closer look at my little side table that I use for that purpose.  Well, that led to another thing and then another until the whole focus of my morning yesterday involved a task I didn’t expect to be doing.  Come on along and I’ll show you what I was up to.

Here it is…just a modest little TV tray.

This is a wooden TV tray that I recovered several years back to serve as a little side table when I sew.  Mostly for ironing, but it’s a perfect size and height for several tasks.  It’s had a couple different layers of fabric over the course of time, but I decided to try some freezer paper on the top to see if it would help to preserve the fabric underneath a little longer before needing another layer.

You can also see along the left side of the paper, the discolored fabric underneath.

You can see here the freezer paper is showing some marks on it.  A bit of ink that transferred from a home printed piece of newsprint for paper piecing…a bit of scorch mark from high heat…a bit of paper shrinkage from being steamed during pressing. 

Up came the paper to this point, but just one more pull on the paper revealed the degraded fabric underneath.

I decided it needed to be replaced, so out came the gigantic roll of freezer paper that only comes in one size and will last two lifetimes.  I cut a piece to replace the old, and proceeded to remove the marred sheet from my little pressing table.  Unfortunately, the paper also brought up a spot of the top layer of fabric.  Hmmmm…time to investigate.

I found the top fabric had begun to basically rot. Rot?!?!  Nah…..that couldn’t be…rot comes from moisture and other unsavory conditions.  But it was damaged none the less, and had to come off.  Then I saw the layer underneath. Yuk!!  

More tugging and pulling of the top fabric revealed the next layer down. Not very pretty at all. I really loved the initial layer of fabric. But it showed scorch very quickly, which led to the second layer…the practical silver ironing fabric came into service. What’s surprising is the ironing fabric is quite thin compared to regular cotton. But it outlasts regular cotton for heat reaction.

So, after some ripping and tugging and pulling on both layers with not much success, out came my tools and I began the process of stripping down the old and replacing it with the new.

Brute force just didn’t work. I need some tools!
Here are my basic tools for this step of the job. Nothing fancy. The staple puller helped in some places to get the staple separated from the fabric a bit. And my personal little Leatherman. Just the right size for my hands. No…I don’t need pink tools. But I do need them to fit comfortably in my hands. These two worked pretty hard for the morning.

The steps aren’t complicated, but they do take some effort.  

Sometimes, the staple pullers just couldn’t get close enough to the staple due to the frame of the table. So, I just grabbed the edge of the fabric and gave it a good pull. That loosened the staple nicely.
Sometimes, the fabric just came right out and left the staple behind. These got a good tug. And sometimes they broke off. But I was able to grab hold to the broken portion and pull it out with the pliers from my Leatherman.
You can see a broken piece here in one of the staple holes below and to the right of the staple I’m pointing to. It’s good to get these out too so there are no pointy surprises as you work.
Off with the old!
The rewards of my hard work. Trash bin for the fabric and into my little “sharps” container for the staples.
Yep…it’s a recycled spice can. They don’t make official “Quilter’s Sharps Containers”. And if they did, it would probably cost much more than I’d pay. Just like baby furniture seems to be twice the price as regular because it has the word “baby” in it. So I’m frugal. Besides, every penny saved is a penny used to buy more fabric!
But before this heap of ick went into the trash, I got the measurements for it’s replacement.
And just to make sure I was doing it right, I measured the top of the table. Now I know the fabric to cover the table top and wrap around the edges needs to be about 4″ larger than the top surface.
Here are the layers that will replace the old covering. A piece of 100% cotton batting and regular cotton, both cut to 23″ x 18″ .
You’re going to need a staple gun like this for the next step. I’ve made sure to show the size staples used in this project too. Too long and the staples can poke out the top, and too short they won’t be able to hold the fabric very well. lol…ask me how I know. 😉
Now comes the fun part. Turn the table over and center it on the fabric, making sure there is equal amount of material to pull over each edge. Start by placing one stable in the center of all four sides.
Next, go around each side again and put a couple more staples in spaced equally. Make sure to gently pull on the fabric to make sure it is taut, but not distorting the other sides.
Corners are next.  Trim off excess fabric to keep from accumulating too much mass for the staples to pass through and get a good bite for holding in place.  There’s no magic to the method of making a tidy corner.  I just approach it like the wrapping of a present…it’s easy peasy.
Here’s my first corner. It’s tidy enough and doesn’t need to be any better than this.. And just so you know…each corner is a bit different from the last. That’s ok with me. I just need it to be done well. Finished is better than perfect.
When the corners are all done, then I go back and fill in staples all along the edge of the material. Again, making sure the fabric is taut and secure.

Ta-Da!! Here’s the finished ironing board. I’ll still be adding a sheet of freezer paper to protect the new surface. But for now, I’m enjoying the fruits of my labor.

Thanks for coming along on this mornings bunny trail!

Until next time, may your bobbin never be empty!

Happy New Year 2021: It’s Time for the Restart Button!!

Happy New Year! ? ! ???

I don’t know about you, but I’ve been looking really hard for the “Reset” button for 2021.  When Covid-19 invaded our lives and everything came to a screeching halt, the world went slightly of kilter and seemingly became more so each time I checked.

So…I’m done with that.  Been there…. done that…got the t-shirt…trashed it…and am ready to put this tilt-a-whirl back on track.

Today—I MADE the reset button!  Couldn’t find it anywhere, so I made one of my own determination and then pushed it.  Well, …in my head, I threw it on the ground and gave it a good stomp to get it going.  But I made the button and am going to get back on my whirling dervish that I call life.  

Here’s my version of a “Reset” Button. Looks an awful lot like the “Back” Button on a computer doesn’t it? I think that’s a good mindset for what I’d like to do right about now.

I’m moving a bit slower these days but am determined to get back into the saddle and working towards some exciting goals.   Slow moving as I am still recovering from a bout with Cellulitis (a deep tissue infection due to a spider bite) on my lower right leg.  While it has taken me nearly a month to get back to most normal day to day activities, I still cannot stand for prolonged amounts of time.  Lots of breaks with my leg elevated will be a part of my daily life for a while yet.  It takes a while longer to accomplish things, but I’m getting there.

The other “reset” that happened due to my Cellulitis, is that I had to postpone my trip to Quitworx in January for my Phase 2 training retreat to become a Certified Instructor.  I spent a good 2 days riding that emotional rollercoaster of disappointment, frustration and tears.  But, when life kicks you in the butt, ya just gotta listen.  After that, your choices are to continue wallowing or pick yourself up, dust off, re-evaluate and reset your goals.  And I chose the second option.

In trying to find the silver lining to all this I’ve also made the choice to hold on to a positive attitude and make the best of this curve in the road.  Now, I have another year to expand my quilt portfolio, teach as many classes as I can in a classroom setting and expand my teaching experience with on-line virtual classes as I continue to work towards my certification.  There will be other things that come into play throughout the year and I’m really looking forward to sharing them all with you.  

And this blog…I can’t forget about this blog.  I’m super excited to share with you all about this amazing and challenging journey I’ve embarked on.

I hope you’ll continue to drop by for the latest update on what is happening in my world…

I’m looking forward to seeing what the “Reset” button will bring in 2021.  

Here’s to moving on! Found that “Forward” Button”

Hang on Vera! It’s forward—hooo-oooohhh!