
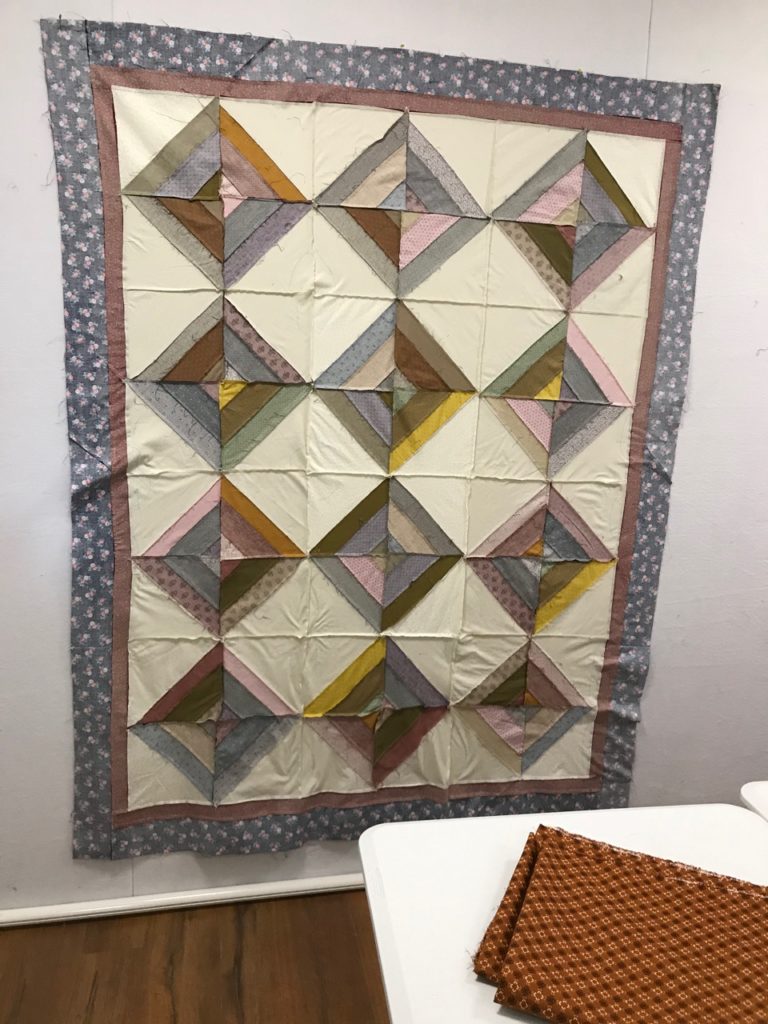
…. with a Demon Quilt?
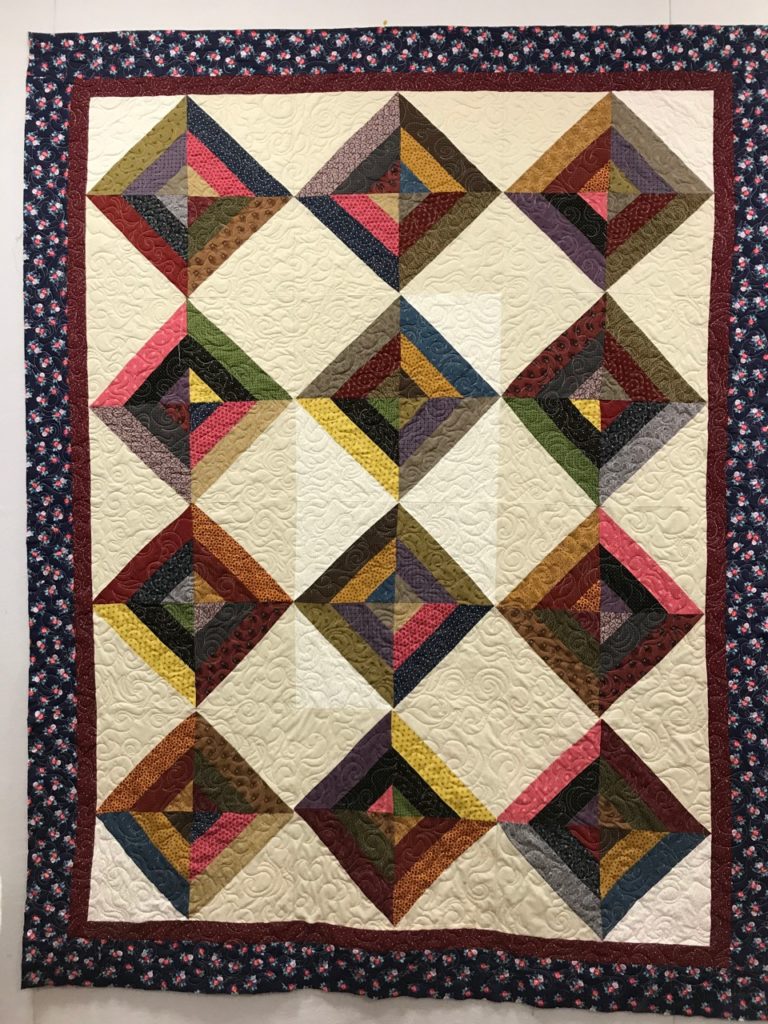
You wouldn’t believe it from the picture here, but this is a quilt from hell, aka The Demon Quilt.

Now that I’ve got your attention, let me begin by giving acknowledgement and thanks to the creator of our topic of blogging discussion. I have been given permission by the owner of the quilt to use this project as a teaching tool to demonstrate techniques used to correct and mitigate some of the effects of assembly.
Normally, I do not show pictures of my customer’s quilts, mention them, or bring attention to them out of respect for their privacy. There are exceptions to everything, and this quilt is one worth excepting.
My goal for this blog post is to point out problem areas in which all quilters find themselves, and then discuss what can be done to correct issues that occur.
Background information starts with the following facts: This was purchased as a kit. Kits are not inherently bad, but they can lead to problems unforeseen until you’re in the middle of a project. Cutting errors in the kit led to the need to re-cut fabric that was supplied, and missing fabric required the purchase and sub-cutting of additional fabric.
These are just a few of the issues that can occur. Other hiccups occur when pattern instructions are poorly or incorrectly written, missing assembly steps and even heavy reliance on pictures occur without written detail.
The main thing to remember is this…not all mishaps are the piecers fault
The next most important thing to remember is key to both finishing the project being pleased with its outcome…. The key—ALL things can be fixed.
Let’s get started!
Take another look at the finished project. Its outer border has a bit of a wave to it, but nothing compared to its beginning. And the next two pictures will show some of the other problem areas that were greatly calmed.

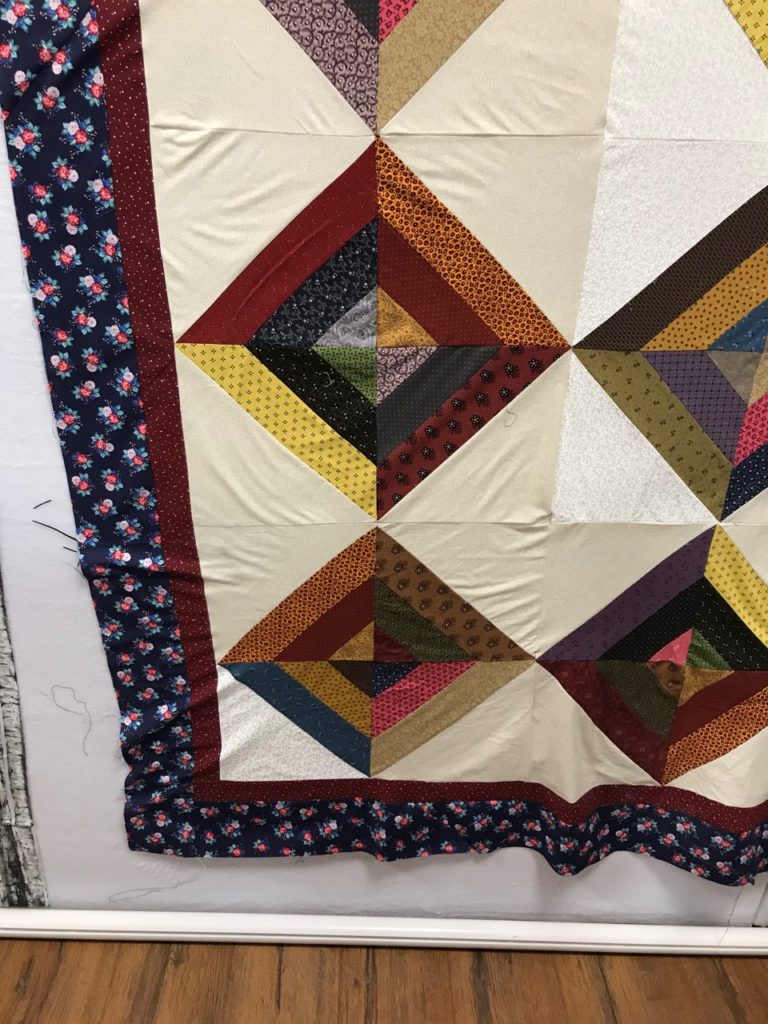
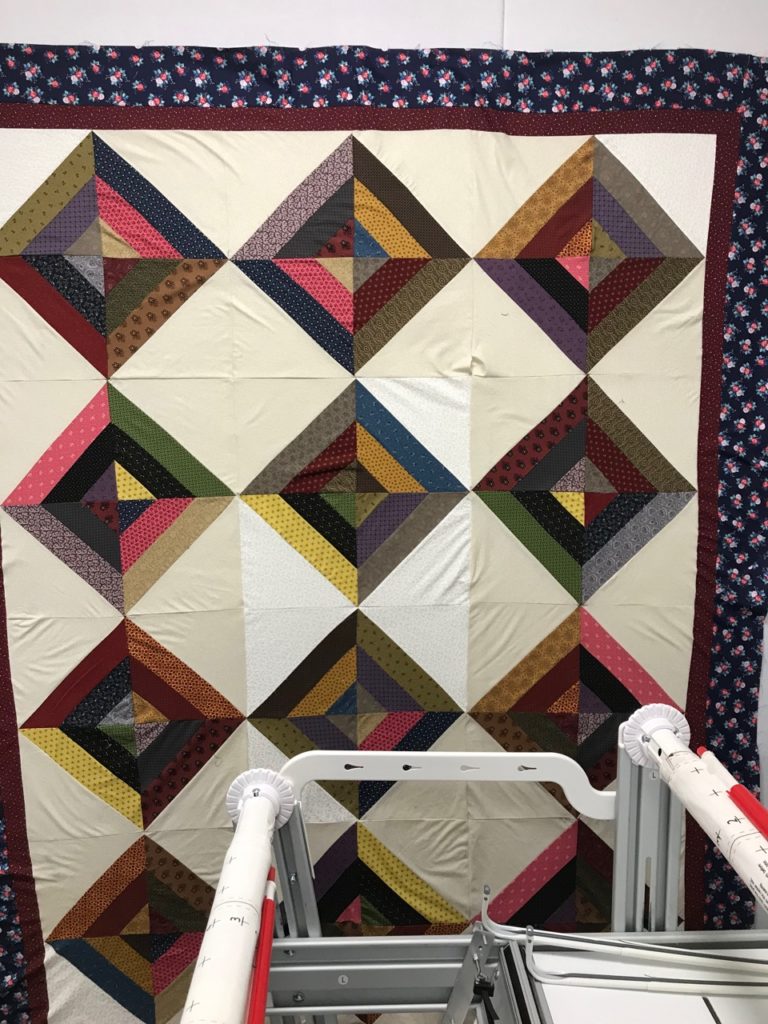
So now let’s get into the meat of the issue…How do you begin to correct the problem areas?
Long story short…turn the top over and examine the back. Then, get out a water-soluble pen and start marking. This must be done first to understand the order of correction. Every person has their own “shorthand”, so mark things per what makes sense to you.
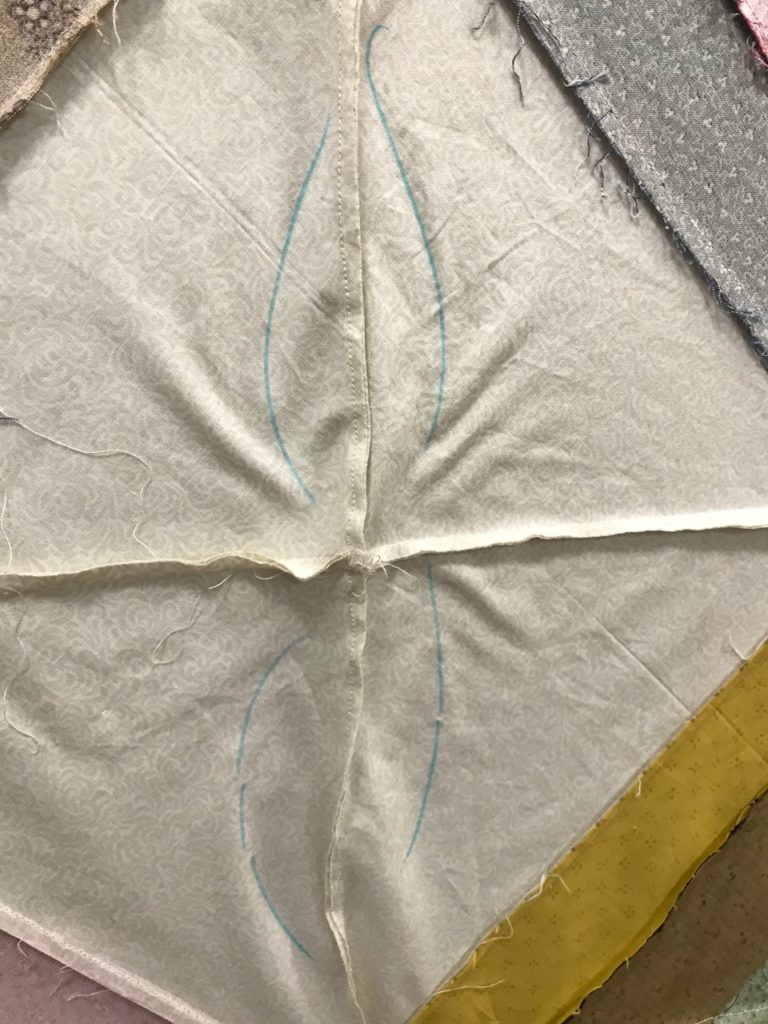
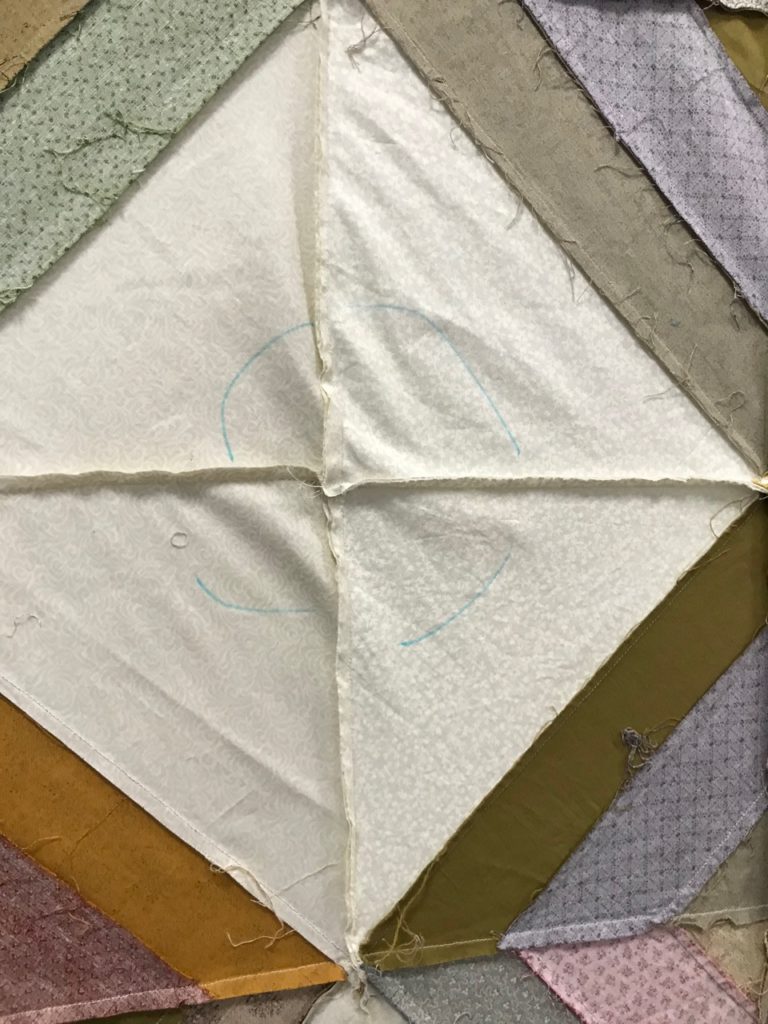
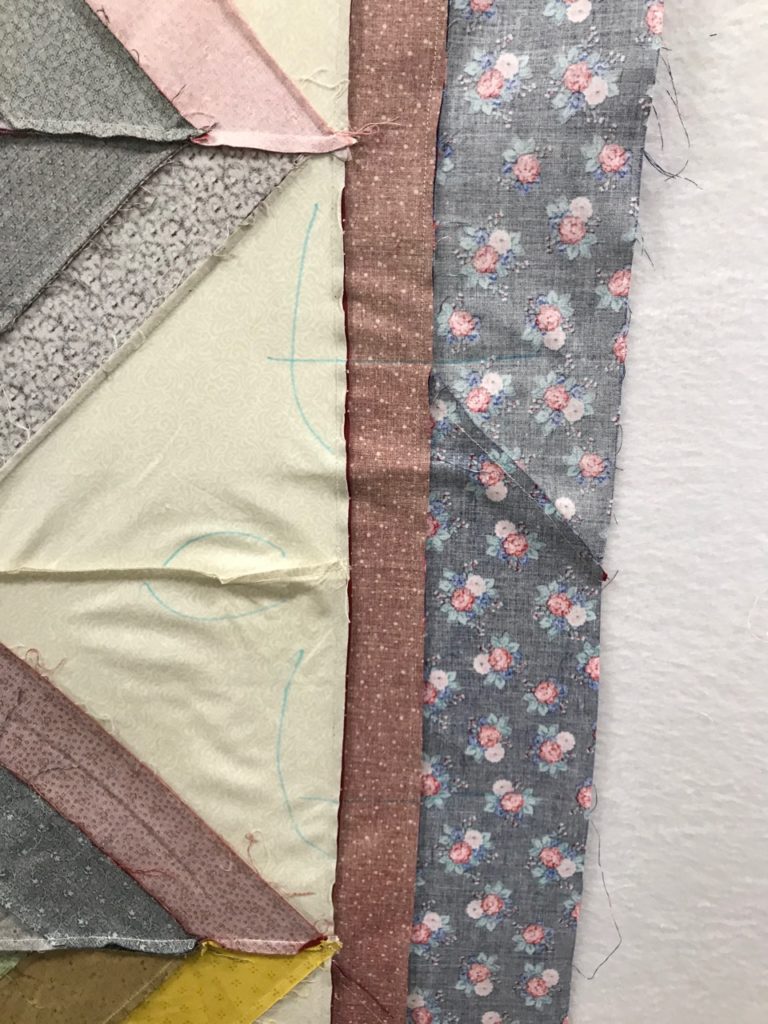

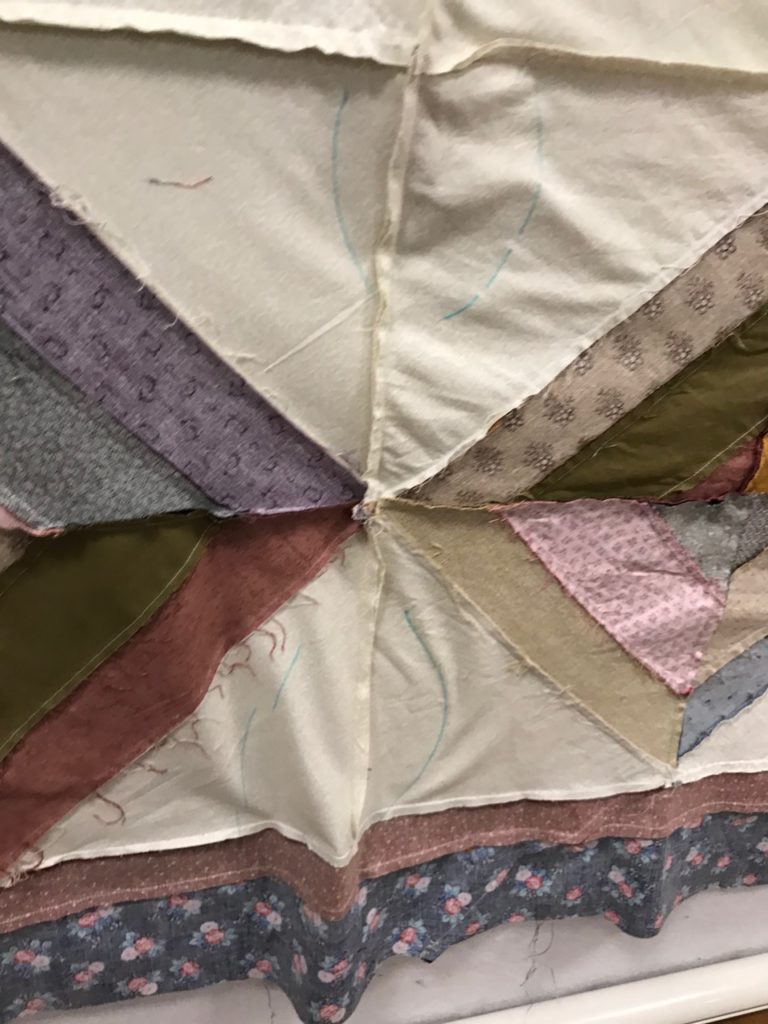
I marked areas that need to either have too much fabric, or areas that have seam allowances that need to be corrected or closed. Markings also include length of area to correct. You only need to adjust the affected area.
When these corrections are determined, you start in the center and work your way out to the edges, one area at a time. Many times, these corrections have counterbalancing effects and can, but not always, have ripple effects that need further attention. But without doubt, if the borders don’t already need attention, the adjustments in the body of the quilt can cause adjustments in the border.
For this quilt, once the body was corrected, all the borders were also removed, re-measured, shortened and reattached.
Then the quilting. Not all the corrections could be solved by structural sewing. The remaining excess was slight enough to be absorbed into quilt with a specific technique. Think of it as using “C’s” … forwards and backwards in execution, and then quilting the encircling areas down. The C and backward C are shapes that literally capture the fabric, sew it into a permanent place and then sew down what’s captured so the needle/pressure foot cannot push anything forward in its movement.
So, when this question is asked…” Can you quilt it out?” The answer is always, “No, but I can quilt it in permanently.” It can be seen as a flip answer, but it’s the absolute truth. Long arm quilters have certain methods to improve and mitigate certain issues, but bottom line is, there are definite limits to how much can be rectified. When you can employ more than one front of attack, then your chances of having a good finished project greatly improve.
So, the story concludes with another picture of this non-demon quilt. I think it turned out well. And is praiseworthy as well.
Biggest bit of advice here is this: When someone compliments a quilt that you know was a problem child…You get to say only this…” Thank you”. And under no circumstance do you go into the litany of its problems. Don’t diminish their enjoyment and perception of what you’ve worked on. Let them praise it. And know the work and efforts of correcting its issues were worth it.
So, don’t be leery of taking out your own problem quilts and giving them another look with a critical eye that looks for ways to fix the unsightly areas.
Until next time, may your bobbin never be empty.
Love your solutions! Hope I remember all of this if the time comes for me to do this. And I am sure it will. 😆
Amazing repair job!