

It’s a blustery day outside, and Whinnie the Pooh would simply say,” Oh bother”.

Then he and Piglet would go find Eeyore to make sure his little home was still in one place since “It’s a mobile home”. (Said in the very best Eeyore voice.) Then, the whole troupe would gather for a bit of honey and the day would be perfect.

Blustery days are perfect days to tuck inside and do what I love to do. There is a beauty on my long arm and in-between passes as it quilts away to my heart’s content, I’ve got a few other things to putter at. Piecing is one of them. When I mix up the tasks like this, any piecing I work on must be easy to stop and then pick up again without worry of a mishap.
While I can’t show you the top that’s being quilted right now, I can show you this. Just in case anyone else might have need to see how this can be done.
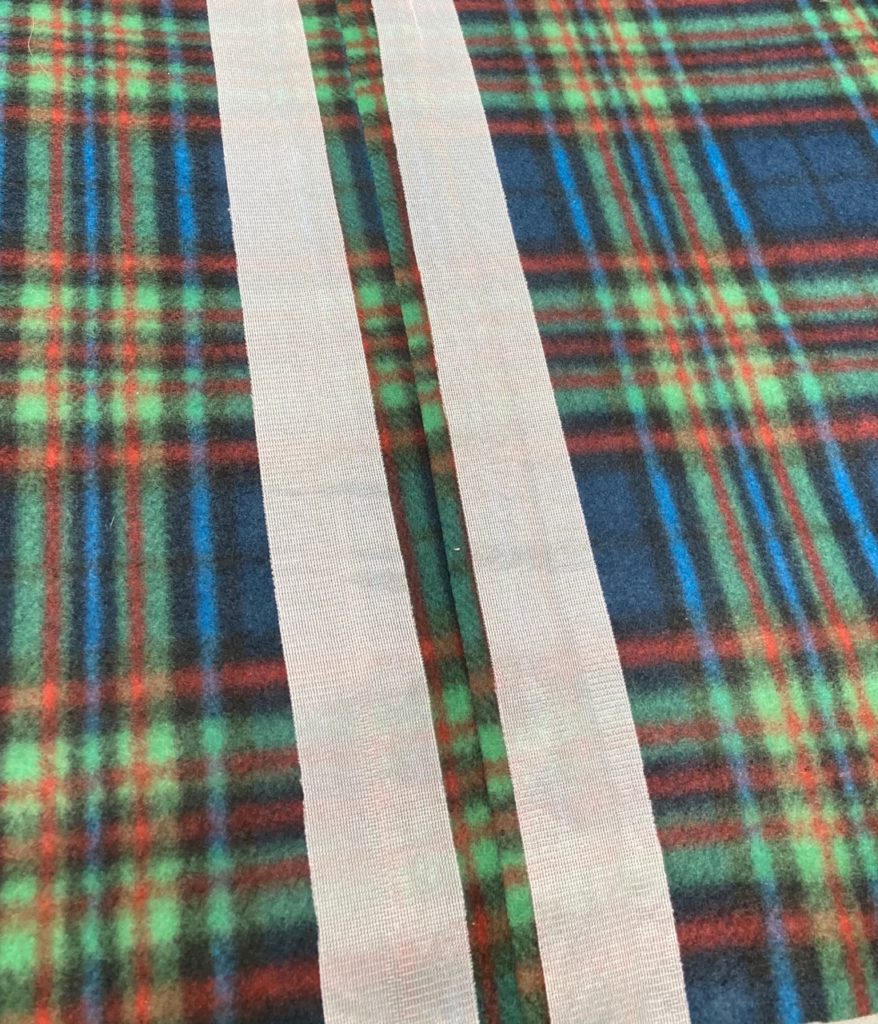
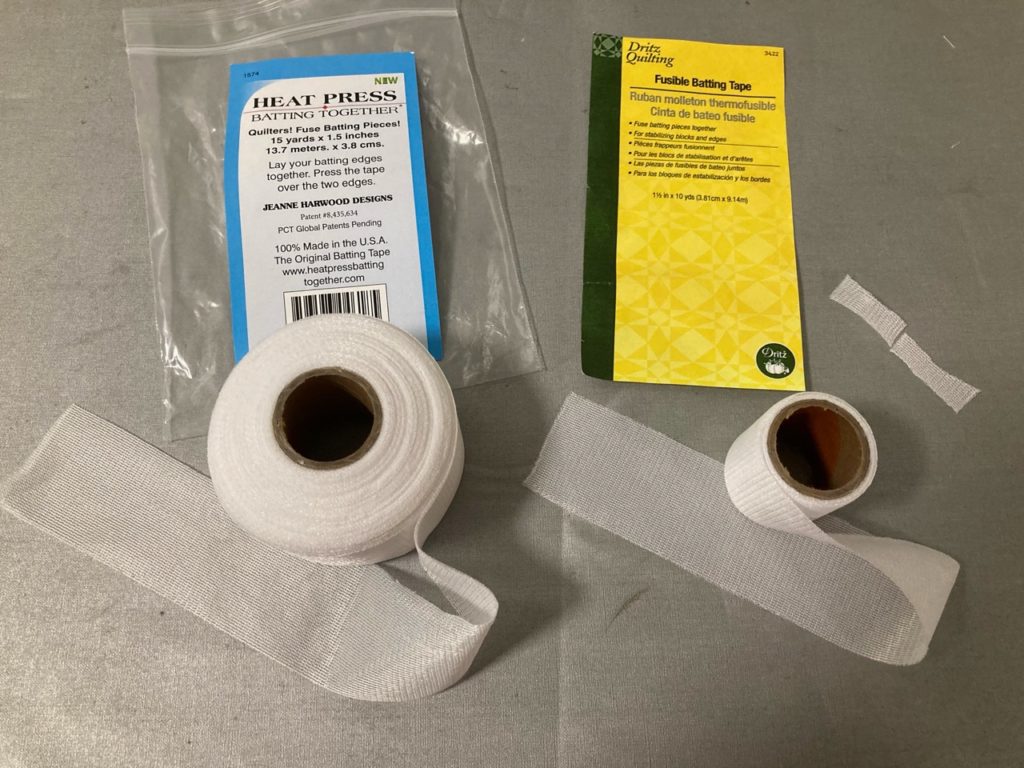
This is what I used as the treatment for the seam on this fleece. I’ve sewn a larger seam allowance than normal…about 1”. Ironed it open. Then to keep the seam allowance flat and manageable, and to avoid any errant folds from happening during the loading and quilting process, I used this lovely product. Fusible batting tape is a fantastic product. These are two different brands…Dritz and Jeanne Harwood Designs. The Dritz is slightly thinner, but that doesn’t matter to me at all. They are interchangeable to me. And I use this product for many, many purposes, not just piecing together a batting. It’s priceless for repairs as well!
The tape is soft, supple, matches the drape of the fabric and you can’t feel it between the layers of the quilt. It’s an incredibly easy way to manage the seam.
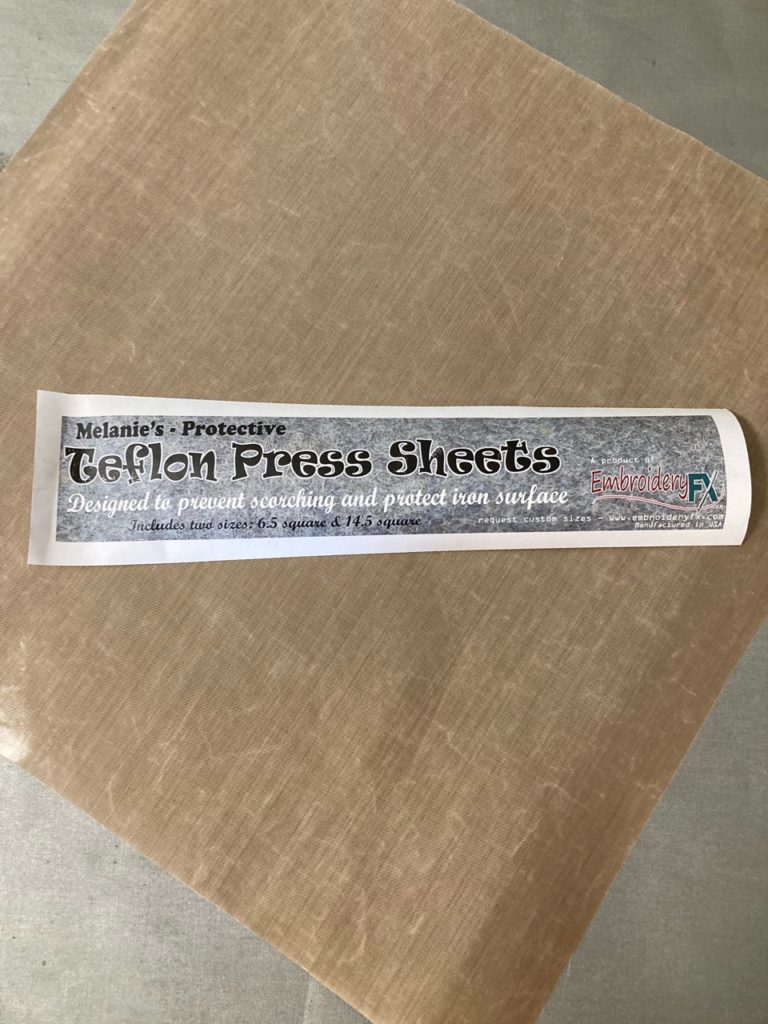
The only other tip I can give about this method would be the heat of the iron. You want to be mindful of the heat of your iron when doing this. You can always test this on a scrap of fleece before you start. You want to make sure the iron is sufficiently hot to make the fusible tape stick where you want it to, while at the same time not leaving press marks on the fleece, or heaven forbid…melt it to the iron causing holes, etc., etc. etc. I don’t test anymore; I just use something to protect all my surfaces. (Ask me how I learned all about this! ;-)) My favorite tool for this is a Teflon Pressing Sheet that I bought years ago when my Brother embroidery machine came to live at my house. There are lots on the market and you simply need to google to find one. Other things that can work just as well and are found in most homes are parchment paper, muslin pressing cloth and even clean brown paper. (Bet you can’t guess how I learned about being careful there is no dirt or ink on the brown paper, lol.) Be creative with what you have access to!
One more piece of advice from a long arm quilter is about backings. Pieced backings are frequently used for a quilt. When using a regular cotton or batik, the bulk of the seam is not a problem…as long as the seam is prepared for a horizontal loading on the long arm. A pieced border that runs in a vertical line to the long arm can cause more of an issue. A vertical seam will cause an increasing amount of bulk in one localized area as the quilt is advanced during the long arm process. That bulk creates an increasing and significant bulge in the layers which leads to puckers, tucks and wrinkles which can then be quilted into the body and the back of the quilt. Many times, unnoticed until the quilting is completed and off the long arm. However, if the seam is horizontal, (running from side to side), that same bulk is sewn over and then advanced across the bars holding the quilt, all at the same time, and only once. Everything is equal with the same amount of bulk increase all together from side to side with no issues.
Today, the project that is under my needle as the long arms hums away is this!

It’s the Moda Bakeshop, Recipe # 5 called Ganache that I first mentioned in my post from January 25th. If you haven’t had a chance to read this one, you can scroll back to when it first posted and learn all about these quick and easy patterns.
I’ve been making daily progress in between different things. All the units are laid out and I’m sewing them together as blocks, then attaching the side sashing. When all this is done, I’ll do my last rearranging of blocks to make sure everything is the way I want it. After that, the rows are sewn together, with the horizontal sashing added. It’s coming together quite nicely.
Those are the highlights for today, friends. Hope your midweek finds you well and inspired!!
Until next time, may your bobbin never be empty.